When your school’s championship fabric banner arrives, the first quality question many athletic directors ask is whether the banner hangs straight — but the more specific question worth asking before any hardware is staged is whether the sewn seams are free of puckering. A school championship banner seam puckering check is a non-destructive visual inspection performed on a flat, unstretched banner to confirm that the stitch lines running through the fabric panel do not show the rippling, gathering, or waving that indicates a thread-tension or structural sewing problem. Catching seam puckering at the receiving stage, before the banner rises to a gymnasium mount, is the lowest-cost point in the banner’s service life to resolve it — and it protects the athletic history that banner is meant to represent from being displayed incorrectly.
This guide is written for school athletic directors, recognition-program coordinators, and facilities staff who receive sewn fabric championship banners from print and finishing suppliers. It covers how to distinguish seam puckering from the fabric bow and skew conditions described in the adjacent acceptance guide for woven textile banners, how to inspect seams in both the relaxed flat condition and the hung condition, how to assess seam length, and how to request vendor-approved sample evidence and agree rework criteria in writing before the banner is raised.
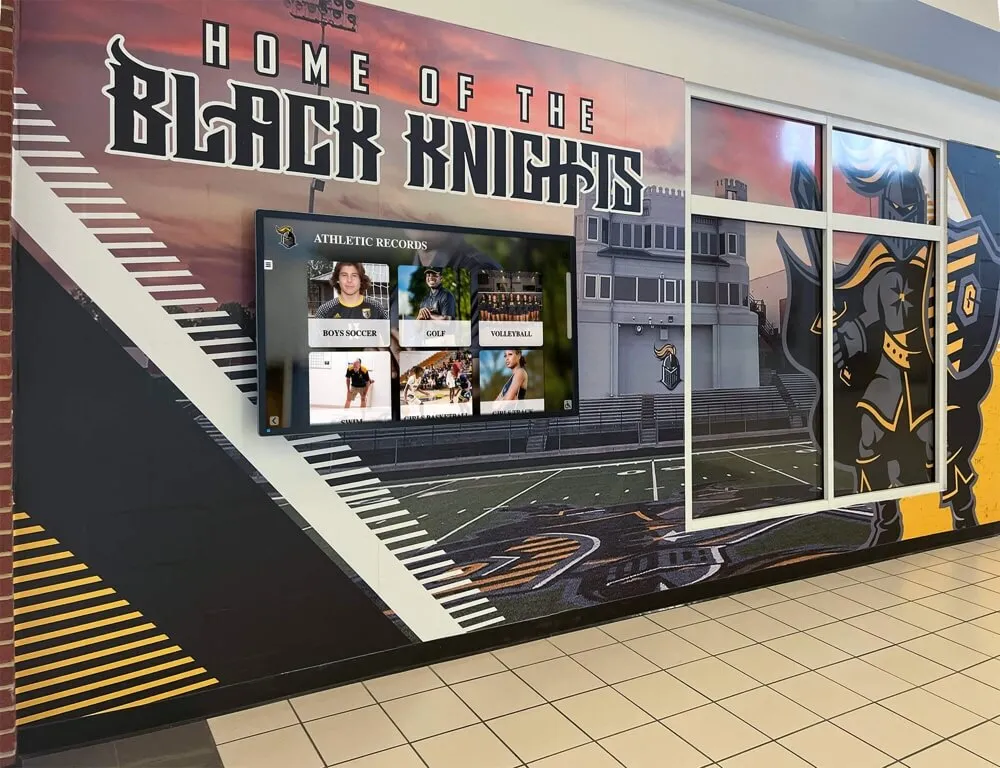
Championship and recognition banners in school athletic corridors carry the program's history for years — a non-destructive seam puckering check at receiving confirms that the sewn stitch lines are smooth and flat before the banner becomes a permanent feature of the recognition display
What Is Seam Puckering on a Sewn Fabric Championship Banner?
Seam puckering on a sewn fabric championship banner is a visible ripple, gather, or wave that runs along the stitch line where two panels of fabric have been joined, or where a hem has been sewn at the banner’s edge. The fabric on one or both sides of the stitch line draws up toward the seam, creating a corrugated or gathered appearance at the joint. Puckering is a seam-local condition: it originates at the stitch line and is most visible in the immediate zone adjacent to the stitching, as distinct from fabric bow or skew, which are full-width structural conditions of the textile grain.
Coats, a global manufacturer of industrial sewing thread, identifies three principal causes of seam puckering in its technical guidance on the subject. The first is structural puckering, which occurs when the sewing thread and the fabric shrink at different rates — either during the sewing process itself or later during finishing — causing the thread to pull the fabric along the stitch line as it contracts. The second is tension puckering, which results from incorrect upper or lower thread tension during sewing: when tension is set too high relative to the fabric weight and construction, the thread is locked in an over-tensioned state that draws the fabric layers toward the seam line. The third is feed puckering, sometimes called inherent puckering, which occurs when the fabric layers are not feeding evenly through the sewing machine — causing one layer to advance faster than the other and producing a gathered fold at the stitch line as the layers are joined out of register. All three types produce visible rippling at the seam. All three require different supplier-side corrective actions, making accurate identification of puckering type part of the evidence package a school provides to its supplier when requesting resolution.
How Seam Puckering Differs from Fabric Bow, Skew, and Welded Seam Defects
These four conditions can each make a delivered championship banner look incorrect or distorted. They have different locations, different causes, and different resolution paths. Correctly identifying which condition is present before contacting the supplier is essential for a productive resolution.
Fabric bow and skew are structural conditions of the fabric grain — the crosswise threads of a woven or knitted textile deviate from their correct perpendicular orientation across the full banner width. Bow appears as a curve in the filling threads across the width; skew appears as a diagonal offset from one selvedge to the other. Both conditions affect the full fabric, not just the zone adjacent to a stitch line. If a banner shows distortion across its entire surface, away from any sewn seam, that condition is more likely bow or skew than puckering. The fabric bow and skew acceptance checklist for woven and knitted textile banners covers that distinct inspection.
Welded seam defects — incomplete fusion, blisters, charring, and gap zones in a thermoplastic weld — occur at heat-fused joints rather than sewn stitch lines. Welded seams have no thread; they bond substrate surfaces together with controlled heat. If the banner’s panel joins and hem edges were finished with a welding process rather than a needle and thread, the welded seam acceptance checklist applies, not this one. If you are unsure which finishing method was used, ask the supplier before beginning either inspection.
Seam puckering is localized to the stitch line. If the distortion is visible primarily in the zone immediately adjacent to a row of stitching and is not present in the open fabric field away from that zone, puckering is the candidate condition. Puckering can occur at both panel join seams (running lengthwise through the artwork) and hem seams (running along the banner edges where the hem was folded and sewn). Each seam location should be inspected independently.
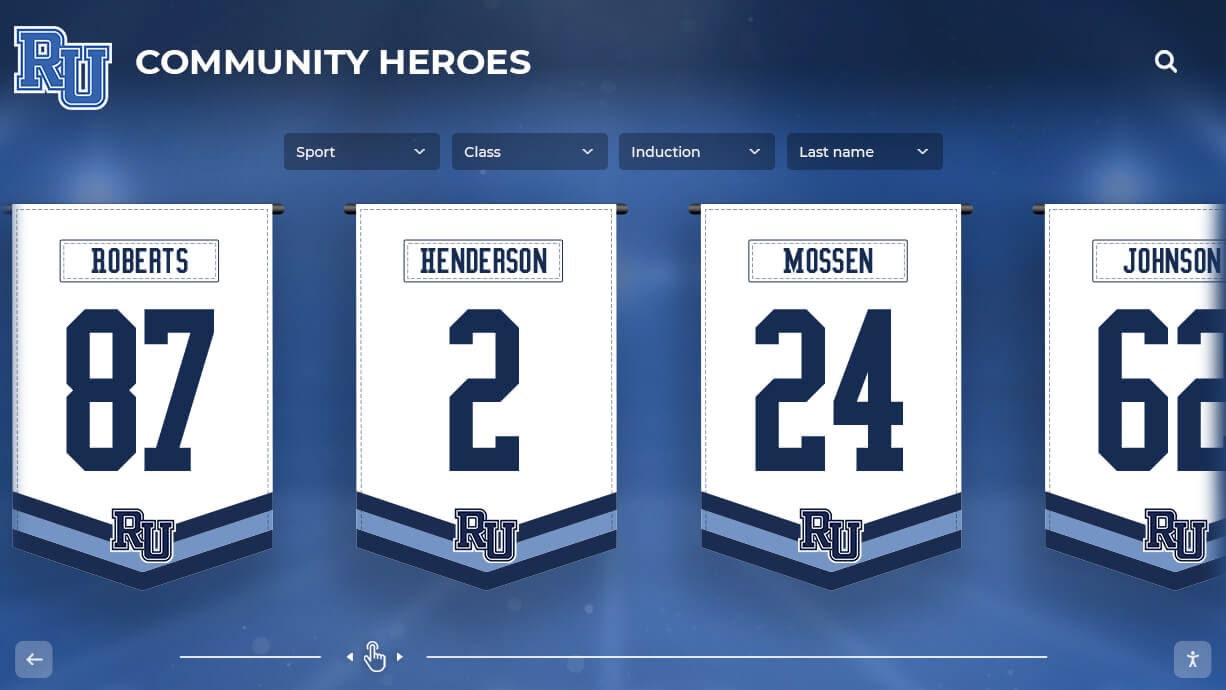
Championship banners raised to gymnasium mounts are seen by athletes, families, and visitors at close range throughout the school year — a seam puckering check performed flat before installation confirms that the stitch lines are smooth in the condition where distortion is most visible
Before the Inspection: Request Vendor-Approved Sample Evidence and Set Rework Criteria in Writing
A seam puckering inspection is only enforceable if two preparatory steps are completed before the banner enters production — not at receiving.
Vendor-approved sample evidence. Request that the supplier provide a sewn coupon: a small sample of the same fabric, sewn with the same thread, stitch type, and tension settings used for your banner. A coupon allows school staff or an evaluator to inspect and handle an actual sewn sample and observe what an accepted seam looks like without touching the finished banner. It also establishes what level of minor seam texture the supplier considers within their specification for the specific fabric. Not all suppliers provide sewn coupons as a standard service; asking for one positions sewn seam puckering as a recognized acceptance criterion rather than a post-delivery surprise. Destructive tests — thread pull strength tests, cross-section examination under tension — belong to vendor sample evaluation in a controlled setting, not to the school receiving inspection, which should remain visual and non-destructive throughout.
Rework criteria in writing. Before production begins, agree in writing with the supplier on what level of seam puckering, if any, is acceptable for the specific fabric and finished banner. Define: what seam locations will be inspected (panel join seams, hem seams, or both); what the visual acceptance standard is for each (for example, whether any visible gathering along the stitch line in the relaxed flat condition is a rejection criterion, or whether a minor texture at the seam edge is within specification); what documentation the school will provide if a banner is found outside that standard; and what resolution options are available (rework, reprint, credit). Written rework criteria established before production make the receiving checklist enforceable and the supplier conversation straightforward.
School Championship Banner Seam Puckering Check: Step-by-Step
Perform this inspection on a clean, flat surface large enough to support the full banner without folding — a gymnasium floor or a large level worktable. Allow the banner to lie flat for at least 30 minutes after unboxing before beginning. Do not attach grommets, eyelets, or mounting hardware before completing the inspection. Do not apply tension to the banner at any point during the visual phase.
Identify every sewn seam location on the banner before beginning. Locate each panel join seam running lengthwise through the artwork and each hem seam running along the banner edges. If the banner also has internal sewn labels, channel hems, or rope pockets, include those stitch lines in your inspection list. A complete seam map prevents any seam location from being skipped.
Inspect each seam in the relaxed flat condition first. With the banner lying flat and unstretched on the inspection surface, examine each stitch line visually along its full length. In the relaxed condition, puckering caused by thread tension or structural mismatch is at its most visible — the fabric is not under any load that could mask or flatten it. Look for rippling, gathering, or waving of the fabric directly adjacent to the stitch line. Note any seam locations that show visible distortion.
Assess whether observed distortion is seam-local or full-fabric. If a ripple or wave runs along a stitch line and is not present in the open fabric field away from the stitching, the condition is seam-local and consistent with puckering. If the distortion appears across the full fabric width — including zones with no stitching — the condition is more likely bow, skew, or a transport crease. Document the extent of any distortion (seam-local versus full-width) in your receiving record.
Inspect the full seam length on both sides of the stitch line. Puckering does not always appear uniformly along a seam. A seam that shows no puckering at one end may show visible gathering at the center or opposite end if thread tension or feed conditions changed during sewing. Inspect from one end of each seam to the other, examining both the face side and the reverse side of the banner where practical. Mark any zone that shows visible distortion with a removable tape flag before moving to the next step.
Distinguish tension puckering, structural puckering, and feed puckering visually where possible. Tension puckering typically appears as a tight, consistent gather along the full seam length — the stitch line draws the fabric evenly toward it along its entire run. Structural puckering from thread-fabric shrinkage mismatch often appears as a more irregular ripple that develops along the seam rather than immediately at the stitch line. Feed puckering tends to appear as a fold or offset where one fabric layer has advanced ahead of the other, creating a visible step at the seam rather than a symmetrical gather on both sides. Per Coats’ technical guidance on seam puckering, identifying the type informs which corrective action the supplier should apply — re-tensioning the machine, changing thread type, or adjusting feed settings — so documenting the visual character of the puckering supports the supplier’s root cause investigation.
Observe the banner in the relaxed flat condition and then again lightly supported in a hanging orientation. After completing the flat inspection, have a second person hold the banner lightly at its top edge so it hangs vertically — without attaching grommets or applying any mechanical load — to observe how the seams look under their own weight. Vertical orientation under the banner’s own weight (not installation tension) can reveal whether puckering that appeared significant when flat relaxes partially when the fabric hangs. Document both conditions separately. Note that acceptance should be based on the relaxed flat condition — the condition in which the banner will be stored and in which distortion is most visible — and that improvement under hanging tension should not be used as the primary basis for accepting a banner that shows clear puckering when flat.
Photograph all seam zones of concern before contacting the supplier. Photograph each flagged seam zone with the banner flat and the full seam context visible. Include a close-up of the puckered area with a ruler placed parallel to the stitch line, so the scale of the distortion is visible in the record. Take one photograph showing the seam in the flat condition and, if puckering was observed to change in the hanging orientation, one photograph in the lightly hung orientation as well. Photographs taken before any installation attempt are the most useful evidence for a supplier rework or replacement discussion.
Compare findings to the pre-agreed rework criteria and document the acceptance decision. Review the pre-agreed written criteria established at the time of order. For each inspected seam location, record whether the seam passes or requires supplier review. Record the seam type (panel join or hem), the type of puckering observed (if identifiable), the location on the seam length, and the photograph reference. Do not install the banner before communicating findings to the supplier if any seam falls outside the pre-agreed standard.

Championship banners on display in school athletic facilities carry the names, sports, and seasons of the program's history — a non-destructive seam puckering check at receiving confirms that the sewn joins are flat and the printed artwork is undistorted before the banner joins the permanent recognition display
Seam Puckering Acceptance Decision Table
Use this table as a receiving record. Complete it for each sewn seam before the banner is moved to the installation site.
| Seam Location | Condition in Relaxed Flat | Condition Lightly Hung | Puckering Type If Present | Decision |
|---|---|---|---|---|
| Panel join seam — face side | No visible ripple or gather at stitch line | — | None observed | Pass |
| Panel join seam — face side | Tight, consistent gather along stitch length | Partially relaxes under own weight | Tension puckering (suspected) | Supplier review — compare to pre-agreed rework criteria |
| Panel join seam — face side | Irregular ripple, not at stitch line | No change | Structural puckering (suspected) | Supplier review |
| Panel join seam — face side | Step or fold — one layer advanced | No change | Feed puckering (suspected) | Supplier review |
| Hem seam — top or bottom edge | No visible ripple or gather | — | None observed | Pass |
| Hem seam — top or bottom edge | Gather visible in relaxed flat; resolves fully under own weight | Resolves | Possible transport fold or press crease | Re-inspect after 30 min flat rest; if resolved, not a sewing defect |
| Hem seam — top or bottom edge | Gather visible in both flat and lightly hung | Visible in both | Puckering — type to be confirmed by supplier | Do not install; contact supplier with photograph evidence |
| Any seam | Distortion extends across full fabric width, not seam-local | Full-width in both conditions | Not puckering — may be bow, skew, or transport crease | Apply fabric bow/skew checklist or assess as transport damage separately |
Connecting Seam Condition to the School’s Athletic Recognition Records
The sewn seams on a championship banner are not only structural elements — they run through the artwork that represents a specific team, season, and achievement. A panel join seam that falls in the wrong place, or that exhibits puckering along a zone where a championship year or athlete names are printed, modifies the artwork in ways that cannot be corrected after the banner is raised. The same care that goes into verifying that the correct names, years, and sports appear on the artwork file should extend to verifying that the sewn seams carrying that artwork are smooth and correctly positioned before installation.
School programs that are building both physical and digital recognition records benefit from keeping banner receiving documentation — scale photographs, seam inspection records, approved artwork files — alongside the digital archive that stores athlete profiles, team histories, and championship records. Schools thinking about long-term integrity of digital athletic archives can find a related framework in the Athletic Archive Bit Rot Detection: A Fixity and Recovery Checklist at Digital Yearbook, which covers how to keep digital records verifiable over time. Applying the same documentation discipline to physical banner receiving records supports warranty claims and provides an accurate reference when the same banner is inspected again after a seasonal storage period.
For programs coordinating how a new championship banner fits into a broader recognition display — including digital trophy cases and interactive recognition screens — the Digital Trophy Case: Why Schools Are Making the Switch in 2025 at Touch Hall of Fame addresses why schools are integrating digital formats into recognition programs that began with physical banners, and how physical and digital records work alongside each other.
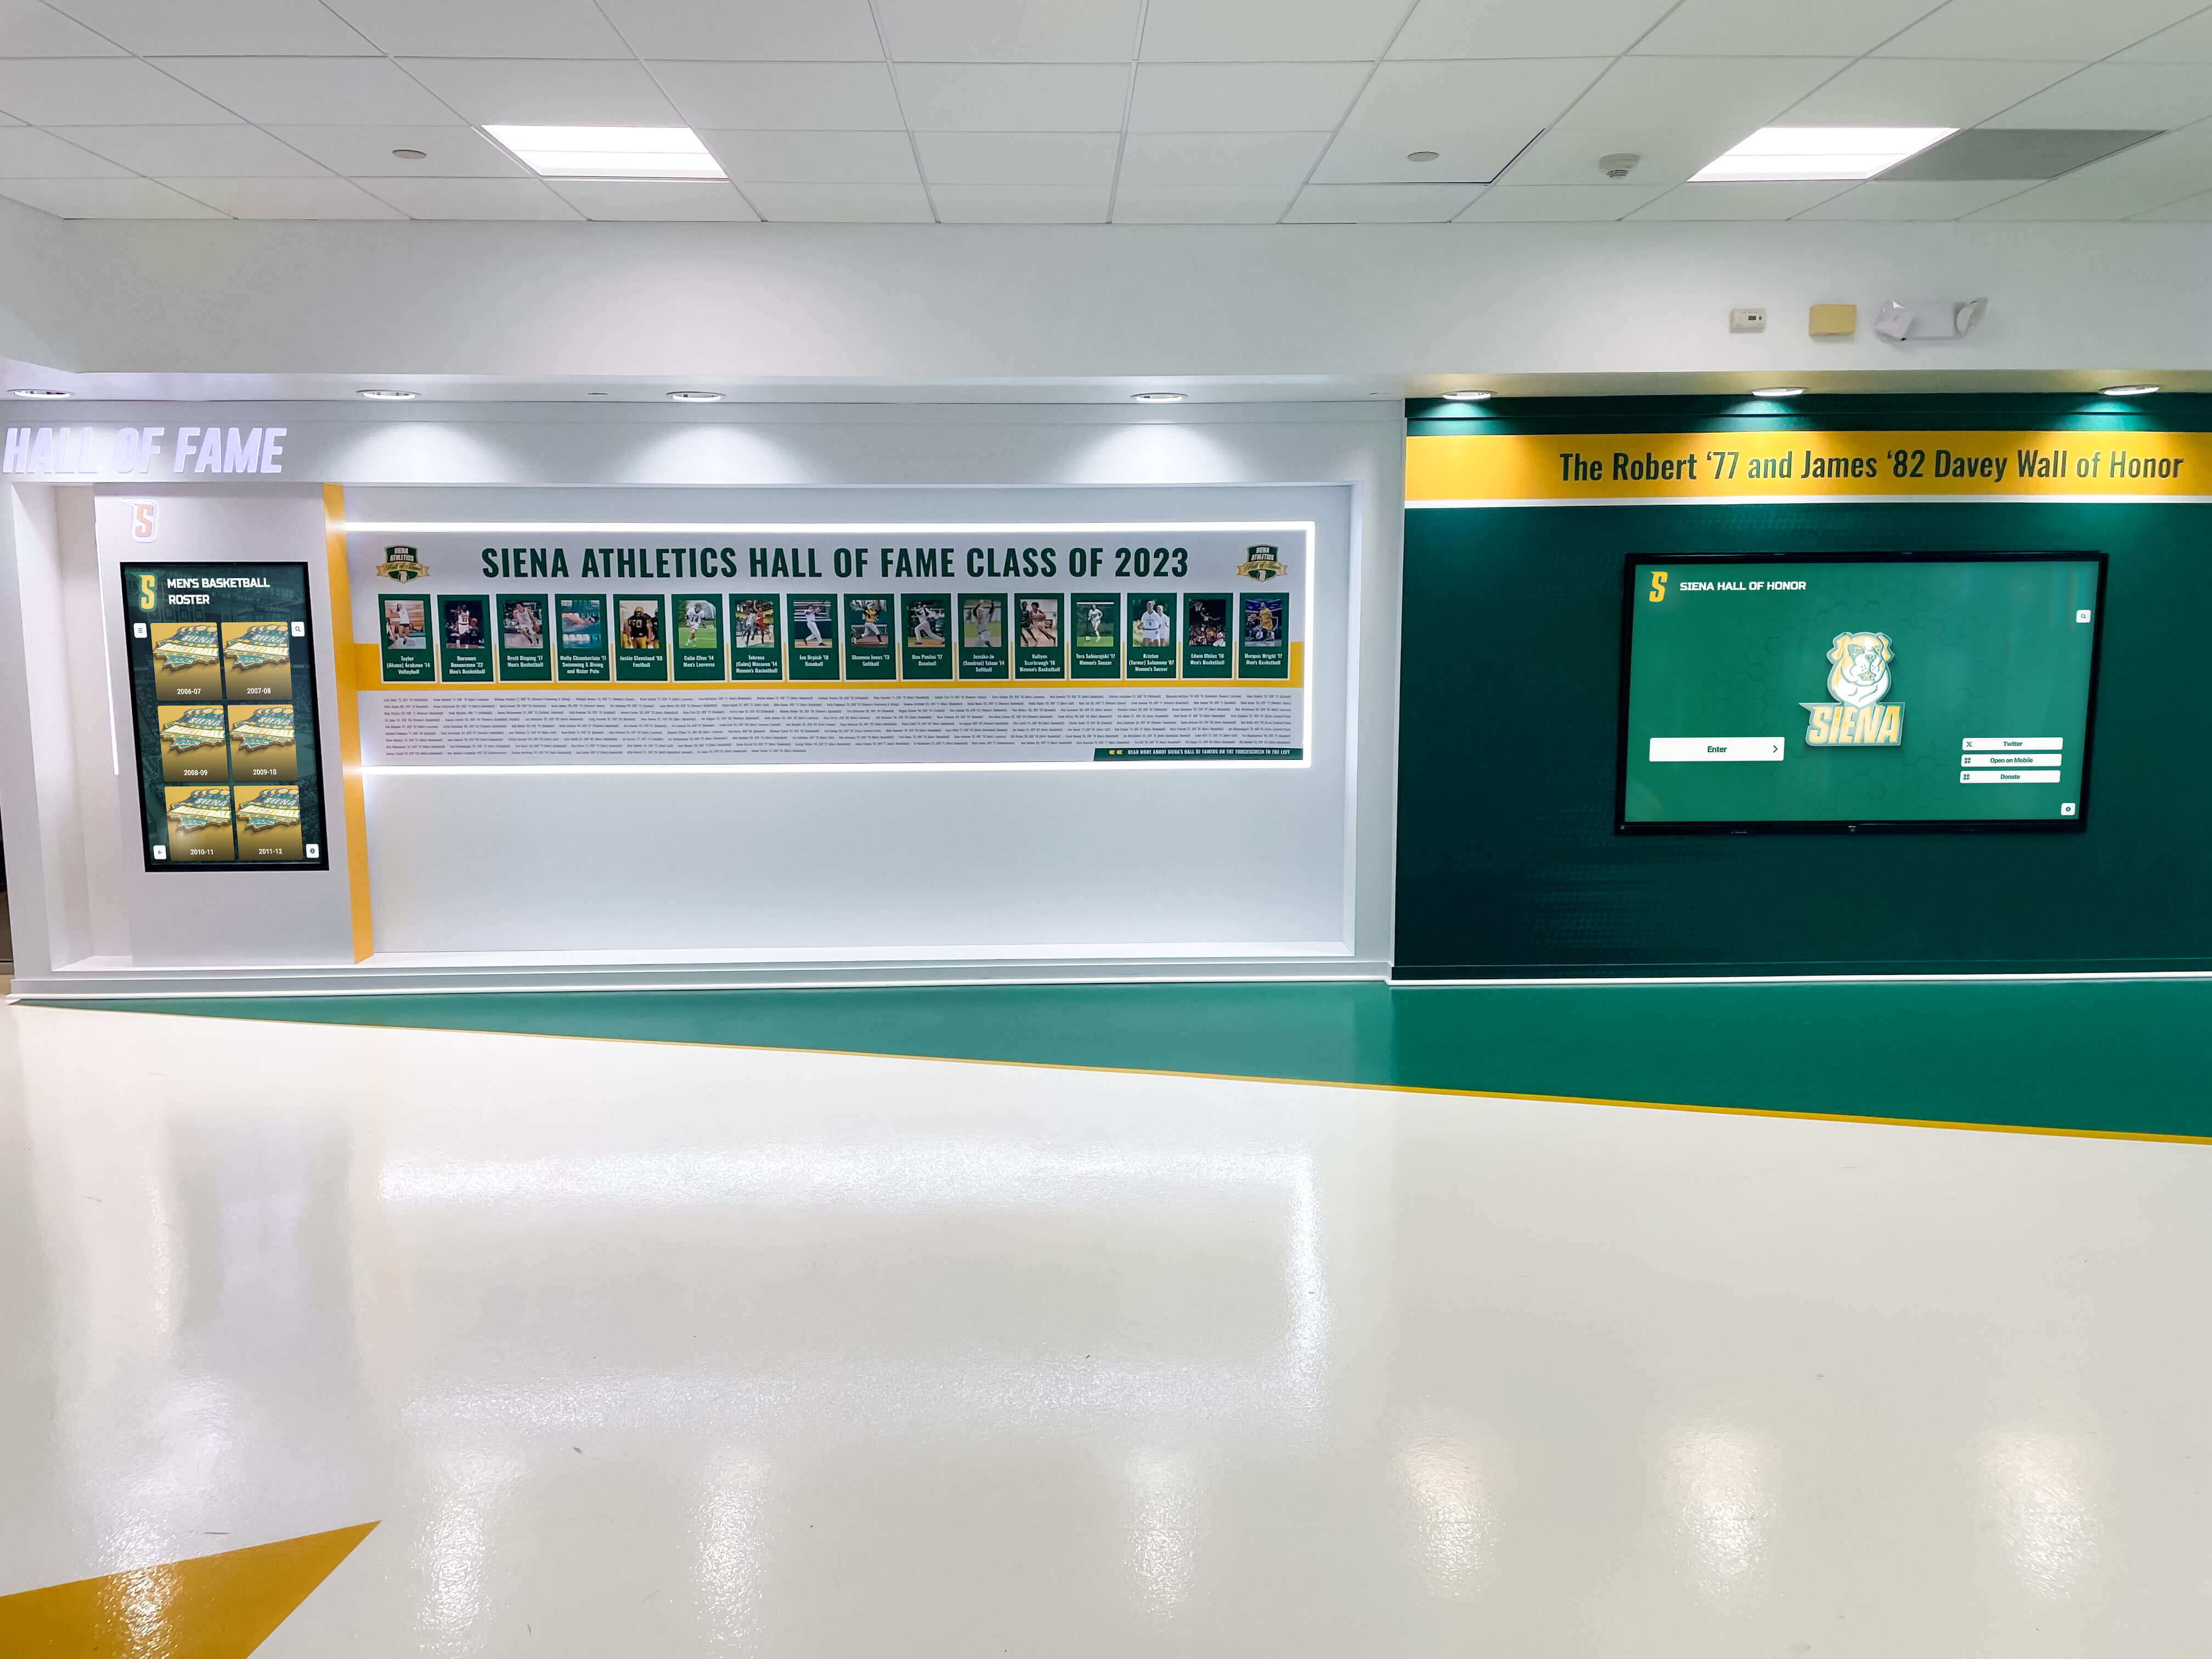
Championship hall of fame recognition displays in school athletic facilities represent the program's full history — a seam puckering check at receiving confirms that each new banner's sewn joints are smooth and the printed artwork is undistorted before the banner is raised to its permanent place in the display
Vendor Resolution When a Banner Fails the Seam Puckering Check
If the inspection finds that one or more sewn seams fall outside the pre-agreed rework criteria, the resolution process should follow a clear path:
Do not install the banner before the supplier has reviewed the documentation. Once a fabric banner has been mounted under grommet load and gymnasium environmental conditions, the seam condition changes. Post-installation photographs are less useful than pre-installation receiving photographs as the basis for a warranty claim.
Send the supplier the complete inspection documentation. Include the scale photographs, the seam map showing which locations were inspected, the type of puckering observed at each flagged zone, the relaxed-flat condition and lightly-hung condition observations documented separately, and the pre-agreed rework criteria from the order confirmation. Ask the supplier to compare the delivered banner against the agreed standard.
Request a root cause determination. Ask whether the puckering was caused by thread tension settings, thread-fabric mismatch, or a feed issue during sewing. Coats’ technical guidance on seam puckering documents that each cause requires a different corrective action at the machine level — so understanding which applies to your banner determines whether a reprint on the same setup would reproduce the defect. A supplier who can identify the cause and confirm the correction before reprinting provides stronger assurance than one who simply offers to redo the order.
Agree on resolution options in writing before committing to a timeline. Resolution options may include rework of the specific seam under a corrected tension or thread setting, a reprint of the affected panel, or a full replacement on a confirmed-correct production setup. Confirm the agreed resolution in writing, including the quality verification step the supplier will perform before the replacement ships.
When championship programs announce new inductees or recognition additions that will be displayed on a new banner, coordinating the physical banner quality check with the formal announcement process prevents a situation where a recognition event is scheduled before the physical display is confirmed correct. The Hall of Fame Press Release: Announcement Template for New School Inductees and Digital Profiles at halloffame-online.com covers how schools structure formal announcements for recognition additions — a process that works best when the physical display is verified before the announcement date is set.
Programs evaluating their broader recognition infrastructure alongside physical banner quality can find comparative context in the 10 Best Hall of Fame Tools: Athletics, Donors, Arts, History at Digital Warming, which reviews the tools schools use to manage recognition programs across both physical and digital formats.
Storage Conditions and Seam Puckering After Seasonal Storage
Championship banners in school athletic programs are often removed from gymnasium mounts at the end of each school year and stored until the next season. Sewn fabric banners stored in conditions with significant humidity or temperature fluctuation can develop or worsen seam puckering in storage, particularly when the thread and fabric have different rates of response to moisture. A banner that passed the receiving inspection when delivered may show new seam distortion when it is unfolded the following season.
Storing fabric banners flat or loosely rolled — rather than tightly folded — reduces the risk of fold creases that can mimic puckering when the banner is opened. Controlling humidity in storage areas where championship banners and other fabric recognition items are kept is part of a long-term preservation approach. The Trophy Case Humidity Control: Protect School Awards, Photos, Jerseys, and Documents at Digital Trophy Case covers the environmental conditions that affect stored fabric items across the recognition environment, including championship banners between active display seasons.
A school’s seam inspection documentation from the original receiving check also serves as a baseline for comparing banner condition at the start of each new display season. If a banner that passed the original inspection shows new puckering when re-hung after storage, that comparison record supports a conversation with the supplier about whether the thread specification is appropriate for the school’s storage environment.
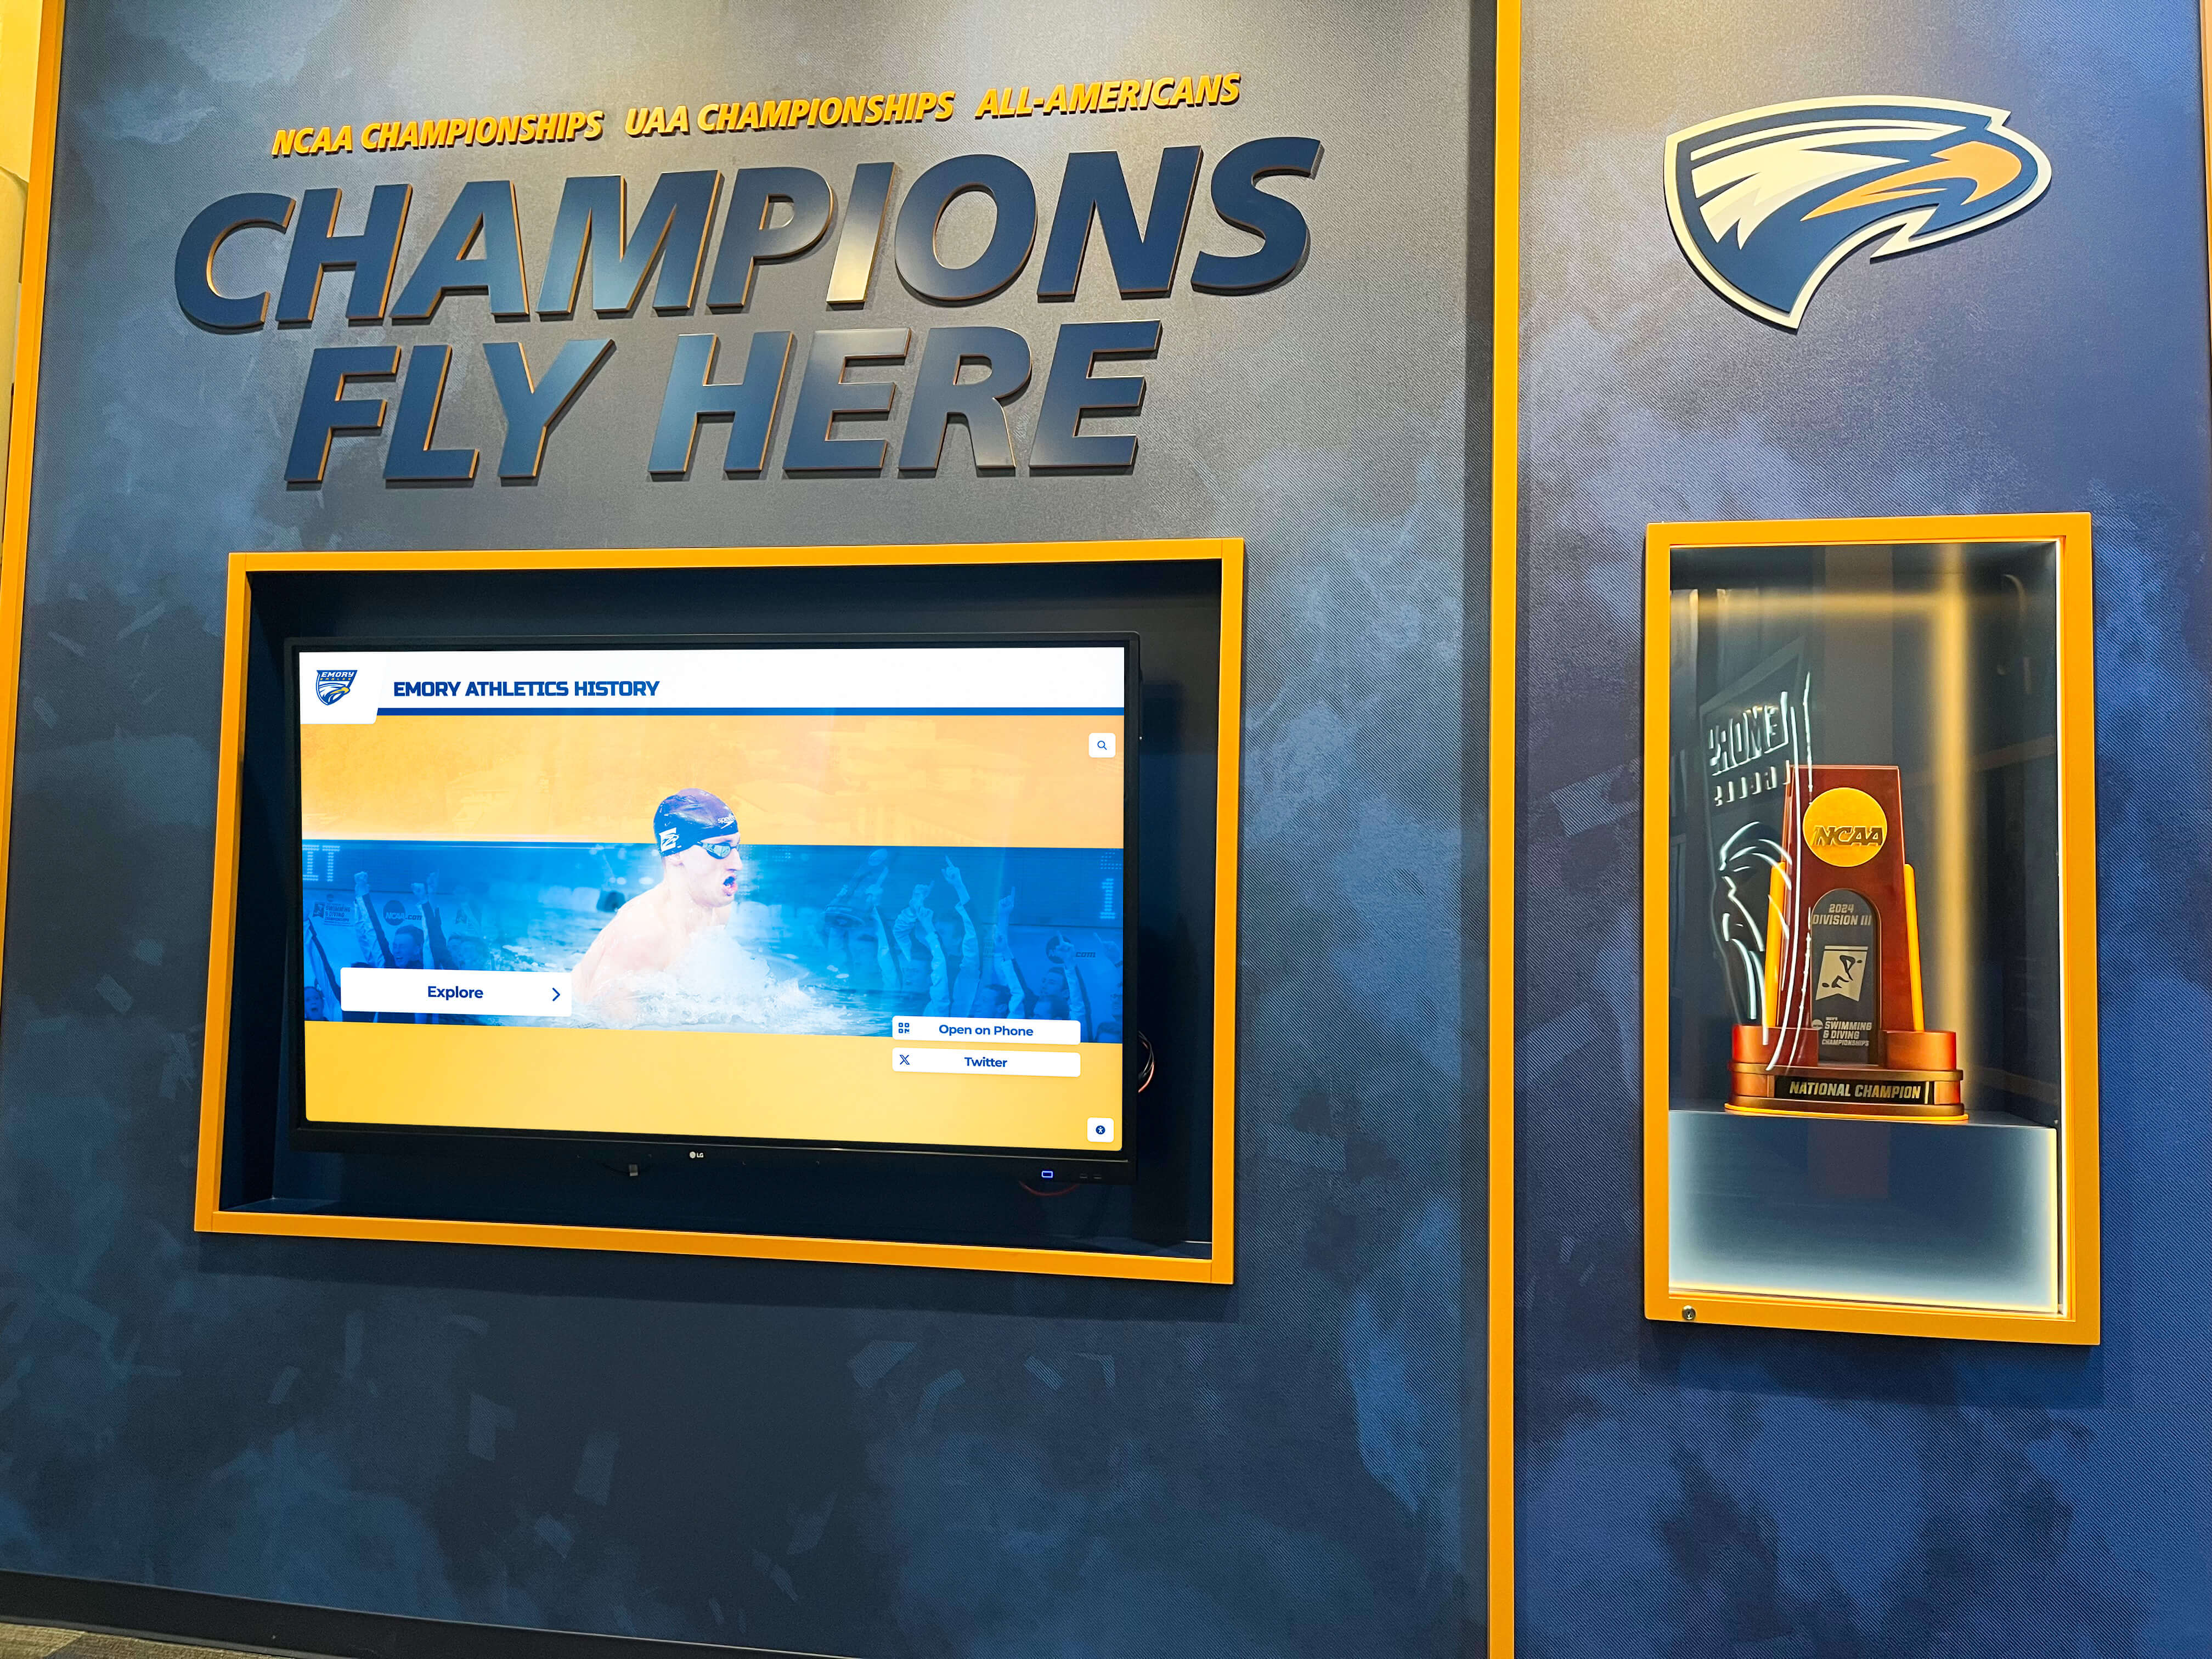
School athletics champions walls display specific teams, seasons, and achievements across many years of installation — the seam puckering check before each banner's first hang protects the printed artwork it carries and the recognition record it represents
Frequently Asked Questions: Championship Banner Seam Puckering Check
What is seam puckering on a school championship banner?
Seam puckering is a visible ripple, gather, or wave that runs along the stitch line of a sewn seam — at a panel join or hem edge — on a fabric championship banner. The fabric directly adjacent to the stitching draws toward the seam line, creating a corrugated or gathered appearance at that joint. It is a seam-local condition, not a full-fabric condition, and its cause lies in the sewing process rather than in the base fabric’s grain structure.
How do I tell the difference between seam puckering and fabric bow or skew?
Seam puckering is localized to the stitch line and is absent in the open fabric field away from the stitching. Fabric bow and skew are full-width grain conditions of the textile — the crosswise threads deviate from their correct orientation across the entire banner width, including zones with no stitching at all. If the distortion you observe runs continuously across the fabric surface including unsewn areas, the condition is more likely bow or skew and requires the fabric grain inspection approach, not the seam puckering check.
Should the banner be flat or hanging during the inspection?
The primary inspection should be performed with the banner lying flat and unstretched on a clean surface. The relaxed flat condition is where puckering caused by thread tension or structural mismatch is most visible. Observing the banner lightly held vertical under its own weight (not under installation load) is a useful secondary comparison, but acceptance should be based on the flat condition — the condition in which the banner will be stored between display seasons.
What vendor-approved evidence should I request before delivery?
Request a sewn coupon from the same fabric-thread-tension combination used for your banner, and ask for written confirmation of what the supplier considers acceptable seam appearance for that specific material. Destructive thread tests belong to vendor sample evaluation in a controlled setting; the school receiving inspection should remain visual and non-destructive.
Can seam puckering be corrected in the field?
No. Cutting stitches, re-tensioning seams, or applying heat in a school setting is outside the scope of the receiving inspection and risks damaging the banner. A puckering defect at receiving should be documented with scale photographs and reported to the supplier, who can determine whether the root cause was thread tension, thread-fabric mismatch, or a feed error, and apply the correct corrective action before any rework or reprint.