A championship banner white ink underbase setup is required any time a banner is printed on a colored, translucent, or transparent substrate — and skipping it causes school colors to print as muddy, incorrect tones that no amount of post-production adjustment can fix. The direct answer: a white underbase is necessary when printing on colored vinyl, mesh, fabric with visible substrate color, or clear material; the underbase layer must be choked 0.25–0.5 mm inward from the overprint artwork boundary, set to full or near-full opacity, registered precisely to the color layer above it, and verified with a physical proof before approving production of the full banner order.
This guide is written for school administrators, athletic directors, facilities managers, and recognition-program coordinators who review championship banner artwork and production specifications before approving vendor submissions — not for professional prepress operators who configure these settings daily.
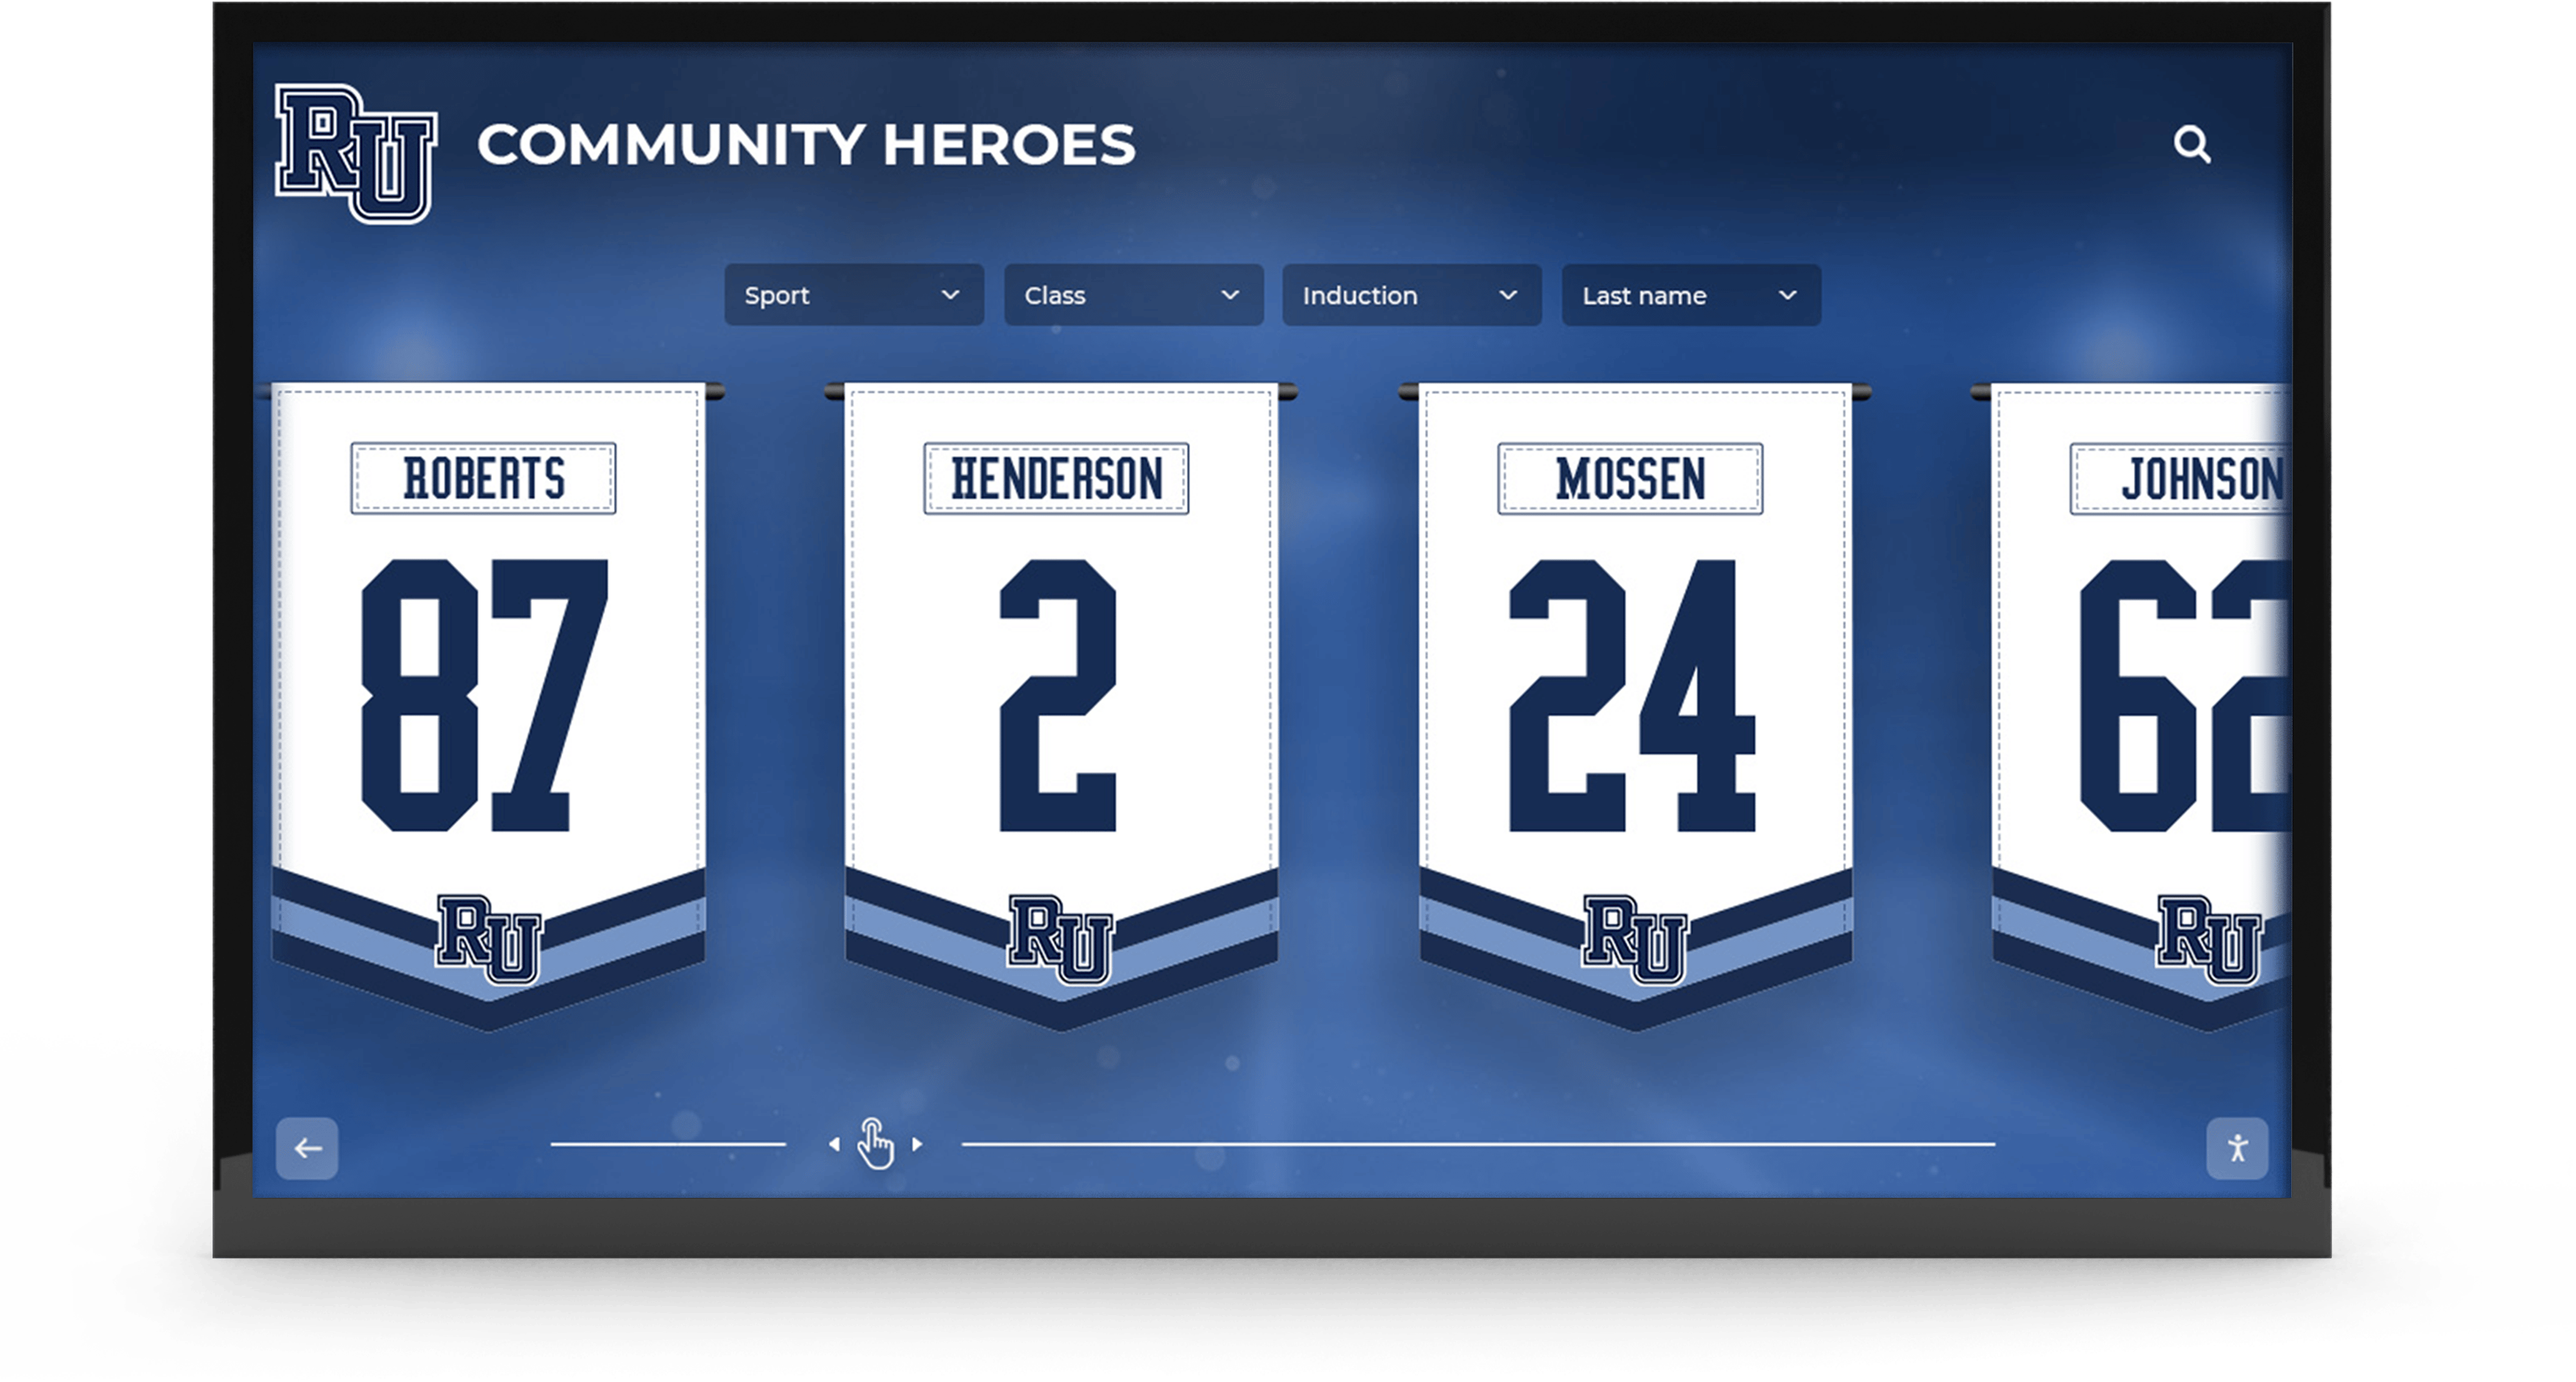
Championship banners installed in school gymnasiums represent permanent athletic records — a missing or incorrectly configured white underbase produces school colors that shift toward the substrate tone, which cannot be corrected after production
When a White Ink Underbase Is Necessary
A white ink underbase is necessary in four specific production scenarios. Identifying which scenario applies to a championship banner order determines whether the white layer is required before the color artwork is submitted to the vendor.
1. Colored vinyl or fabric substrate. When a championship banner is printed on a substrate that is not white — navy, red, black, gray, or any school-color base material — the CMYK inks used for the banner artwork are translucent. Translucent inks printed directly on a colored substrate mix optically with the substrate color, producing output that shifts toward the substrate tone. A royal-blue school color printed directly on a navy banner substrate prints darker and more saturated than the specified color; a gold school color printed on a red substrate prints as an orange-brown mix. A white ink underbase printed first creates a white foundation that allows the overprint CMYK colors to render accurately regardless of what is beneath them.
2. Clear or translucent vinyl. Championship banners produced on clear vinyl for window or light-box applications have no opaque substrate to support color rendering. Without a white underbase, the CMYK artwork is semi-transparent and the colors visible depend on whatever is behind the banner at the installation location. A white underbase behind all colored artwork elements makes school colors appear consistent regardless of the background visible through the banner.
3. Dark-substrate mesh banners. Mesh banners used for outdoor championship and event applications are often produced on a black or dark-gray mesh substrate to improve outdoor readability and resist UV fading. On dark mesh, even heavily saturated CMYK inks are insufficient to produce accurate light or bright school colors without an opaque white foundation underneath.
4. Spot color accuracy requirements. When a championship banner specifies Pantone spot colors for school mascot colors, conference marks, or sponsor logos — and color accuracy is contractually required — a white underbase under spot color zones ensures that the spectrophotometric color reading of the printed ink matches the Pantone reference value rather than the substrate-modified result. This scenario applies most often when banners are produced alongside other branded materials that must match precisely.
If a championship banner is printed on a white substrate — standard white vinyl, white fabric, or white-coated material — a white underbase is not required for color accuracy. White ink adds production time, cost, and complexity, so confirming that the substrate is genuinely opaque white before requesting an underbase is the first check in the production review.
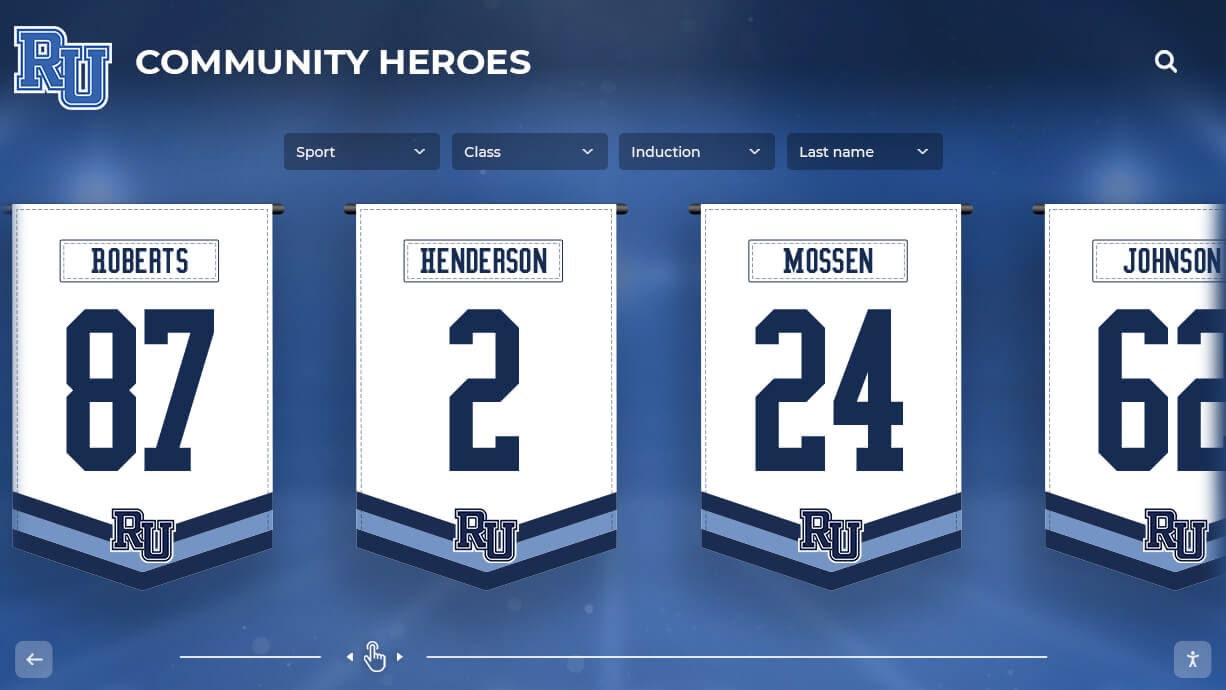
Large-format hanging banners are viewed at close range in high-traffic corridors — a school color that prints muddy or off-tone due to a missing white underbase is visible to every student and visitor who passes beneath it
White Underbase Setup: Choke, Opacity, Registration, and Proofing Checks
Use the table below as a single-pass reference before submitting any championship banner file that requires a white underbase. Each row identifies the setting, the recommended value, the verification method, and the priority level.
| Setting | Recommended Value | Verification Method | Priority |
|---|---|---|---|
| Underbase layer presence | Required for all non-white substrates | Confirm in file layer structure or vendor specification | Required |
| Choke amount | 0.25–0.5 mm (0.01–0.02 in) inward from overprint boundary | Measure in source application at color boundary | Required |
| White ink opacity | 90–100% for full-color banners; 70–80% for soft-hand fabric | Inspect layer opacity in design file or vendor RIP spec | Required |
| Underbase color value | 100% white (0C 0M 0Y 0K) — no gray or tint | Check color definition in Attributes or Color panel | Required |
| Registration to overprint layer | ≤0.1 mm misalignment tolerance | Request registration mark print and measure | Required |
| Underbase plate separation | Printed before all CMYK or spot color passes | Confirm print order in vendor production specification | Required |
| Proof type | Wet proof or production-matched physical sample | Request physical proof before approving full run | Required |
| Choke at fine detail elements | Increase choke to 0.5 mm at letterform strokes narrower than 3 mm | Verify at 400% zoom in source file | Recommended |
| Underbase under spot colors only | Limit underbase to spot color zones when full-banner underbase is not needed | Define underbase mask in source file | Recommended |
| Ink adhesion on substrate | Confirm white ink is formulated for the specific substrate (vinyl, fabric, mesh) | Request material compatibility data sheet from vendor | Required |
Why Choke Matters: Preventing White Halos at Color Boundaries
Choke is the most important single setting in a championship banner white ink underbase setup. It is the deliberate reduction in size of the white underbase layer relative to the overprint color artwork placed above it.
Without choke, the white underbase extends to exactly the same boundary as the overprint color above it. When the two print passes shift by even a fraction of a millimeter — which is normal variation in large-format production — the edge of the white underbase becomes visible beyond the edge of the overprint color. On a school-color element printed on a dark substrate, that visible white edge appears as a bright halo around every letterform, mascot shape, and graphic element on the banner. The halo is immediately visible at normal banner-viewing distance and permanent once the banner is finished.
Choking the white underbase layer — reducing its dimensions inward by 0.25–0.5 mm on all sides — ensures that when the two passes shift, the underbase edge remains hidden beneath the overprint color above it. The overprint color layer is larger than the underbase, so any normal positional shift brings more overprint color into view at the boundary rather than exposing white.
Setting choke correctly requires working in the source application. The underbase must be a separate object or layer defined precisely relative to the overprint artwork. Choke cannot be applied reliably by eye — it must be configured using the numerical offset tools in Adobe Illustrator, InDesign, or CorelDRAW.
In Adobe Illustrator: Create the white underbase object by duplicating the overprint color artwork, setting the fill to 100% white, moving it to a layer below the color artwork, and applying a negative offset using Object > Path > Offset Path with a value of −0.25 mm to −0.5 mm. The negative offset shrinks the duplicated path inward on all sides.
In Adobe InDesign: Use the Object > Effects > Stroke approach or duplicate frames and apply offset values, then confirm visually by enabling Overprint Preview to check the boundary at 400% zoom.
In CorelDRAW: Duplicate the overprint object, set the fill to white, and use the Shape > Contour tool with a value configured to shrink the shape inward by the choke distance.
The correct choke value for a specific vendor’s equipment depends on the registration tolerance of that production system. Many large-format digital print vendors specify their standard registration tolerance in writing — request this value and set choke equal to the tolerance, not smaller.
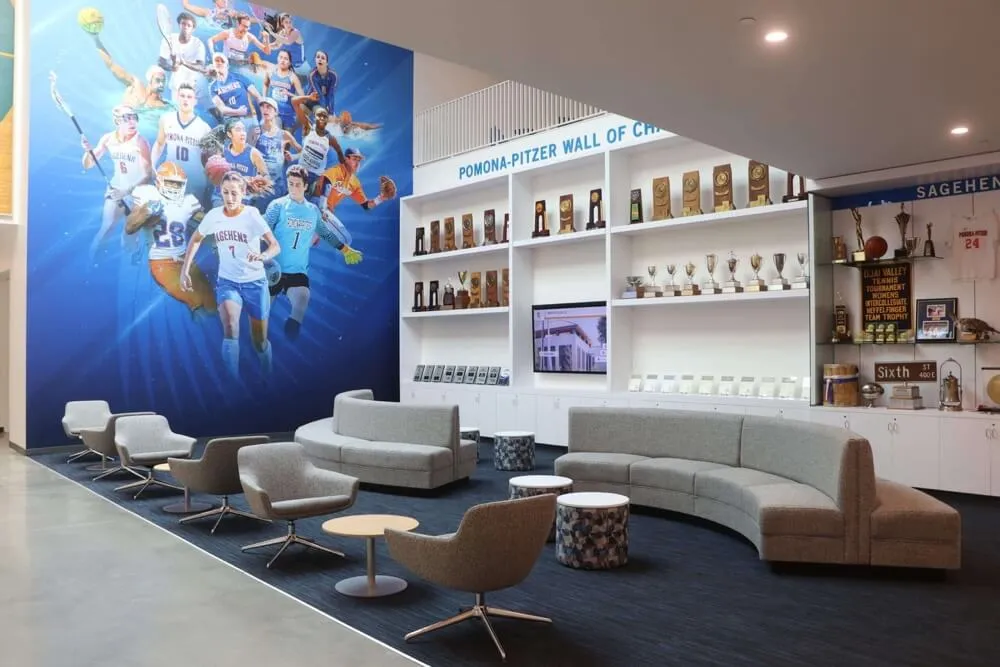
Athletic display environments combine physical trophies, murals, and championship banners — a banner with white halos from an unchooked underbase layer creates a visible quality discrepancy against correctly produced materials in the same space
Opacity: Full vs. Reduced White Ink Coverage
White ink opacity controls how completely the underbase layer blocks the substrate color before the overprint color is printed above it. At 100% opacity, the white ink creates an opaque white surface that prevents any substrate tone from influencing the colors above it. At lower opacity values, the substrate color shows through the white layer to varying degrees.
For most championship banner applications — vinyl banners, mesh banners, and fabric banners displayed in gymnasiums or lobbies — full or near-full opacity (90–100%) is correct. School colors are defined to specific Pantone or RGB values, and the goal is for printed output to match those values regardless of substrate.
Reduced opacity (70–80%) is appropriate in two situations: when a soft-hand print finish is required on fabric banners, where a heavy white ink deposit produces a stiff feel that is objectionable when the banner is handled or folded for storage; and when the vendor’s equipment cannot lay down sufficient white ink at full opacity in a single pass without ink cracking on flexible substrates. In either case, reduced opacity is a production accommodation confirmed by the vendor — not a setting adjusted by the graphic designer without consultation.
Never reduce white underbase opacity to compensate for a choke error. If the white layer is visible at color boundaries, the solution is correct choke configuration — not reducing opacity, which will allow substrate color to influence the overprint layer across the entire banner.
Registration: Aligning White Underbase to Overprint Color
Registration accuracy between the white underbase pass and the overprint color passes determines whether the choke performs as designed. A correctly choked underbase with poor registration produces the same white halo the choke was meant to prevent — because the shift between passes exceeds the choke distance.
For school athletic programs reviewing championship banner production, the practical step is to request a registration mark print from the vendor before approving a full run. A registration mark print uses the cross-hair registration targets included in the production file to verify that all print passes are aligned within the vendor’s specified tolerance. The vendor measures the distance between the white underbase registration mark and the overprint color registration mark; if the distance exceeds the tolerance, the registration is corrected before the full banner run begins.
Registration mark prints are a standard pre-production check offered by most commercial large-format vendors. Requesting one adds time to the production schedule — typically one to two days — but catches registration failures that would otherwise appear on every banner in the order.
For championship banners that are one-of-a-kind items (a single banner for the current season), the registration mark check is especially important because there is no corrected reprint cycle to catch an error discovered on the second banner. The registration mark print is the only verification opportunity before the banner is finished.
The recognition display color fringing test for digital displays addresses an analogous quality question: when school colors are displayed on a screen rather than printed on a banner, color fringing at graphic boundaries indicates a calibration or rendering error equivalent to a registration failure in print. Both checks confirm that school-color boundaries appear sharp and correctly placed at the final display or output medium.
Proofing: Physical Sample Before Full Banner Production
A physical proof is the definitive pre-production check for a championship banner white ink underbase setup. A digital soft proof — a rendered image on a calibrated monitor — shows color rendering intent but cannot verify white ink opacity, choke behavior at color boundaries, or ink adhesion on the actual substrate. Only a physical sample printed on the production substrate confirms all of those variables simultaneously.
Request a physical proof from the vendor before approving any championship banner order that involves a white underbase. The proof should be printed at production scale for a representative section of the design — at minimum, the school name in school color on the substrate, and the mascot graphic at its full design size. Inspect the proof under consistent lighting conditions before approving production.
What to check on a physical proof:
- Color accuracy: School colors match the approved Pantone reference or approved digital design at the printed scale and viewing distance.
- White halo visibility: No white edge is visible at the boundary between any colored element and the substrate. If a halo is visible, the choke is insufficient and must be increased before the full run.
- Opacity: The substrate color is not visible through any colored element when the banner is held against a light source.
- Ink adhesion: The white and color layers do not crack, peel, or flake when the banner material is flexed by hand. Adhesion failure indicates an ink-substrate compatibility issue requiring a different white ink formulation.
- Fine detail legibility: Lettering narrower than 5 mm, fine mascot outline strokes, and numerals in small display sizes read clearly at the viewing distance at which the banner will be installed.
Schools building digital recognition programs alongside physical championship banners — combining touchscreen kiosks, donor walls, and digital displays with traditional banner installations — benefit from the same proof-first approach. For Division I athletics digital recognition systems, the parallel to a physical print proof is a full-system display test before installation approval.
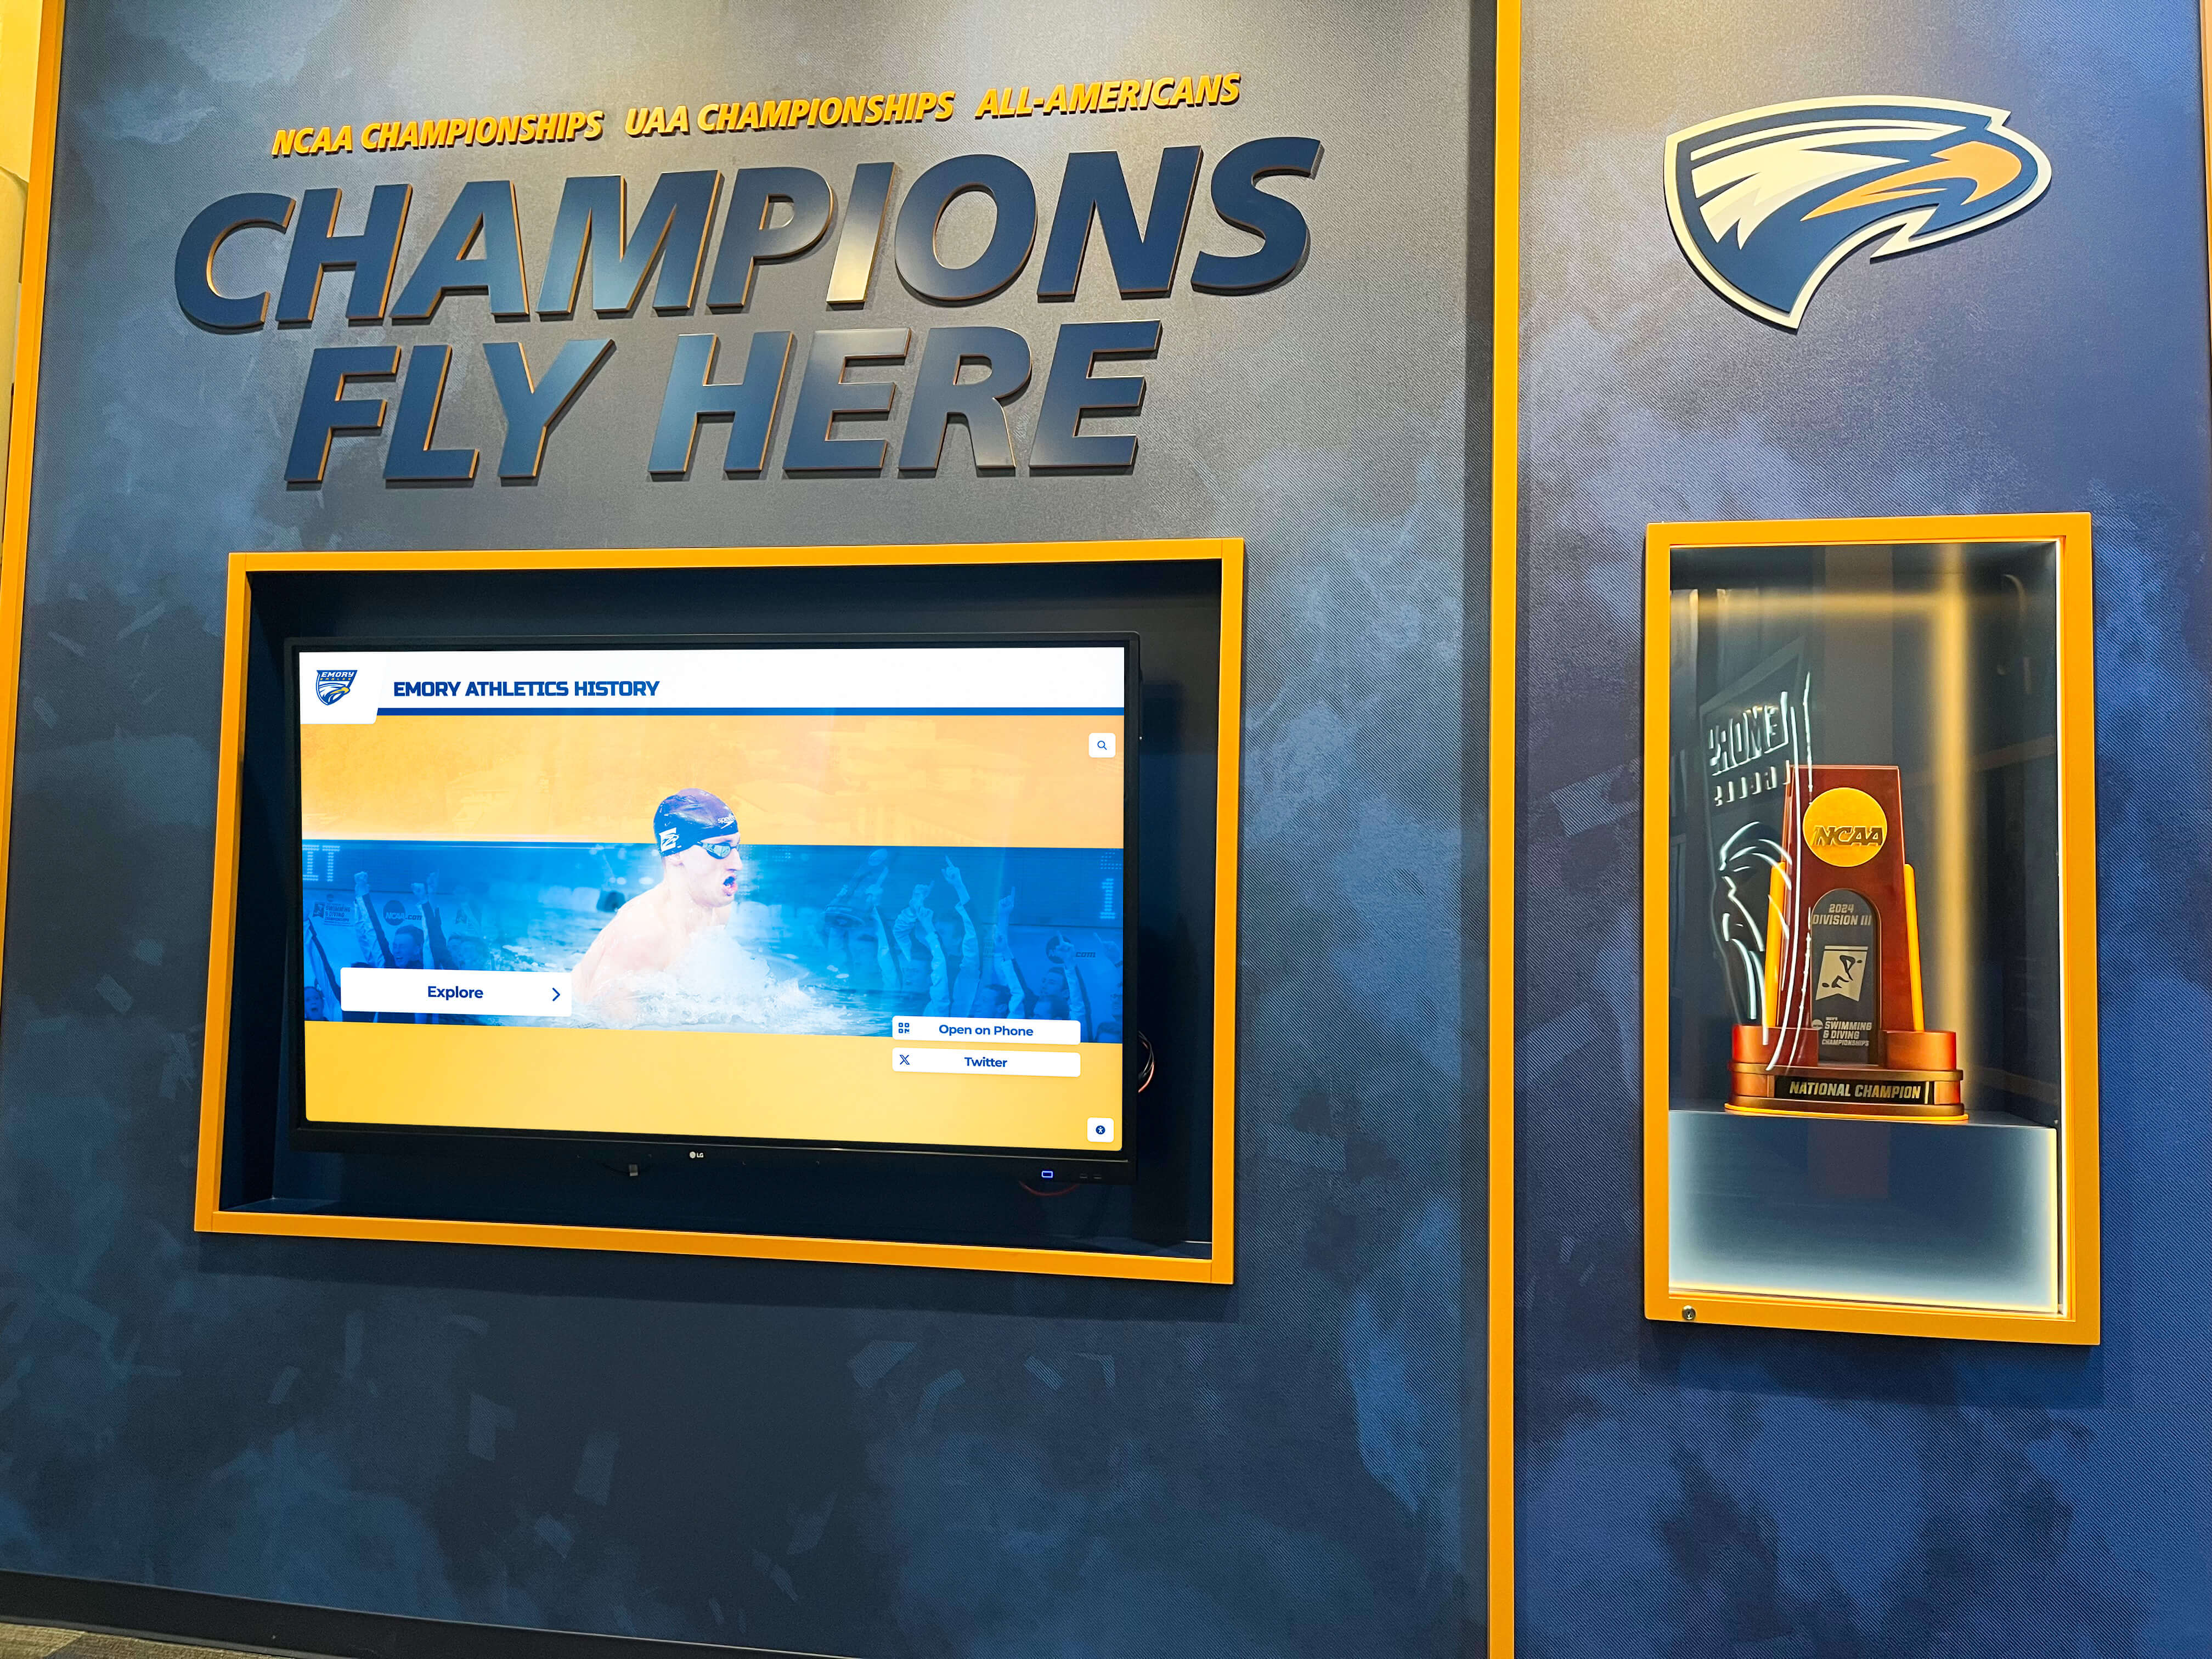
Championship recognition programs accumulate banners from multiple sports and seasons — a proofing step that catches a white halo or opacity error before the first banner is produced prevents that error from appearing across every subsequent order
White Underbase Setup Step by Step
Follow these steps in order for every championship banner order that requires a white underbase. Each step builds on the previous one; skipping a step exposes the production to the failure mode that step prevents.
Step 1: Confirm Substrate Color and Opacity
- Request the vendor’s substrate specification sheet for the banner material specified in the production order. (Required)
- Confirm that the substrate is not opaque white — if it is, a white underbase is not required and the setup workflow ends here. (Required)
- Confirm that the white ink formulation offered by the vendor is compatible with the substrate (vinyl, mesh, polyester fabric, or clear film). (Required)
- Request the vendor’s maximum opacity value for white ink on this substrate — some substrates cannot accept a full 100% opacity white deposit without adhesion failure. (Required)
Step 2: Build the White Underbase Layer in the Source File
- In the source application (Illustrator, InDesign, or CorelDRAW), create a new layer positioned below all color artwork layers and label it “White Underbase” or “WH.” (Required)
- Duplicate all colored artwork objects that require an underbase — typically all school-color fills, mascot graphics, lettering, and numerals. Place the duplicates on the underbase layer. (Required)
- Set all objects on the underbase layer to 100% white fill (0C 0M 0Y 0K). Remove all strokes from underbase objects. (Required)
- Apply a negative Offset Path to all underbase objects: −0.25 mm for standard print tolerance; −0.5 mm for vendors with wider registration tolerance or for fine-detail elements. (Required)
- Verify that the underbase objects are smaller than the overprint objects above them at every boundary — zoom to 400% and compare the edges. (Required)
Step 3: Export the File with Underbase Correctly Separated
- Confirm with the vendor whether the white underbase should be submitted as a separate file (a dedicated white channel file) or as a spot color named “White” in the main production file. (Required)
- If submitting as a spot color channel: in the source application, set the underbase layer fill to a spot color named exactly as the vendor specifies — common names include “White,” “Spot White,” or “RDG_WHITE.” This spot color name must match the vendor’s RIP configuration. (Required)
- Export the production PDF using the correct preset for the vendor — typically PDF/X-4 for transparency-aware production. Include the underbase spot channel in the export. (Required)
- Open the exported PDF in Adobe Acrobat Pro and use Tools > Print Production > Output Preview to confirm that the white underbase channel is present as a separate plate in the Separations view. (Required)
Step 4: Request and Inspect a Physical Proof
- Submit the production file to the vendor and request a physical proof section on the production substrate before the full banner run begins. (Required)
- Inspect the proof for white halo visibility, school color accuracy, opacity, ink adhesion, and fine detail legibility as described in the proofing section above. (Required)
- If any inspection item fails, return the file to the source application, correct the relevant setting (choke, opacity, or color definition), re-export, and request a second proof. (Required)
- Once the proof passes all inspection items, approve production in writing — confirming the proof reference number, the approved opacity level, and the approved choke distance. (Recommended)
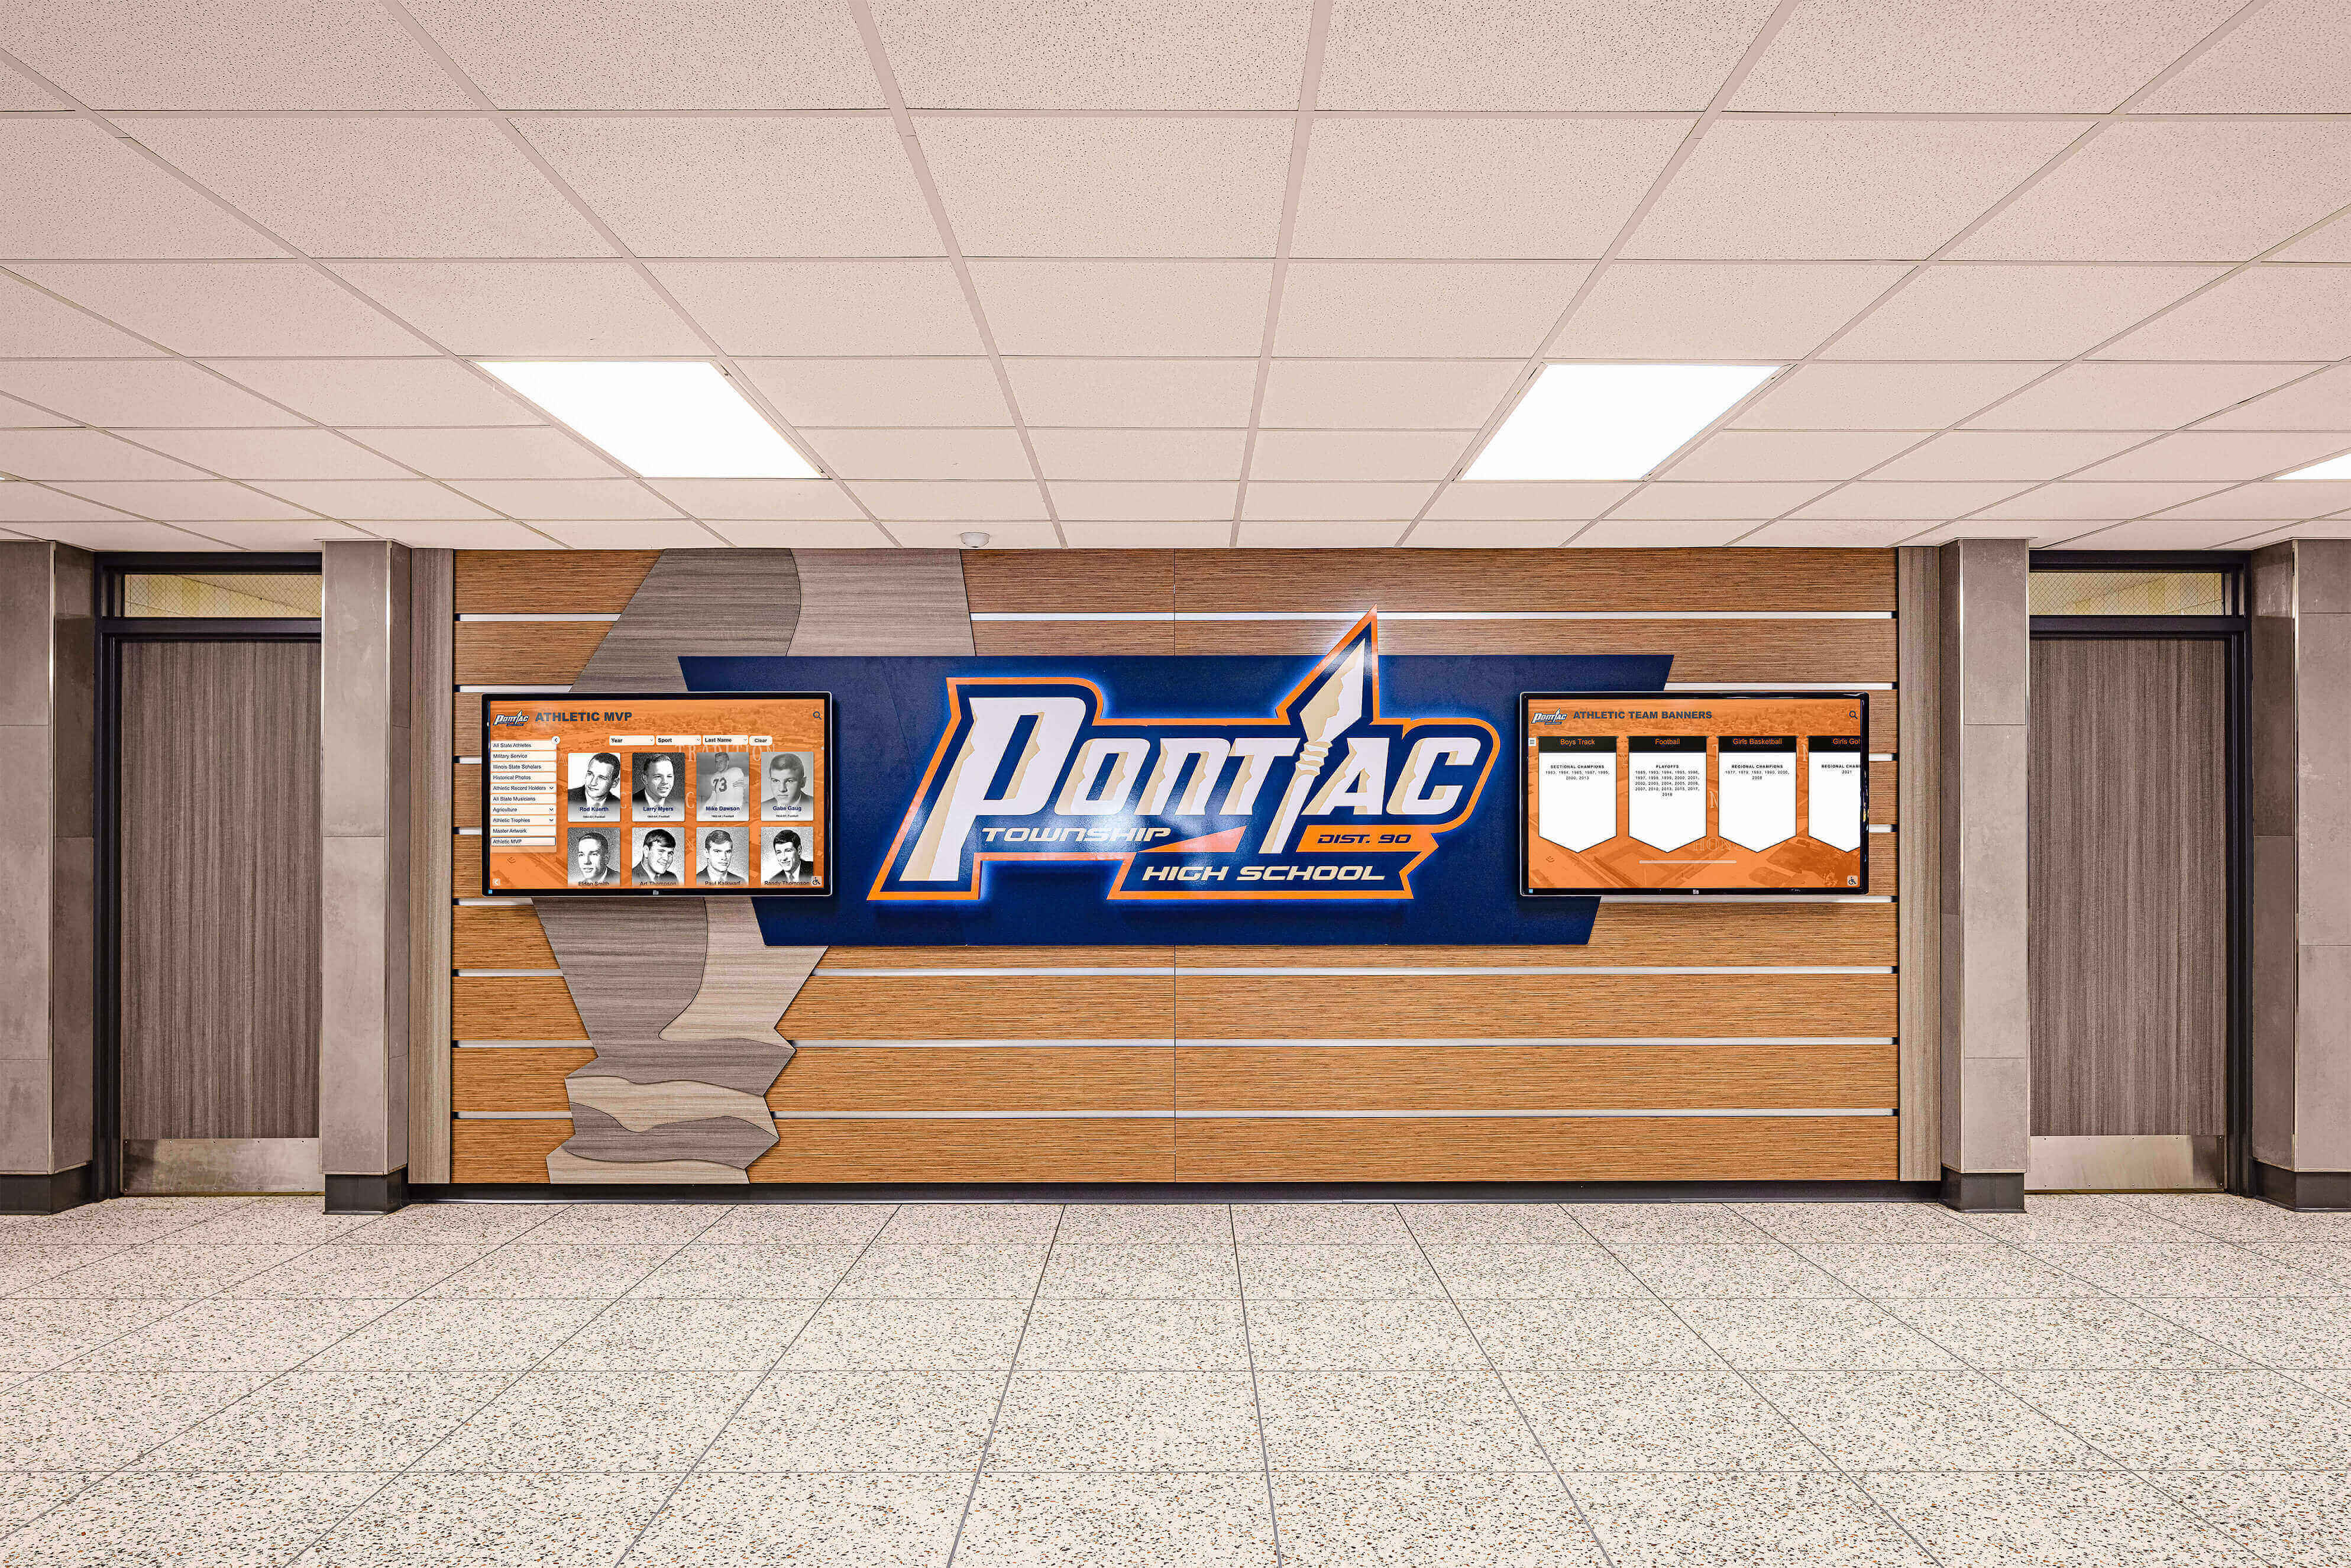
Athletic recognition programs that combine physical championship banners with digital honor displays depend on consistent color quality across every installed element — white underbase setup and physical proofing ensure the banner matches the approved color standard at installation
Quick-Reference White Underbase Setup Table
Use this table as a one-page reference during banner artwork and vendor communication review. Work through every row before approving any championship banner file with a white underbase requirement.
| Check Item | Application / Method | Pass Criteria | Priority |
|---|---|---|---|
| Substrate confirmed non-white | Vendor spec sheet | Substrate color documented and not opaque white | Required |
| Underbase layer present and labeled | Source file layer panel | Layer exists below all color layers, labeled “WH” or similar | Required |
| Underbase fill is pure white | Color Attributes panel | 0C 0M 0Y 0K, no gray or tint | Required |
| Choke applied to underbase objects | Offset Path at −0.25 to −0.5 mm | Underbase visibly smaller than overprint at 400% zoom | Required |
| Underbase opacity matches substrate spec | Layer opacity or vendor spec | 90–100% for vinyl/mesh; confirmed by vendor for fabric | Required |
| White ink formulated for substrate | Vendor material compatibility sheet | Ink-substrate compatibility confirmed in writing | Required |
| Underbase exports as separate spot channel | Acrobat Pro Output Preview, Separations view | White channel visible as separate plate | Required |
| Spot color name matches vendor RIP | Vendor communication | “White” or vendor-specified name used exactly | Required |
| Registration mark print requested | Pre-production vendor communication | Vendor confirms registration tolerance before full run | Required |
| Physical proof inspected and approved | On-substrate sample | No halo, correct color, full opacity, no adhesion failure | Required |
| Proof approval documented | Written vendor communication | Approved proof reference, opacity, choke on record | Recommended |
White Underbase Setup in School Recognition Programs
Championship banner production on colored or transparent substrates is one dimension of a larger school recognition workflow. The care taken to configure the white underbase correctly — confirming choke, opacity, registration, and proofing before a full banner run — reflects the same commitment to recognition accuracy that governs every component of a school athletic display program.
Schools building comprehensive athletic recognition programs coordinate championship banner production alongside digital recognition systems, hall of fame databases, and donor acknowledgment programs. Athletic departments that document and display their recognition history digitally benefit from resources like those on highlighting famous alumni in recognition programs, which reflect how schools approach the same recognition goal from a digital display perspective. A championship banner produced with accurate school colors on a correctly configured substrate becomes the visual foundation for that alumni history — connecting current students to the athletic achievements documented alongside it.
Recognition-program coordinators who manage athletic award data alongside banner production benefit from understanding how data integrity supports physical recognition quality. Resources on athletic award reference data management reflect how award information is maintained, verified, and linked to physical displays — including the championship banners that translate that data into permanently displayed recognition.
Accurate School Colors, Start to Finish
Rocket Alumni Solutions helps school athletic programs build championship recognition systems — from print-ready graphic standards and digital display networks to interactive hall-of-fame kiosks that connect banner history to the athletes and alumni who earned it. When your recognition program needs both print and digital to match, we help ensure they do.
Get notified when Rocket Graphics opensSchools that display championship banners alongside digital recognition screens — lobby kiosks, hallway displays, interactive hall of fame touchscreens — benefit from a consistent color standard across both print and digital. When a championship banner’s school colors are verified against the Pantone reference through a physical proof, that same color definition can be used to configure the digital display for consistent color across both media. For schools building hall of fame website search indexing and digital records alongside physical banners, the print-verified color definition becomes the authoritative brand color reference for every recognition medium the school uses.
Schools that manage athletic records across multiple recognition formats — including digital hall of fame profile readability guidelines and physical banner presentations — benefit from aligning production standards at both ends of the recognition workflow. A championship banner produced to correct print specifications supports every downstream recognition format that uses the same artwork source.
Athletic departments coordinating banner production as part of annual recognition campaigns — including end-of-season banquets, senior nights, and championship celebrations funded through booster programs — often manage production budgets alongside capital campaign and annual giving fundraising programs. A white underbase setup error that requires a reprint is not only a production failure; it is a budget impact that reduces the resources available for the recognition program as a whole. A correct first submission through proper proofing protects both the recognition calendar and the recognition budget.
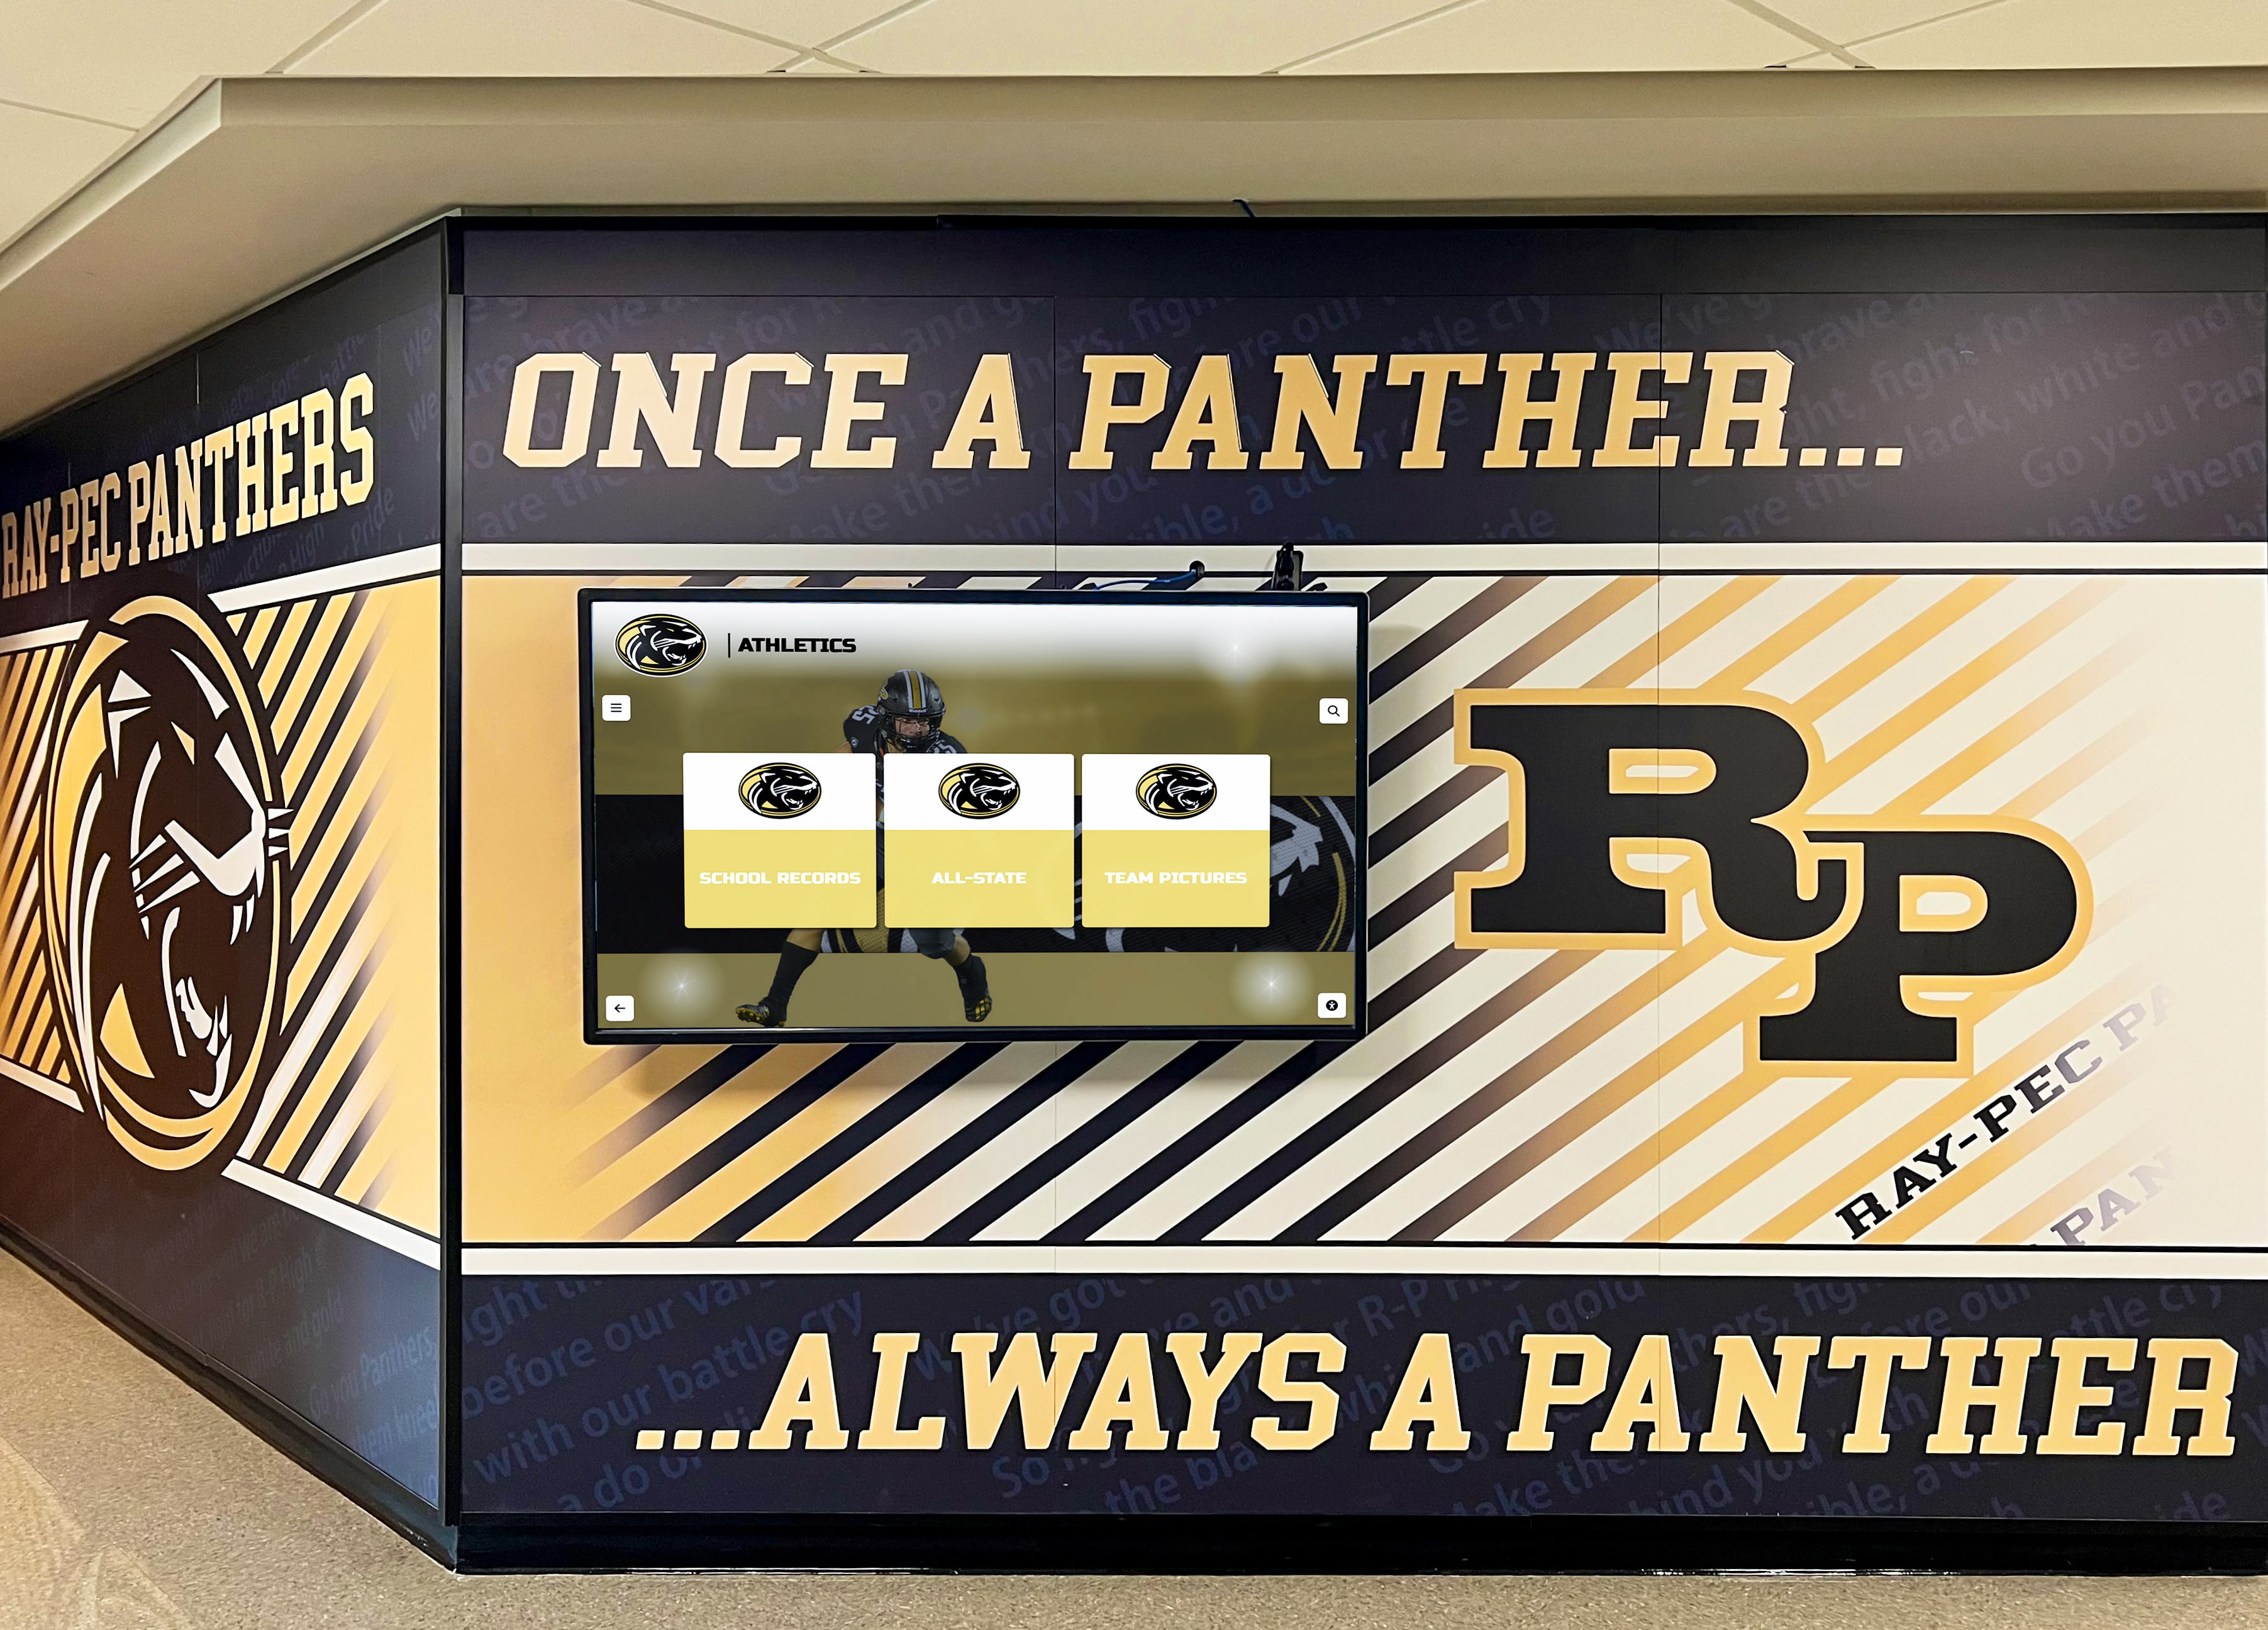
When championship banner artwork is produced with a verified white underbase and confirmed school colors, that same source file adapts to digital recognition display formats — extending athletic history from gymnasium banners to lobby screens without color rebuilding
Frequently Asked Questions: Championship Banner White Ink Underbase
When does a championship banner require a white ink underbase?
A championship banner requires a white ink underbase any time it is printed on a substrate that is not opaque white — including colored vinyl, translucent or clear vinyl, dark mesh, or colored fabric. On non-white substrates, CMYK inks are translucent and mix optically with the substrate color, producing school colors that print as muddy or off-tone. A white underbase creates an opaque white surface that allows overprint colors to render accurately. Banners printed on standard opaque white vinyl or white fabric do not require a white underbase for color accuracy.
What is choke on a white ink underbase and what value should it be set to?
Choke is the deliberate reduction in size of the white underbase layer relative to the overprint color artwork above it. Choke prevents the white layer from showing as a bright halo at the boundary of colored elements when the two print passes shift slightly during production. The recommended value is 0.25 mm for standard registration tolerance and 0.5 mm for wider tolerance or fine-detail elements. Confirm the specific value with your vendor — the correct choke equals the vendor’s stated registration tolerance for white underbase production.
How do I create a white underbase layer in Adobe Illustrator?
In Adobe Illustrator, create a new layer below all color layers and label it “WH” or “White Underbase.” Duplicate all colored artwork objects onto the underbase layer and set all fills to 100% white (0C 0M 0Y 0K). Remove all strokes. Apply Object > Path > Offset Path at −0.25 mm to −0.5 mm to choke the underbase objects inward. Verify at 400% zoom that the white layer edges are smaller than the overprint boundaries above them at every location in the file.
What opacity should the white ink underbase be?
For most championship banner applications on vinyl and mesh substrates, white ink opacity should be 90–100% to fully block the substrate color. Reduced opacity (70–80%) may apply for soft-hand fabric banners or when the vendor has specific adhesion constraints at full white ink density. Confirm the correct opacity value with the vendor. Never reduce opacity to compensate for a visible halo — the correct response to white halos at color boundaries is to increase the choke distance in the source file, then re-export and request a second proof.
Is a physical proof required for banners with a white ink underbase?
Yes. A physical proof on the production substrate is required before approving any championship banner that uses a white ink underbase. A digital soft proof cannot verify white ink opacity on the actual substrate, choke behavior at real production tolerances, or ink adhesion on the specific material. A physical proof section showing the school name and mascot at production scale must be inspected for halo-free color boundaries, correct school color rendering, full opacity coverage, and ink adhesion before the full run is approved.
Print It Right the First Time
A championship banner white ink underbase setup addresses the foundational print condition for accurate school colors on any non-white substrate: without the correct underbase, no amount of color calibration or file optimization produces colors that match the school’s standard. Confirming that the underbase is required for the specific substrate, applying the correct choke in the source file, setting opacity to the vendor’s specification, verifying registration with a mark print, and approving a physical proof before the full run adds time to the production schedule — and eliminates the class of errors that produce a banner where every element looks correct in a digital preview but every school-color region prints as a tone the school has never approved.
For athletic departments producing championship banners on a recurring schedule, a documented white underbase standard — choke value, opacity level, spot color name, proof approval process — applied to every non-white-substrate order ensures consistent school color fidelity across every banner in the program, from the first season to the most recent.
Build a Championship Recognition Program That Lasts
Rocket Alumni Solutions helps school athletic programs build championship recognition systems — from print-ready graphic standards and digital display networks to interactive hall-of-fame kiosks that connect banner history to the athletes and alumni who earned it. See how your school's recognition program fits together.
Get notified when Rocket Graphics opens