A championship banner welded seam acceptance checklist gives school athletic directors and facilities coordinators a structured way to confirm that the thermoplastic weld — the heat-fused joint at the banner’s edges and any panel joins — is sound before the banner is raised to a permanent mount point. Welded seam failures discovered after installation require full removal from gymnasium ceiling mounts or wall brackets before the banner can be repaired or replaced; the same failures caught at the receiving stage are resolved with a single call to the supplier. Perform this inspection on a clean, flat surface as soon as the banner is unpackaged, before any installation equipment is staged or scaffolding is arranged.
This checklist is distinct from hem tape inspection — which covers adhesive bonding at a folded edge — and from grommet spacing verification, which addresses hardware placement intervals. A welded seam is a thermoplastic fusion: the material’s surface layers are melted together by controlled heat from a hot-air nozzle or heated wedge, creating a mechanical bond without a separate adhesive film. Understanding what that weld is, what correct fusion looks like, and what defects look like before the banner hangs is what makes the acceptance process actionable for school staff who are not trained finishing operators.
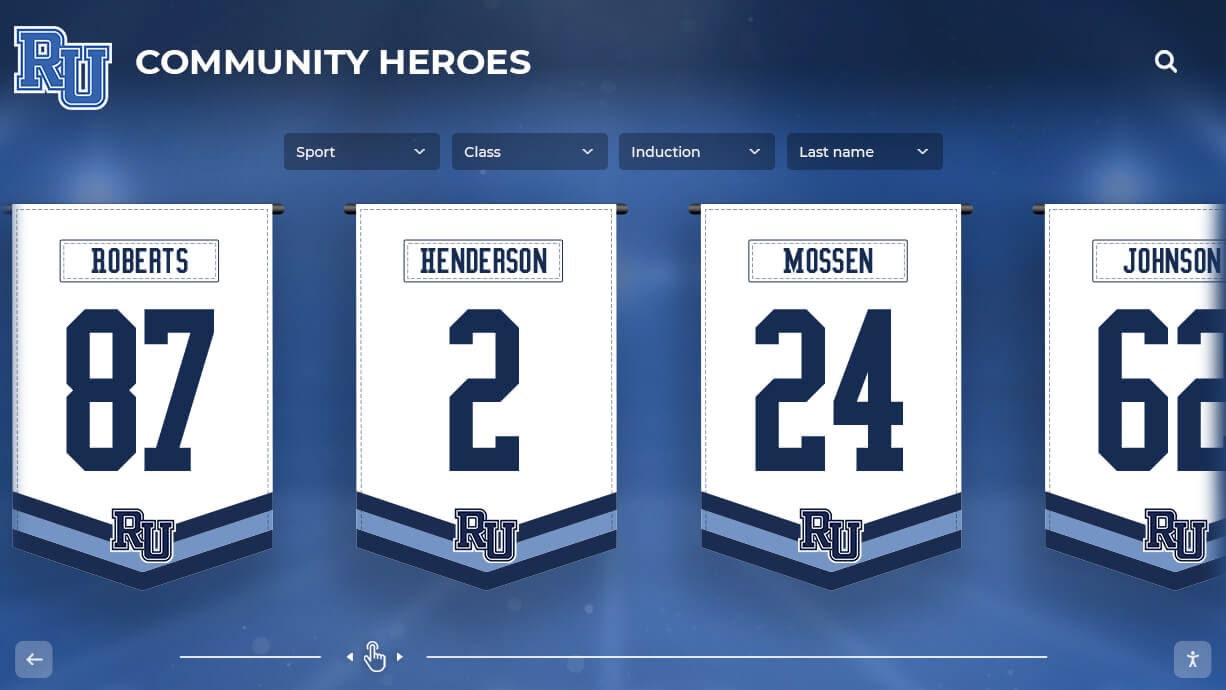
Recognition banners hung in school athletic facilities represent the program's championship history — a welded seam acceptance checklist performed at receiving, before installation, is how school staff confirm the banner's structural integrity without waiting for a failure at height
What Is a Welded Seam on a Championship Banner?
A welded seam is a thermoplastic bond formed by applying controlled heat to the surface layers of two pieces of banner substrate until they melt and fuse together into a single mass. When the material cools, the bonded zone is fused substrate rather than two separate layers held by adhesive film. This process is fundamentally different from adhesive hem tape, and it produces a different kind of joint with different failure characteristics that require different inspection criteria.
Leister Technologies, a Swiss manufacturer of professional welding tools for technical textiles and advertising materials, explains the banner-specific role of this joint in their product story on PVC-free banner welding with the SEAMTEK: “The weld seam is so important on a banner because it allows you to piece together an image from a super-wide banner and reinforce the edges with a hem. The weld creates strength in the joint, allowing you to grommet a banner and attach a fastener or bungee cord to attach it to buildings, fences, backdrops, and exhibit stands.” That description — joining panels and reinforcing hem edges — covers the two main locations where welded seams appear on school championship banners.
Panel join seams. Championship banners wider than the print substrate’s roll width are produced as two or more printed panels that are welded together before delivery. The panel join seam runs vertically through the artwork and is typically an overlap weld, where one panel’s edge laps over the other by a fixed amount before the two surfaces are fused. A banner arriving with a panel join seam that shows lifting, incomplete fusion, or visible separation has a structural weakness running through its widest load dimension.
Hem edge welds. On banners finished with welded hems rather than adhesive hem tape, the folded hem edge is bonded by running a welding tool along the fold after it is formed, fusing the substrate’s inner faces together. Grommets are then set through this welded hem, which is the reinforcement element that holds each grommet under the load of a hanging banner. A welded hem that is incompletely fused provides less grommet reinforcement than a properly applied adhesive hem, making hem weld quality directly connected to grommet security at height.
Leister’s SEAMTEK line is designed to produce overlap seams, hems, open seams, seams with rope, and welds with tape on advertising banners and technical textiles. School banner suppliers use professional welding equipment in this category; the acceptance checklist verifies the output of that equipment without requiring school staff to operate any finishing machinery.
Why Welded Seam Quality Matters for School Championship Banners
Championship banners installed in school gymnasiums and athletic corridors often hang for years — sometimes for the life of the program itself. A panel join seam or hem edge weld that is visually intact at installation but incompletely fused can delaminate gradually under the cyclic stress of HVAC airflow, seasonal temperature and humidity changes, and repeated installation and removal. By the time the failure is visible from the gymnasium floor, the banner may need to be removed from significant height before it can be assessed.
The digital banner recognition traditions at school championship celebrations framework treats physical banner integrity as the foundation of the broader recognition program: a banner that fails structurally interrupts the athletic history it is meant to preserve, and that gap cannot be filled until a replacement is produced and re-installed. Catching a seam defect at the receiving stage — before the banner is staged for installation — is the lowest-cost, lowest-disruption point in the banner’s service life to identify and resolve finishing problems.
For banners made from materials other than standard PVC — including PVC-free alternatives that are increasingly available from banner suppliers — the welded seam quality question includes whether the correct welding parameters were used for that specific substrate. Leister notes that different thermoplastics including PA, PE, PU, PP, and PVC can be welded, and that PVC-free alternatives can perform with parameters similar to standard PVC material. “Similar,” however, is not identical: the supplier should be able to confirm that their welding process was calibrated for the specific substrate used on your banner, and material-specific evidence of seam quality is worth requesting before delivery.
Championship Banner Welded Seam Acceptance Checklist
Perform this checklist on a clean, flat surface large enough to lay the banner fully flat — a gymnasium floor or a large worktable. Allow the banner to relax for 15 to 30 minutes after unboxing before beginning, so the substrate settles and any seam issues become easier to identify.
Locate all welded seams on the banner before beginning inspection. Identify each location where a weld was applied: panel join seams (running lengthwise through the printed artwork) and hem edge welds (running along each hemmed edge). If the banner uses adhesive hem tape rather than a welded hem, the hem edges require a hem tape inspection instead of this checklist. If any welded seam is present anywhere on the banner, inspect each seam independently.
Scan each seam along its full length for gaps or skips. A correctly welded seam has continuous, uninterrupted fusion along its entire run. A gap or skip — an area where the two substrate surfaces were not fused — appears as a lighter-colored zone, a visible line where the layers are still separate, or a raised edge where one substrate curls away from the other. Mark any gap location with a removable tape flag before moving to the next check.
Inspect for air bubbles or blisters within the seam zone. An air bubble trapped inside the weld appears as a raised blister between the bonded surfaces. Blisters indicate that the surfaces were not fully in contact during fusion — the weld did not achieve complete surface contact across that zone. A small number of minor blisters at the very outer edge of an overlap weld may be within the supplier’s specification, but blisters within the body of an overlap weld are a bond integrity concern. Consult the supplier before accepting a banner with internal seam blistering.
Check for charring or discoloration at the seam edges. A weld applied at excessive temperature or speed produces a dark, brittle zone adjacent to the seam where the substrate material was degraded rather than fused. Charring indicates a process problem. A charred weld zone is weaker than the surrounding substrate and should be flagged for supplier review before any installation is attempted.
Assess seam width consistency along the full seam length. On an overlap weld, the visible seam width — the bonded zone where the two substrate surfaces are fused — should be consistent from end to end. Seam width that varies significantly along the run indicates that the welding equipment was not tracking evenly. Areas where the seam is narrower than the surrounding average represent less bonded surface area at that point.
Test panel join seams with light lateral pressure at multiple points. With the banner flat on the surface, place one hand on each side of a panel join seam and apply gentle lateral pressure — trying to separate the panels — at several locations along the seam length. A fully fused weld shows no movement or layer separation under light hand pressure. Any point where the panels begin to part under light pressure has an incompletely fused zone that will widen under installation load. Apply only enough pressure to detect obvious incomplete fusion; do not apply force sufficient to tear a correctly bonded seam.
Inspect seam edges for excessive squeeze-out. When heat is correctly applied, a small, even ridge of melted substrate may flow out from the seam edge. A narrow, consistent bead of squeeze-out at the seam edge is a normal sign of weld penetration. Excessive squeeze-out — where melted material has spread widely across the banner face — indicates that welding pressure or temperature was too high, and the surrounding substrate may have been thinned or mechanically compromised near the seam.
Verify seam location relative to critical artwork elements. A panel join seam should fall in a zone of the artwork that was designed to accommodate it — typically a background field, a consistent color area, or a deliberate break between design elements. A seam that bisects championship year text, a mascot figure, or athlete names was either not accounted for in the artwork layout or the panels were welded in the wrong alignment. Document the seam position relative to critical artwork elements in your receiving record.
Confirm that grommets set through welded hems are positioned within the fused zone. On a banner with a welded hem, each grommet should pass through the fused substrate stack with its barrel seated within the visible weld zone — not adjacent to the weld on unbonded material. A grommet placed beside rather than within the weld zone has the same pull-through risk as a grommet in an un-reinforced substrate. Visually confirm each grommet’s position relative to the visible weld zone on the hem face.
Photograph all defects before contacting the supplier. If any inspection step reveals a seam defect, photograph the defect with the banner flat and the full seam context visible. Vendor warranty claims and reprint requests are resolved more quickly when the specific defect type, location, and severity are documented at receiving rather than described from memory after an installation attempt.

Championship recognition banners at school athletic facilities carry the program's history every season they hang — welded seam integrity at each panel join and hem edge is what allows banners to remain in display condition through years of gymnasium installation
What to Request from Your Banner Supplier Before Delivery
The welded seam acceptance checklist is most effective when paired with four types of information requested from the supplier at the time of order — not at receiving, when there is less time to evaluate the responses before the installation date.
Representative welded-seam coupons. Ask the supplier whether they can provide a welded coupon: a small sample of the same substrate, finished with the same welding process, from the same production run as your banner. A coupon allows school staff or an experienced evaluator to inspect and handle an actual weld sample without touching the delivered banner itself, and to observe how the weld responds to handling before the finished banner is at stake. Not all suppliers provide coupons as a standard service; making the request positions welded seam quality as a recognized acceptance criterion.
Material-specific welding evidence. Ask the supplier to confirm the substrate brand, grade, and weight used for your banner, and whether they have established experience welding that specific material. Welding parameters — temperature, speed, and pressure — vary by substrate type, and a supplier who is new to a PVC-free or specialty substrate may not have calibrated their process for it. Material-specific confirmation — that the welding process was validated on the exact substrate in your banner, not just on similar materials — is a reasonable pre-delivery request for school programs investing in long-service banners.
Failure mode and batch traceability. Ask the supplier to identify the roll or lot number for the substrate used in your banner, and to describe the specific failure modes associated with that material at their finishing specification. Batch traceability matters because substrate manufacturing variation — coating applied unevenly, thickness variation within a roll — can affect weld quality even when process parameters are correctly set. Knowing the batch number allows the supplier to investigate any acceptance issue against the specific material source.
Finishing specification documentation. Ask the supplier to confirm in writing the seam type (overlap or butt weld), the intended seam width, and the welding parameters used for your banner. This documentation becomes the acceptance baseline: defects that fall outside the stated specification are the supplier’s responsibility to address; the discussion of what is “within spec” is much cleaner when the specification was stated before delivery rather than negotiated after a defect is found.
The championship banner planning guide for schools — design, data, and digital archives covers pre-production coordination across design files, data, and physical production in the same way this supplier communication process works: getting the specification right before the order is placed rather than resolving mismatches at the receiving stage.
Welded Seam Acceptance: Pass/Fail Decision Table
Use this table as a receiving record. Document the result for each applicable seam before the banner is moved to the installation site.
| Inspection Point | Check Method | Pass Criteria | Action if Failed |
|---|---|---|---|
| Seam continuity — full length | Visual scan along seam run | Continuous fusion, no gaps or skips visible | Flag location; contact supplier before installation |
| Air blisters within seam zone | Visual scan of seam face | No raised blisters within the body of the weld | Consult supplier; document blister count and location |
| Charring or discoloration | Visual scan of seam edges | No dark or brittle zones adjacent to seam | Do not install; contact supplier |
| Seam width consistency | Visual — compare width along length | Consistent overlap width throughout the run | Supplier review required at any zone of reduced width |
| Panel separation — lateral pressure | Light hand pressure at multiple seam points | No layer movement or separation under light pressure | Do not install; contact supplier |
| Squeeze-out at seam edges | Visual scan of seam edge | Narrow, even ridge — not spread across banner face | Consult supplier on substrate integrity near high-squeeze zones |
| Seam location vs. artwork | Visual — seam position vs. critical design elements | Seam in planned background zone, not bisecting critical text or imagery | Document with photo; discuss alignment with supplier |
| Grommets in welded hem zone | Visual — each grommet barrel position | Barrel seated within visible weld zone, not beside it | Raise with supplier before installation |
Welded Seam vs. Adhesive Hem Tape: Which Does Your Banner Use?
School championship banners are finished using one of two bonding methods at the hem edges, and the correct acceptance process differs between them. Confirming which method your banner uses before inspection avoids applying the wrong checklist.
Adhesive hem tape bonds the folded substrate layers together using a double-sided pressure-sensitive or heat-activated film tape applied inside the hem fold. The tape remains as a physical layer between the substrate surfaces. When inspecting adhesive hem tape, the examiner is feeling for the tape bond releasing from one or both substrate faces — a separation that presents as a soft, moveable hem edge rather than a firm, bonded one.
Welded hem seam bonds the folded substrate layers by fusing the surfaces together with controlled heat. No separate adhesive layer is present — the bonded zone is fused substrate material. When inspecting a welded hem, the examiner is looking for incomplete fusion, bubbles, charring, or zones where the weld did not achieve full contact — all of which require visual assessment rather than a touch-and-press bond test.
The most reliable way to determine which method was used on your banner is to ask the supplier at the time of order. On a finished banner, the difference is sometimes visible under close examination: an adhesive hem may show the film tape edge at the hem fold opening; a welded hem shows a fused, slightly translucent or shinier zone at the bond line where the substrate surfaces merged. If there is any uncertainty, apply both checklists — the hem tape check for adhesive failure signs and the welded seam checklist for fusion integrity.
For school programs coordinating physical banner specifications with their gymnasium display environment, the championship banner gymnasium display traditions guide covers how finishing method choices relate to the long-term installation conditions specific to school gymnasiums — an environment where heat, humidity, and seasonal HVAC cycles affect adhesive and welded finishes differently.
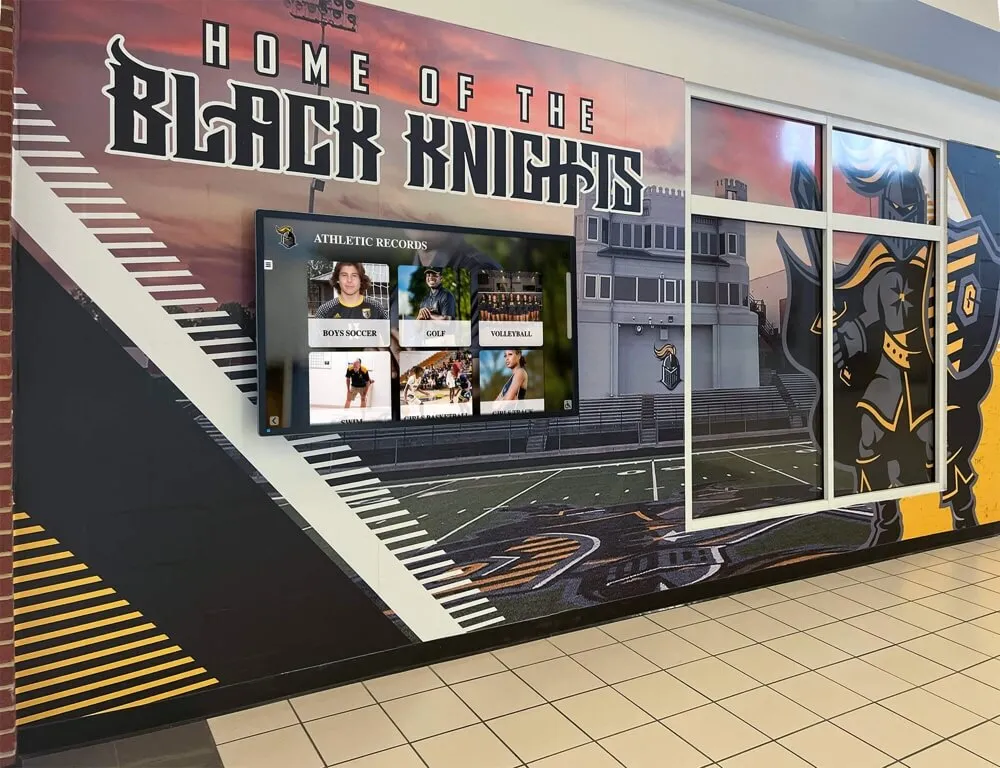
Championship banners installed in school athletic corridors become permanent features of the school's athletic history — welded seam integrity is what allows each banner to remain in display condition through the years of service that school recognition programs expect from their physical materials
Connecting the Welded Seam Check to School Recognition Artwork
The welded seam acceptance checklist is a physical finishing check — but its results connect directly to the artwork that a school’s recognition program invested in. A championship banner with a correctly welded seam that falls within a planned background zone of the artwork displays exactly as designed. A seam that falls in the wrong location, or that caused visible surface damage to the substrate during welding, modifies the artwork in ways that cannot be corrected after production.
School graphic programs that coordinate artwork design and production finishing together — so that panel join seams are located in artwork zones designed to accommodate them — avoid the most common aesthetic failure of large-format championship banner production. The championship banner display ideas for school programs covers how schools plan physical banner installations as part of their broader recognition environment; the same design coordination discipline is what ensures seam placement is part of the original artwork brief rather than a post-production variable.
When a championship banner passes the welded seam acceptance checklist and is installed correctly, it becomes a permanent layer of the school’s athletic recognition record. The athletes named on that banner, the year, the sport, and the achievement should connect to the school’s digital recognition systems — a searchable hall of fame database, a trophy case display, or a lobby recognition screen — so that the physical banner and the digital record tell a consistent story to every student, family member, and visitor who passes through the facility.
The high school championship banner printing costs, materials, and vendor comparison guide addresses how material and finishing method selection — which includes the choice between welded and adhesive finishing — affects total production cost and long-term durability. Both factors are part of a school recognition program’s vendor evaluation before the first order is placed.
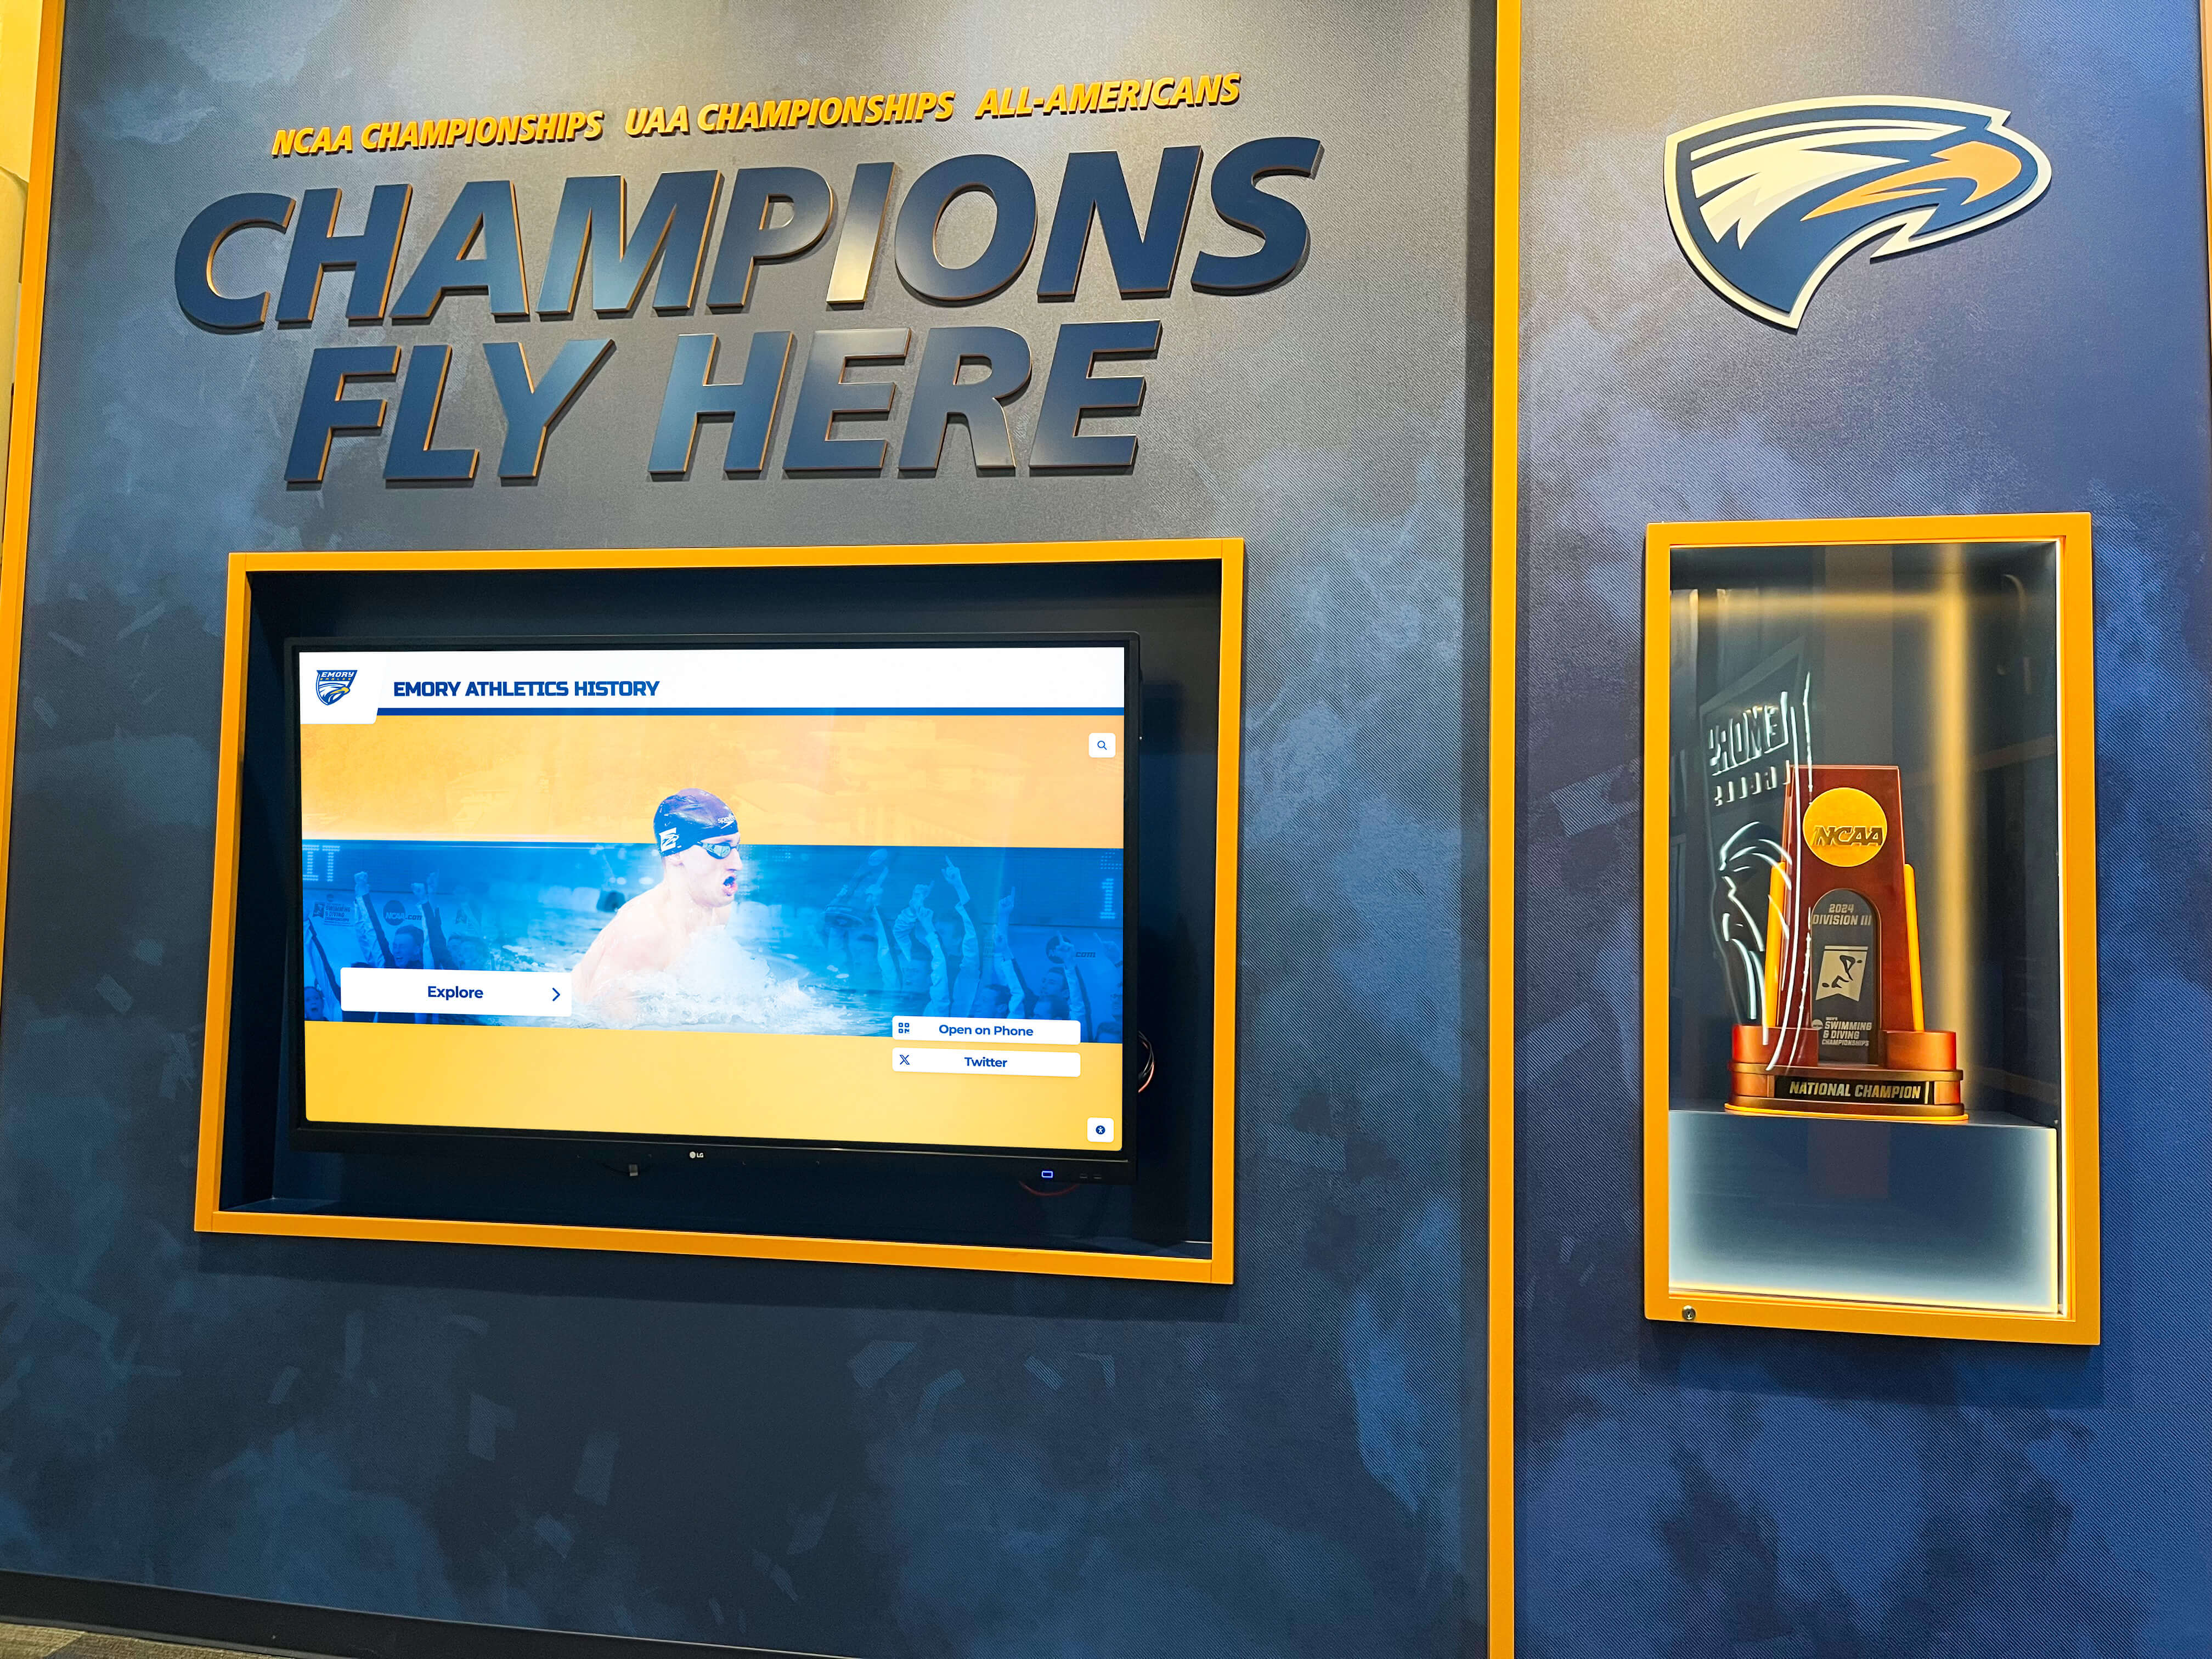
Championship recognition programs at school athletic facilities accumulate banners across years and sports — each banner that passes the welded seam acceptance checklist contributes to a recognition environment that holds together physically as long as the program it commemorates
Frequently Asked Questions: Championship Banner Welded Seam Acceptance
What is a welded seam on a championship banner?
A welded seam on a championship banner is a thermoplastic bond formed by applying controlled heat to the surface layers of two pieces of banner substrate until they melt and fuse together. No adhesive film is used — the bonded zone is fused substrate material. Welded seams appear at panel joins (where two printed panels are fused to create a banner wider than the print substrate’s roll width) and at welded hem edges (where the folded hem is fused rather than bonded with adhesive tape). As Leister Technologies describes it, the weld creates the strength in the joint that allows the banner to be grommeted and hung under installation load.
How is a welded seam different from adhesive hem tape on a championship banner?
A welded seam fuses substrate surface layers together with heat, producing a bonded zone of fused material with no separate adhesive film. Adhesive hem tape bonds the folded edge using a double-sided film tape that remains as a physical layer between the substrate surfaces. On inspection, a welded hem shows a fused, slightly translucent zone at the bond line; an adhesive hem may show the tape film edge at the fold opening. The failure modes also differ: welded seams can show bubbles, incomplete fusion, or charring; adhesive hem tape can release from one or both substrate surfaces as the bond deteriorates under HVAC heat and humidity cycles.
What should I ask my banner supplier to provide before delivery?
Ask for four things before delivery: a representative welded-seam coupon from the same material and production run; material-specific welding evidence confirming parameters were calibrated for the exact substrate in your banner; batch traceability (the roll or lot number, which allows investigation of any acceptance issue against the specific material source); and finishing specification documentation stating the seam type, intended seam width, and welding parameters used — establishing the acceptance baseline before the banner arrives.
Can a welded seam defect be repaired in the field before hanging?
Field repair of an incomplete-fusion defect, gap, or blister is not a recommended approach for school championship banners intended for long-term gymnasium installation. Thermoplastic welding requires specialized equipment and process knowledge to produce a bond that will hold under installation load. A defect discovered at receiving should be documented with photographs and reported to the supplier before any installation is attempted. The supplier is best positioned to assess whether the defect is within their finishing specification or requires repair or replacement.
Where do panel join seams typically fall on a school championship banner?
Panel join seams on large-format championship banners typically run vertically through the artwork at the point where two printed panels were fused. Suppliers and designers who coordinate before production can place the seam in a background zone or consistent color field where the slight surface texture difference at the weld is least visible. A seam that bisects critical text, a mascot, or athlete names indicates that seam placement was not coordinated with the artwork layout — a pre-production communication step that prevents the most common aesthetic failure in multi-panel banner production.
Championship banners that pass the welded seam acceptance checklist arrive at the gymnasium wall with their structural joints confirmed sound, their artwork intact, and their grommets reinforced by a fused hem that will hold through the installation cycles ahead. That starting condition — a physically verified banner connected to a school recognition program that documents the achievement behind it — is what allows the banner to do its job for the full service life the program expects.
Championship Recognition Built Right, From Artwork to Installation
Rocket Graphics is building AI-powered tools to help school athletic programs create championship recognition graphics — from correctly planned banner artwork files to recognition content that connects physical banners with the school's broader athletic legacy.
Get notified when Rocket Graphics opens.