Championship banner UV-ink curing verification is the pre-installation acceptance process that confirms a UV-cured banner’s ink film has fully polymerized, adheres properly to the substrate, and will withstand the flex, handling, and environmental conditions of a gymnasium or corridor installation. The direct answer: UV inks cure through a photochemical reaction — ultraviolet light triggers photoinitiators in the ink to polymerize liquid monomers into a solid polymer network — rather than by solvent evaporation. An incompletely cured banner appears outwardly normal but fails by scratching, delaminating, cracking at flex points, or losing color adhesion weeks after installation. A structured acceptance checklist completed before the banner reaches the gymnasium wall prevents those failures from becoming part of a school’s permanent recognition record.
This guide is written for school athletic directors, facilities staff, and recognition-program coordinators who accept delivery of championship banners before installation. It covers the key verification tests, substrate-specific variations, and the documentation requirements that support a durable production record.
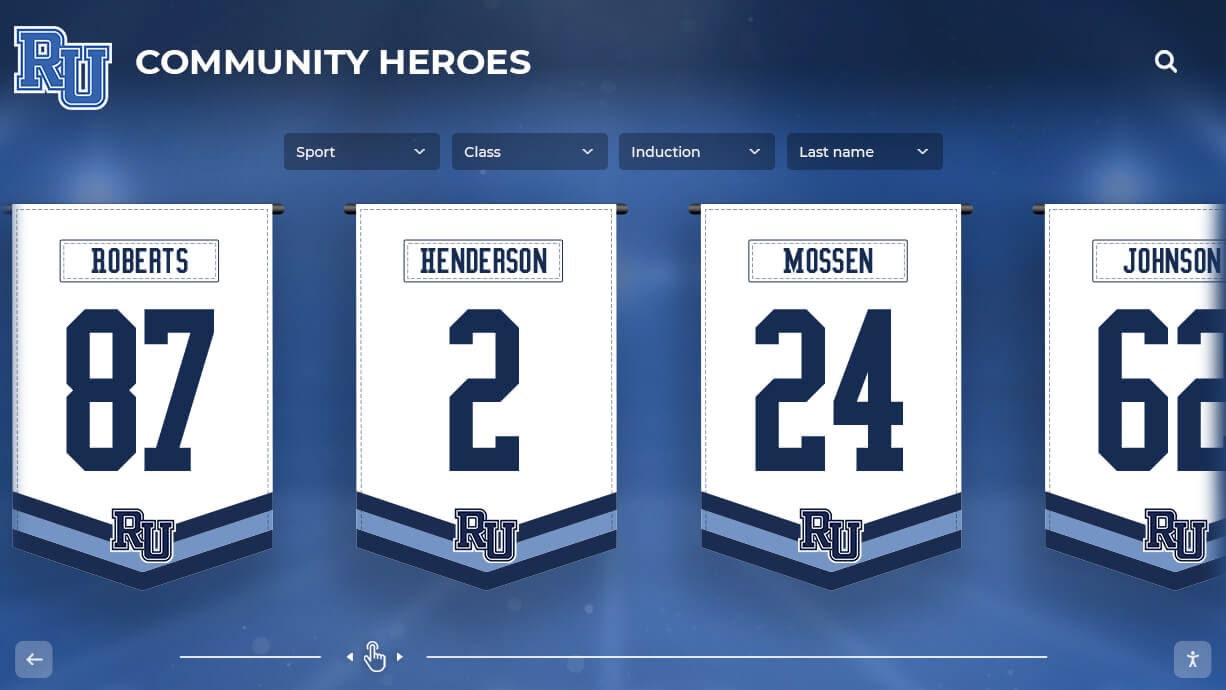
Championship banners installed in school corridors and gymnasiums are handled during installation, flexed as they are mounted, and exposed to varying humidity and temperature — UV-ink curing verification before installation catches undercure and adhesion failures before they appear in a finished recognition environment
What UV Ink Curing Is and Why It Determines Championship Banner Durability
UV-ink curing is a photochemical process, not a drying process. Conventional solvent-based inks dry by evaporation — the carrier solvent escapes into the air and pigment is deposited on the substrate surface. UV inks contain no evaporating solvent; instead, they contain photoinitiators, oligomers (short polymer chains), monomers (reactive diluents), and pigment. When these inks pass under UV lamps during printing, the photoinitiators absorb UV energy and generate free radicals that trigger rapid polymerization of the oligomers and monomers into a crosslinked solid polymer network. The entire cure happens in milliseconds as the banner substrate travels through the print pass.
The consequence for championship banner acceptance is that visible inspection alone cannot confirm cure quality. A properly cured UV ink film is hard, scratch-resistant, and chemically bonded to the substrate. An undercured film may look identical but its polymer network is incomplete: the surface is harder than liquid but underlying layers remain partially reactive. Under handling stress — rolling the banner for shipping, grommeting edges, or pulling the banner taut across mounting hardware — an undercured film can delaminate, crack, or transfer to adjacent surfaces.
According to PRINTING United Alliance (formerly the Specialty Graphic Imaging Association), the primary variables that cause undercure in wide-format UV printing are insufficient UV lamp output from aging lamps, excessive print speed relative to lamp capacity, surface energy incompatibility between the ink formulation and the substrate coating, and high ink-coverage loads in dark color areas that require more UV energy to cure fully than lighter areas. For championship banners with solid school-color backgrounds — navy fields, maroon fills, or black mascot art — high ink coverage creates the highest undercure risk. A vendor whose UV lamps are underperforming may produce banners where heavy-coverage areas are undercured while lighter areas appear and test normal.
Championship Banner UV-Ink Curing and Adhesion Verification Checklist
This checklist covers the tests that confirm a UV-cured banner is ready for installation. It applies to vinyl, polyester fabric, and mesh banner substrates produced by UV-cured inkjet printing. Perform all tests on a representative section of the banner that includes both high-coverage school-color areas and lighter or neutral areas.
Step 1: Allow Full Cooldown Before Testing
UV curing generates heat at the print head and lamp assembly. Test a banner that has been at room temperature for at least 30 minutes after delivery. Cold substrates at the time of printing can inhibit full cure; a banner that feels warm from transit has not necessarily completed any post-cure outgassing. For outdoor-vinyl substrates delivered in a cold vehicle, allow 60 minutes at room temperature before testing.
Step 2: Visual Inspection for Tacky or Inconsistent Gloss Zones
Under bright room lighting, examine the ink surface across the full banner. Undercured zones often appear glossier than properly cured surrounding areas, or the surface will catch at a fingernail with a slight drag rather than the crisp resistance of a cured ink film.
- Pass: Uniform surface sheen; no tacky drag when a gloved fingertip moves lightly across any zone
- Flag for follow-on testing: Any area that appears wetter, glossier, or drags more than surrounding areas
High-coverage zones — solid school-color backgrounds, full-bleed photographic areas — carry the greatest undercure risk and should be checked first.
Step 3: Tape Pull Adhesion Test (ASTM D3359)
The cross-cut tape adhesion test, standardized as ASTM D3359 Method B, is the most widely used field method for evaluating UV ink adhesion to banner substrates.
- Select a high-coverage area of the banner (a solid school-color field or dark background zone).
- Using a cross-hatch guide tool or a sharp blade, score a 6×6 grid of cuts through the ink film, spacing cuts approximately 2 mm apart. The cuts should reach the substrate surface without cutting through it.
- Remove debris with a soft brush. Apply a length of tape rated per ASTM D3359 (commonly 3M 610 or equivalent) across the scored area, pressing firmly to eliminate air bubbles.
- After one minute, remove the tape in a single smooth pull at approximately 90° to the surface.
- Evaluate adhesion using the 0B–5B rating scale specified in ASTM D3359: 5B = no ink removed; 4B = trace removal at intersections only; 3B = up to 5% of the grid area removed; 2B = 5–15% removal; 0B = more than 65% removal.
For championship banner installation acceptance, a result of 3B or better is the minimum acceptable threshold. A result of 2B or lower indicates an adhesion failure requiring rejection and vendor correction before the banner is installed.
Step 4: MEK Double-Rub Test for Polymerization Completeness
The methyl ethyl ketone (MEK) double-rub test evaluates the chemical resistance of the cured ink film, which correlates directly to polymerization completeness. A fully cured UV ink film resists MEK solvent; an undercured film softens and transfers color.
- Saturate a folded white lint-free cloth with MEK. Use chemical-resistant gloves and work in a ventilated area.
- Applying moderate hand pressure, make 50 double rubs over a 10 cm segment of the ink surface in a representative high-coverage area. One back-and-forth stroke counts as one double rub.
- After 50 double rubs, examine the cloth for ink color transfer and the banner surface for gloss change or surface softening.
- Pass: Minimal or no ink transfer to the cloth; no visible surface change after 50 double rubs
- Fail: Visible ink color on the cloth, surface dulling, softening, or ink removal within 50 rubs
The MEK double-rub test is a recognized field verification method for UV ink cure in wide-format production. A banner that passes visual inspection but fails the MEK test should be rejected — the visual step missed an undercure condition that the chemical test revealed.
Step 5: Flex Test for Crack and Delamination Resistance
Championship banners are flexed during installation: rolled for transport, stretched across mounting hardware, and bent around corner grommet points. A flex test confirms the cured ink film can withstand that handling without cracking or separating from the substrate.
- Select a solid high-coverage color zone of the banner.
- Fold the banner in a 180° bend with the printed surface facing outward, creasing along approximately 5 cm of the ink zone.
- Unfold and examine the crease under direct light for ink cracking, whitening, or areas where the ink film has separated from the substrate.
- Pass: No visible cracking, whitening, or delamination along the crease
- Fail: Any visible cracking, crazing, or ink separation from the substrate at the crease
Vinyl substrates are typically more resistant to flex cracking than rigid materials, but an undercured vinyl ink film can crack at flex points even when the substrate itself is fully flexible. A championship banner storage guide covering flex handling during transport addresses the rolling and storage practices that compound any flex-induced adhesion failure identified at acceptance.
Step 6: Scratch Resistance Check
Using a fingernail or a coin edge, apply moderate dragging pressure across a printed area. A properly cured UV ink film resists marking; an undercured film leaves a visible scratch track or lifts as a thin curl of ink film.
- Pass: Ink surface resists scratching without a visible mark
- Fail: Visible scratch groove, ink curl, or color transfer under moderate pressure
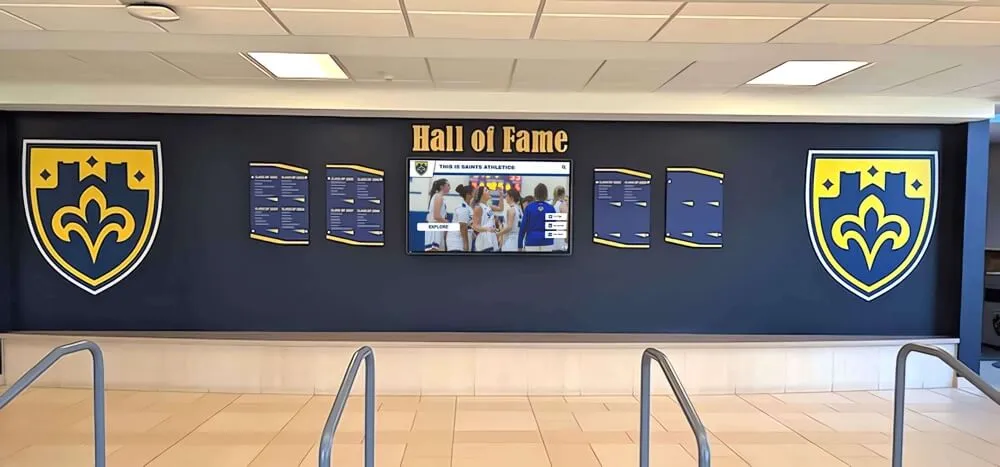
Permanent recognition panels serve as ongoing color and quality references for every championship banner installed alongside them — verifying UV ink curing and adhesion before installation ensures the banner's ink film is durable enough to maintain that standard across years of display
Substrate-Specific Adhesion Testing for Championship Banner Materials
Banner substrates vary significantly in their UV ink adhesion behavior. The table below summarizes testing emphasis and the most common failure mode for each substrate type typically used for championship banners.
| Substrate Type | Primary Adhesion Risk | Required Test Emphasis | Common Failure Mode |
|---|---|---|---|
| Outdoor vinyl (solvent or latex UV) | Surface energy mismatch; primer adhesion layer | Tape pull + MEK rub | Ink peels from top surface under handling or weather |
| Polyester fabric (UV direct-print) | Fiber-level penetration; crease flex | Flex test + scratch resistance | Ink cracks at fold; fiber separation visible under light |
| Blockout vinyl (double-sided) | Delamination at blockout layer interface | Tape pull on both print faces | Layer separation; color ghosting through blockout core |
| Mesh banner (vinyl mesh) | Adhesion at mesh strands; flex at grid voids | Flex test + tape pull at mesh nodes | Ink delamination at void edges during installation |
| Backlit film (illuminated display) | Color shift under transmitted vs. reflected light | Visual inspection under backlight source | Colors shift from reflected proof appearance under illumination |
For polyester fabric championship banners — a common substrate for indoor gymnasium and corridor display — the flex test is the highest-priority acceptance check because fabric banners move and flex with air currents throughout their installed life. A discussion of championship banner design and display for school gymnasiums covers substrate and mounting choices that determine how much flex a banner experiences after installation.
Ordering championship banners with school colors verified at the artwork level?
Rocket Graphics is building an AI-powered platform to help school staff generate championship banner artwork with accurate school colors from the first draft — giving vendors a correctly profiled file before UV curing verification even begins.
Get notified when Rocket Graphics opens.How to Document Curing Verification Before Authorizing Installation
A curing verification record serves two purposes: it documents that acceptance testing was completed before installation, and it creates a dated baseline that supports warranty or replacement conversations with the vendor if adhesion failure appears in service.
Minimum documentation for each banner acceptance session:
| Field | What to Record |
|---|---|
| Banner description | Sport, season/year, quantity received |
| Substrate material | As specified on vendor invoice |
| Date of receipt | Shipment delivery date |
| Date of testing | Must be at least 30 minutes after delivery, at room temperature |
| Visual inspection result | Pass or Flag; note specific zones flagged |
| Tape pull result (ASTM D3359) | Actual 0B–5B rating; pass threshold is 3B |
| MEK double-rub result | Pass or Fail after 50 rubs; note cloth color transfer |
| Flex test result | Pass or Fail; note crease location if failed |
| Scratch test result | Pass or Fail |
| Overall acceptance decision | Accept / Conditional accept / Reject |
| Tester name | Staff member conducting verification |
| Vendor contact notified | Name and date, if rejection or conditional acceptance |
For schools managing championship banner programs across multiple gymnasium and corridor locations, a consistent documentation template stored with each season’s banner inventory record creates a production history useful when reordering from the same or a new vendor.
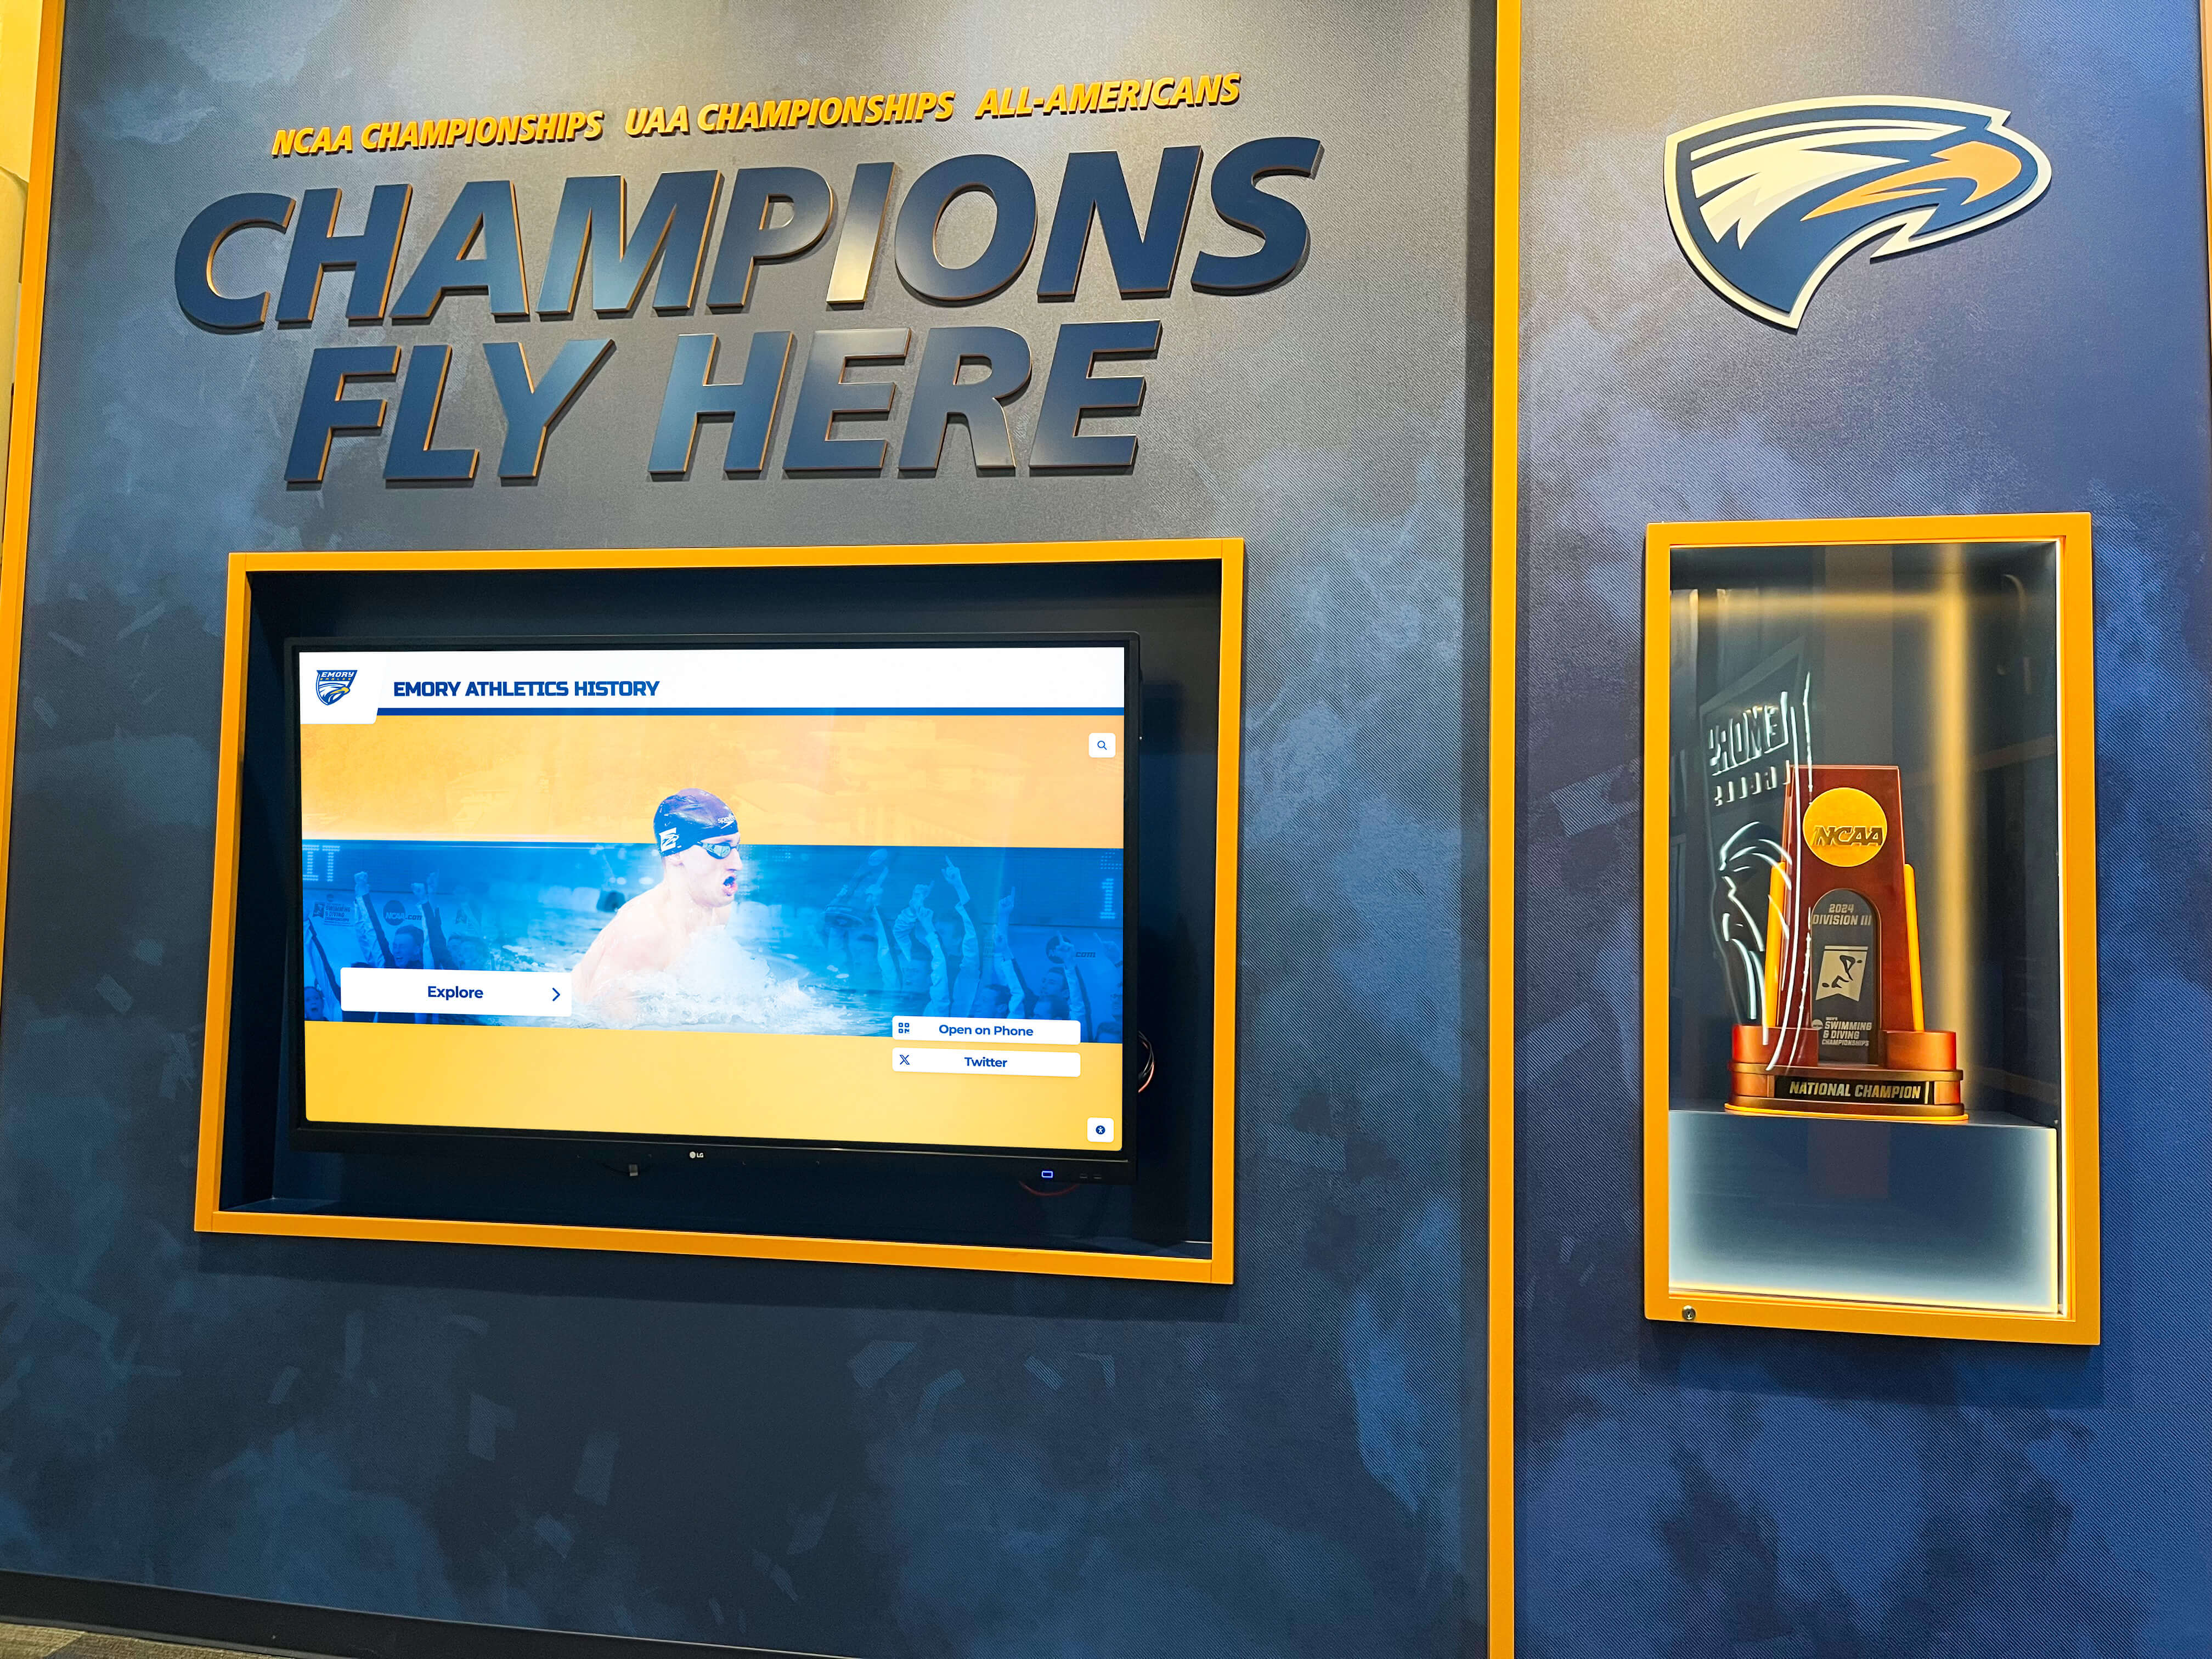
Multi-sport recognition walls display championship banners produced across many years and vendors — a UV-ink curing and adhesion verification record for each production run is the documented quality confirmation that supports consistent appearance across the full installation
How UV-Ink Curing Verification Fits the Broader Banner Acceptance Workflow
UV-ink curing and adhesion verification is one stage in a complete championship banner acceptance workflow. It confirms installation readiness after production, but it does not replace the upstream color management and proofing steps that determine whether a banner will look correct when it arrives.
Color verification at the proof stage — using CIEDE2000 color-difference measurement or Fogra MediaWedge proofing — confirms that school colors on the approved proof fall within specified tolerances before the production run begins. A banner that passes proof-stage color verification and then fails UV curing verification reveals a production execution problem (undercure during the print run), not a color management problem.
Press calibration verification — through G7 print calibration or equivalent methods — confirms the vendor’s equipment is correctly configured to produce predictable colors before any banner is submitted. A vendor with documented G7 calibration who also provides UV curing test results offers the most complete quality assurance chain for a multi-season banner program.
Preflight before file submission — including dot-gain compensation preflight — confirms the artwork file is configured for the substrate’s ink absorption behavior before printing begins. Excessive ink coverage sent to compensate for perceived dot gain is also the highest-risk zone for undercure: denser ink layers require more UV energy to fully polymerize, and a file that overshoots coverage can push the vendor’s UV output capacity.
When evaluating vendors based on production quality, confirming whether a vendor performs UV cure verification as part of their QC release process — not just visual inspection — is a practical criterion worth including in the vendor selection inquiry. A comparison of championship banner printing costs and vendor capabilities that includes production QC documentation as an evaluation factor produces a more durable vendor selection than price-only comparison.
For schools considering the long-term display options for championship recognition — including supplementing or transitioning from printed banners — championship banners for gymnasium recognition provides context on format selection alongside the quality documentation requirements that apply regardless of production method. Designing and displaying championship banners in high school athletic programs covers the full lifecycle from design through installation and long-term display, which the curing verification step supports at the production boundary.
Frequently Asked Questions: Championship Banner UV-Ink Curing and Adhesion Verification
What is UV-ink curing verification for championship banners?
UV-ink curing verification is the acceptance process that confirms a UV-cured championship banner’s ink film has fully polymerized and adheres correctly to the substrate before installation. It includes visual inspection for tacky or inconsistent gloss zones, tape pull adhesion testing per ASTM D3359, MEK double-rub solvent resistance testing for polymerization completeness, a flex test for crack and delamination resistance, and a scratch resistance check. Banners that pass these tests have an ink film that will resist the handling, installation stress, and environmental conditions of a gymnasium or corridor display.
How do you test UV ink adhesion on a championship banner?
The primary adhesion test is the cross-cut tape test per ASTM D3359 Method B: score a 6×6 grid of cuts through the ink film, apply rated tape, and pull it back at 90°. Rate the result on the 0B–5B adhesion scale; 3B or better (less than 5% of the grid area removed) indicates acceptable adhesion for installation. The MEK double-rub test — 50 double rubs with a MEK-saturated cloth under moderate pressure — provides a complementary check for polymerization completeness. A passing banner shows minimal ink transfer to the cloth and no visible surface softening.
What causes UV ink to fail on banner substrates?
The most common causes are insufficient UV lamp output from aging lamps, excessive print speed relative to lamp capacity, surface energy incompatibility between the ink formulation and the substrate coating, and high ink-coverage loads in dark background areas that require more UV energy to cure fully. Cold substrate temperature at the time of printing can also inhibit the photochemical reaction, producing an undercured film that appears visually normal but fails adhesion testing.
When should UV-ink curing verification be performed?
Verification should be performed after the banner has reached room temperature — at least 30 minutes after delivery, and 60 minutes if the banner was transported in a cold vehicle. Testing at the vendor’s facility as a quality release check before shipment is preferable; if vendor-side documentation is not available, the receiving school or installation contractor should perform acceptance tests before the banner is mounted.
Does UV-ink curing verification replace proof-stage color verification?
No. UV-ink curing verification and proof-stage color verification address different failure modes. Proof-stage color verification confirms that school colors on the approved proof meet specified tolerances before the production run begins. UV-ink curing verification confirms that the ink film produced during the run has fully polymerized and adheres to the substrate. A complete acceptance workflow includes both: proof-stage color verification to authorize the production run, and post-production curing verification to authorize installation.
A Durability Record for Every Championship Banner Before It Reaches the Gymnasium Wall
Championship banner UV-ink curing and adhesion verification is the final quality gate before a banner is permanently installed in a school gymnasium, corridor, or trophy area. The workflow is systematic: allow full cooldown after delivery, visually inspect for gloss anomalies and tacky zones, run a tape pull adhesion test to ASTM D3359, complete a MEK double-rub test for polymerization completeness, flex-test the ink film across a high-coverage color area, verify scratch resistance, and document every result before authorizing installation. Reject any banner that fails adhesion or cure criteria; condition acceptance only on minor secondary element failures that do not affect the school-color zones or legibility of the banner’s recognition content.
The athletes, teams, and championship seasons represented on each banner earn a display quality standard that holds across years of installation. UV-ink curing verification is how that standard is confirmed at delivery — before the first grommet is set, before the banner is compared against adjacent recognition panels, and before it becomes part of a school’s permanent recognition legacy.
Generate Championship Banner Artwork Ready for Production
Rocket Graphics is building an AI-powered platform to help school staff create championship banner artwork with accurate school colors from the first draft — so your vendor receives a correctly configured file before any curing or adhesion verification is even needed.
Get notified when Rocket Graphics opens.