Trapping in print production is a deliberate slight overlap between adjacent color regions in a design file that prevents visible white gaps — called registration halos — from appearing where two colors meet when printing equipment shifts even fractionally during production. The direct answer for championship banner preflight: before submitting any banner file to a commercial print vendor, confirm that trap zones exist at every significant color boundary — mascot shapes against backgrounds, lettering against contrasting fills, spot color regions bordering each other — that spread trapping is applied to lighter foreground objects expanding into darker backgrounds, and that choke trapping is applied to lighter background regions contracting inward around darker foreground elements. Verify trap width in the source application, confirm trapping in the exported PDF, and align trap settings to the vendor’s stated specification before final submission.
This checklist is written for school administrators, athletic directors, facilities managers, and recognition-program coordinators who review championship banner artwork before production approval — not for professional prepress operators who run these checks daily.
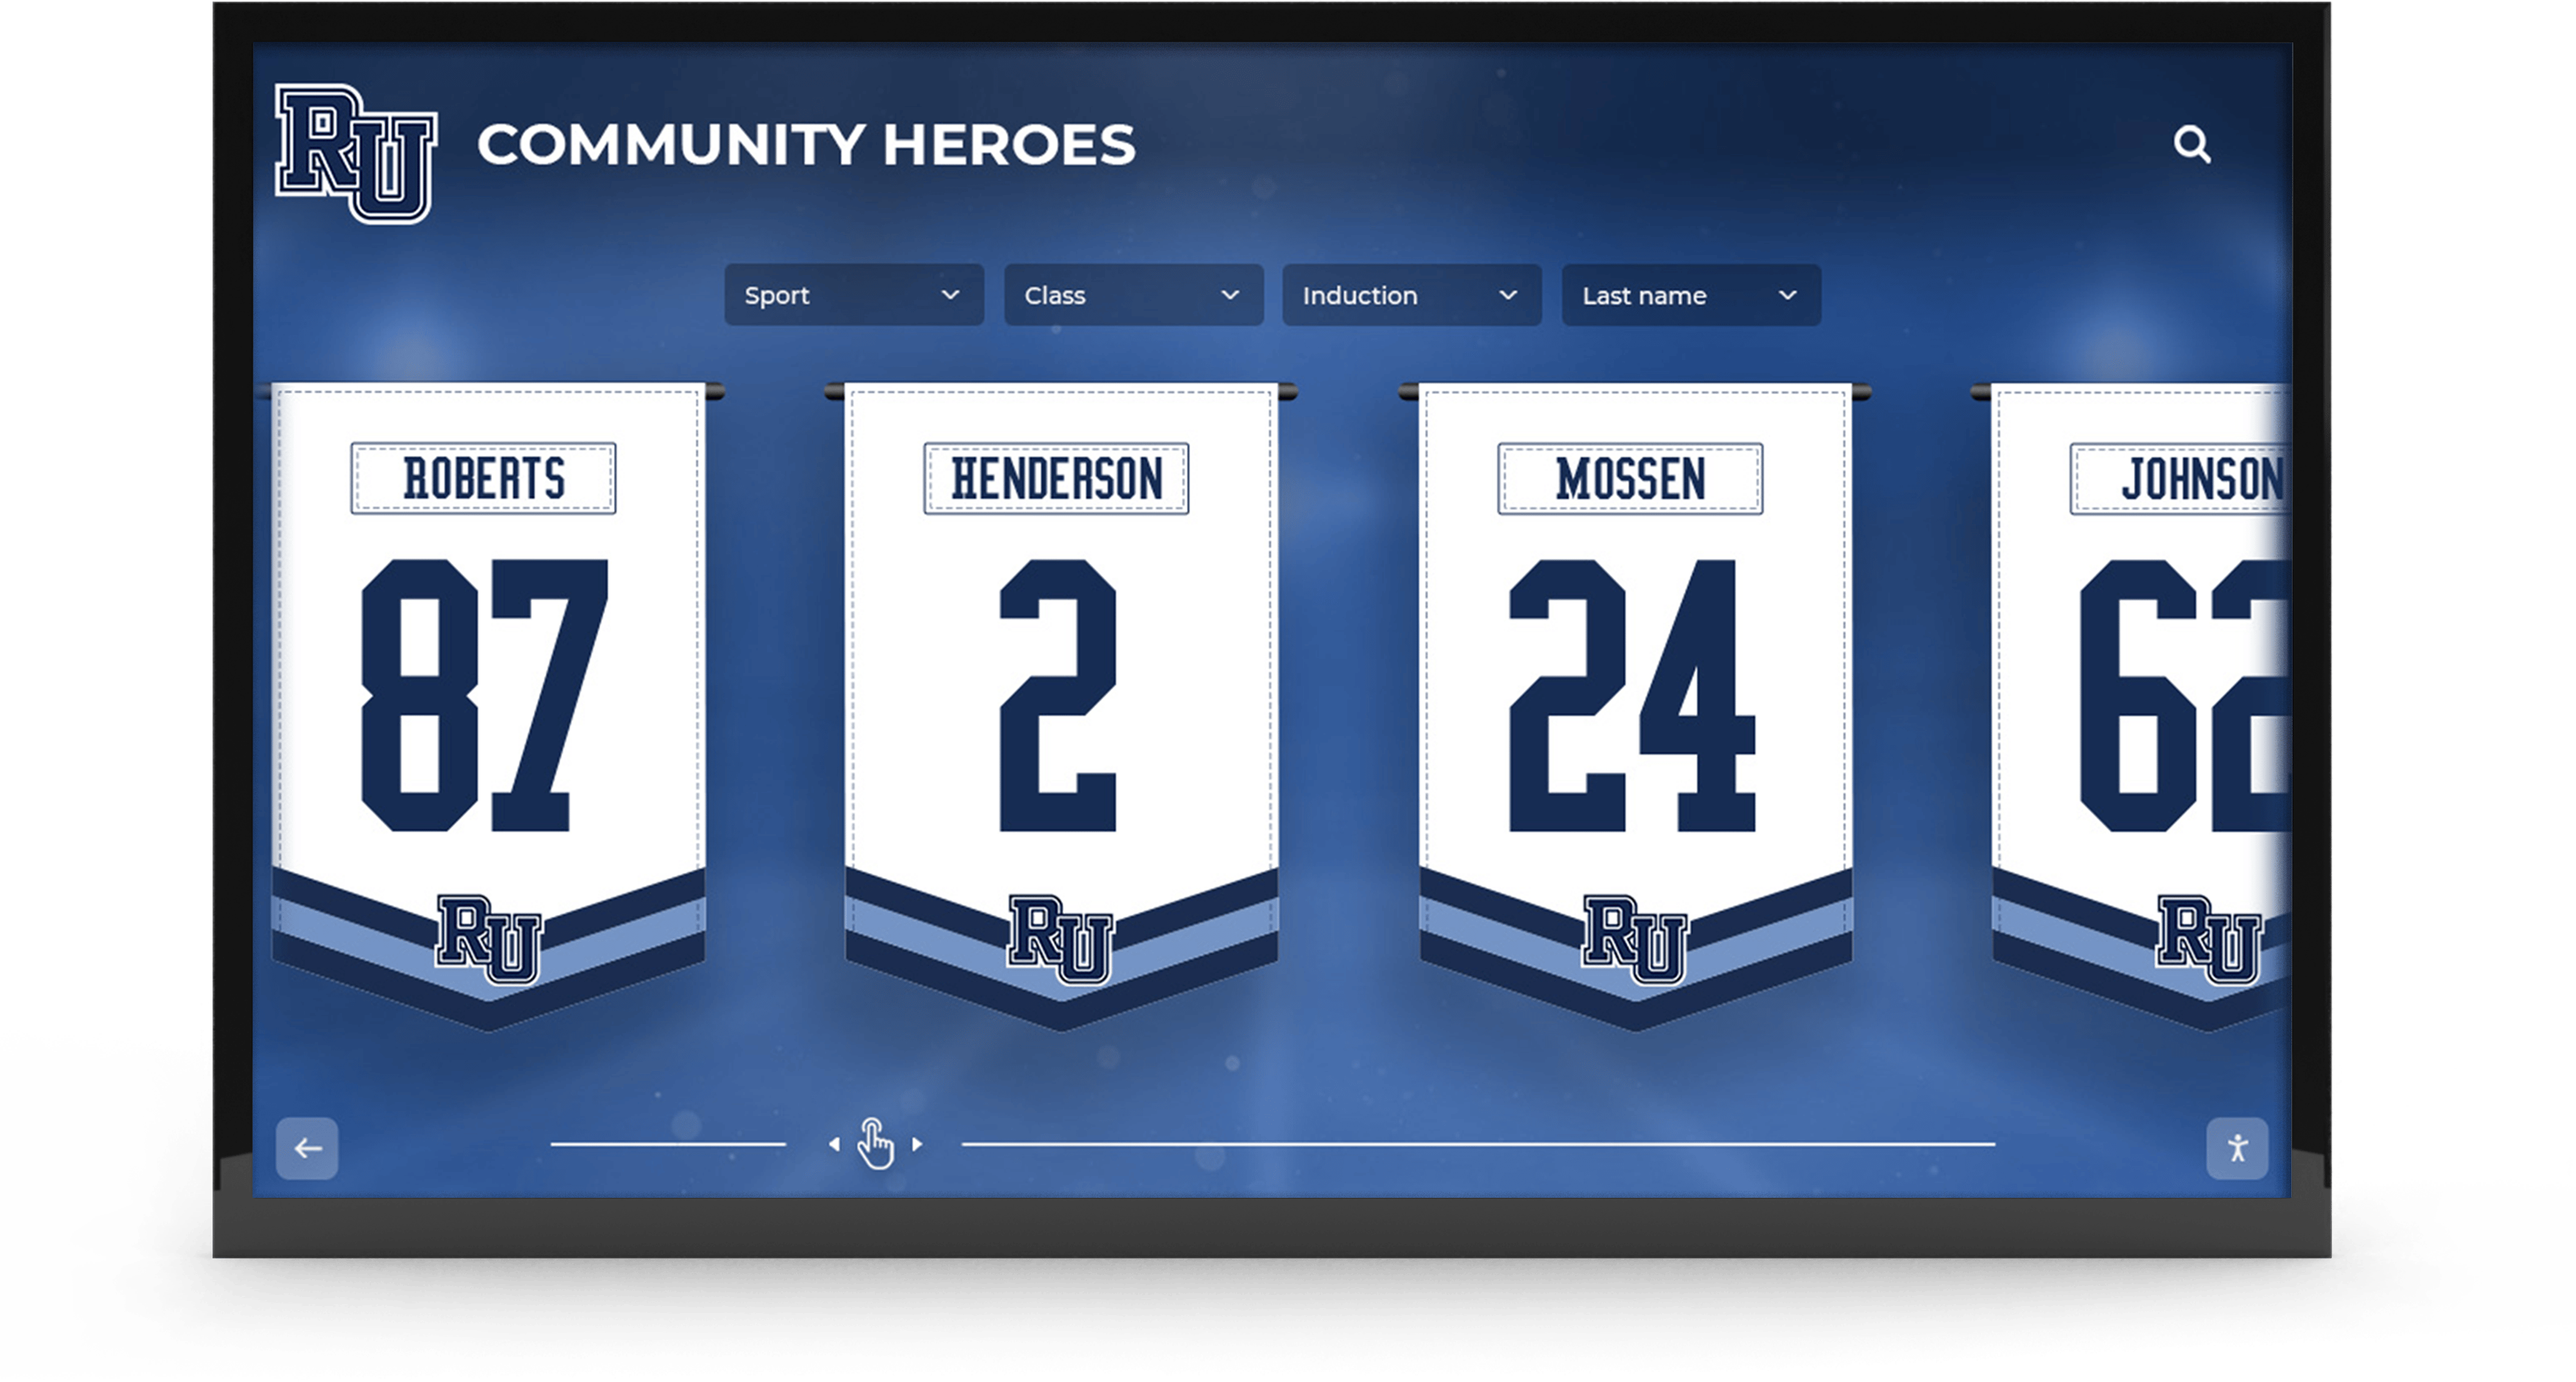
Championship banners installed in school gymnasiums and lobbies represent permanent athletic records — a missing trap zone that reaches the vendor produces a white registration halo at color boundaries that is visible at banner-viewing distance
Why Trapping Is Required for Championship Banner Production
Trapping prevents the white gaps that appear at color boundaries when the printing equipment’s placement of one color pass shifts slightly relative to another. Even on digital large-format equipment — the type most commonly used for vinyl and fabric championship banners — physical substrate movement, ink dot gain variation, and cutter tolerance introduce small positional inconsistencies between color regions. Without a trap zone, any shift exposes a sliver of unprinted substrate between two adjacent colors. That sliver appears as a white line or halo at the boundary.
On a championship banner featuring a school mascot in one color against a contrasting background, a registration gap at the mascot outline is immediately visible at normal viewing distance. On a banner with white or light-colored school name lettering against a dark background, gaps at the letterform edges produce a blurred or outlined appearance rather than sharp text. In a gymnasium where multiple championship banners hang side by side, a new banner with visible registration halos stands out against correctly produced banners — creating a quality discrepancy that reflects directly on the recognition program’s standards.
Trapping is distinct from overprint. Overprint instructs the vendor’s raster image processor (RIP) to blend the ink of one object with the ink beneath it. Trapping creates a narrow zone where two adjacent objects overlap slightly, so that a minor shift in one color does not expose the substrate between them. The championship banner overprint preview checklist covers overprint verification — the two checks work together, but they address different failure modes. Both must pass before a banner file is submitted.
For school athletic programs that commission championship banners on a recurring schedule, understanding when and how trapping is applied — and verifying that it is present in every submitted file — prevents the class of production failure where a banner arrives from the vendor with visible halos at every color boundary.
Understanding Spread and Choke: The Two Trapping Methods
Trapping is applied using one of two methods, and which method applies depends on the relative lightness of the colors at each boundary.
Spread trapping expands a lighter foreground object slightly outward into the adjacent darker background. The expanded edge of the foreground object overlaps the background, creating a zone where both colors are present. When the printing equipment shifts, the lighter foreground color is still present at the boundary — the background color appears behind the expanded edge rather than a white gap appearing between them.
Choke trapping contracts a lighter background object slightly inward, toward a darker foreground element placed on top of it. Rather than expanding the foreground, the background shrinks to overlap the foreground object’s edge from beneath. The result is the same: a narrow zone where both colors are present at the boundary, preventing a white gap if either color shifts.
The general rule is that lighter colors should expand or contract to meet darker colors. Spreading white lettering into a dark background, or choking a light background to meet a dark mascot shape, both produce the overlap that prevents registration gaps. Neither method creates a perceptible color change at the boundary when the trap width is set correctly — the overlap zone is too narrow to read as a distinct tone at banner-viewing distance.
According to Adobe’s documentation on trapping in InDesign and Illustrator, the lighter of two adjacent colors should always spread or choke toward the darker color — this minimizes the visual impact of the trap zone because the lighter ink has less optical weight at the boundary edge.
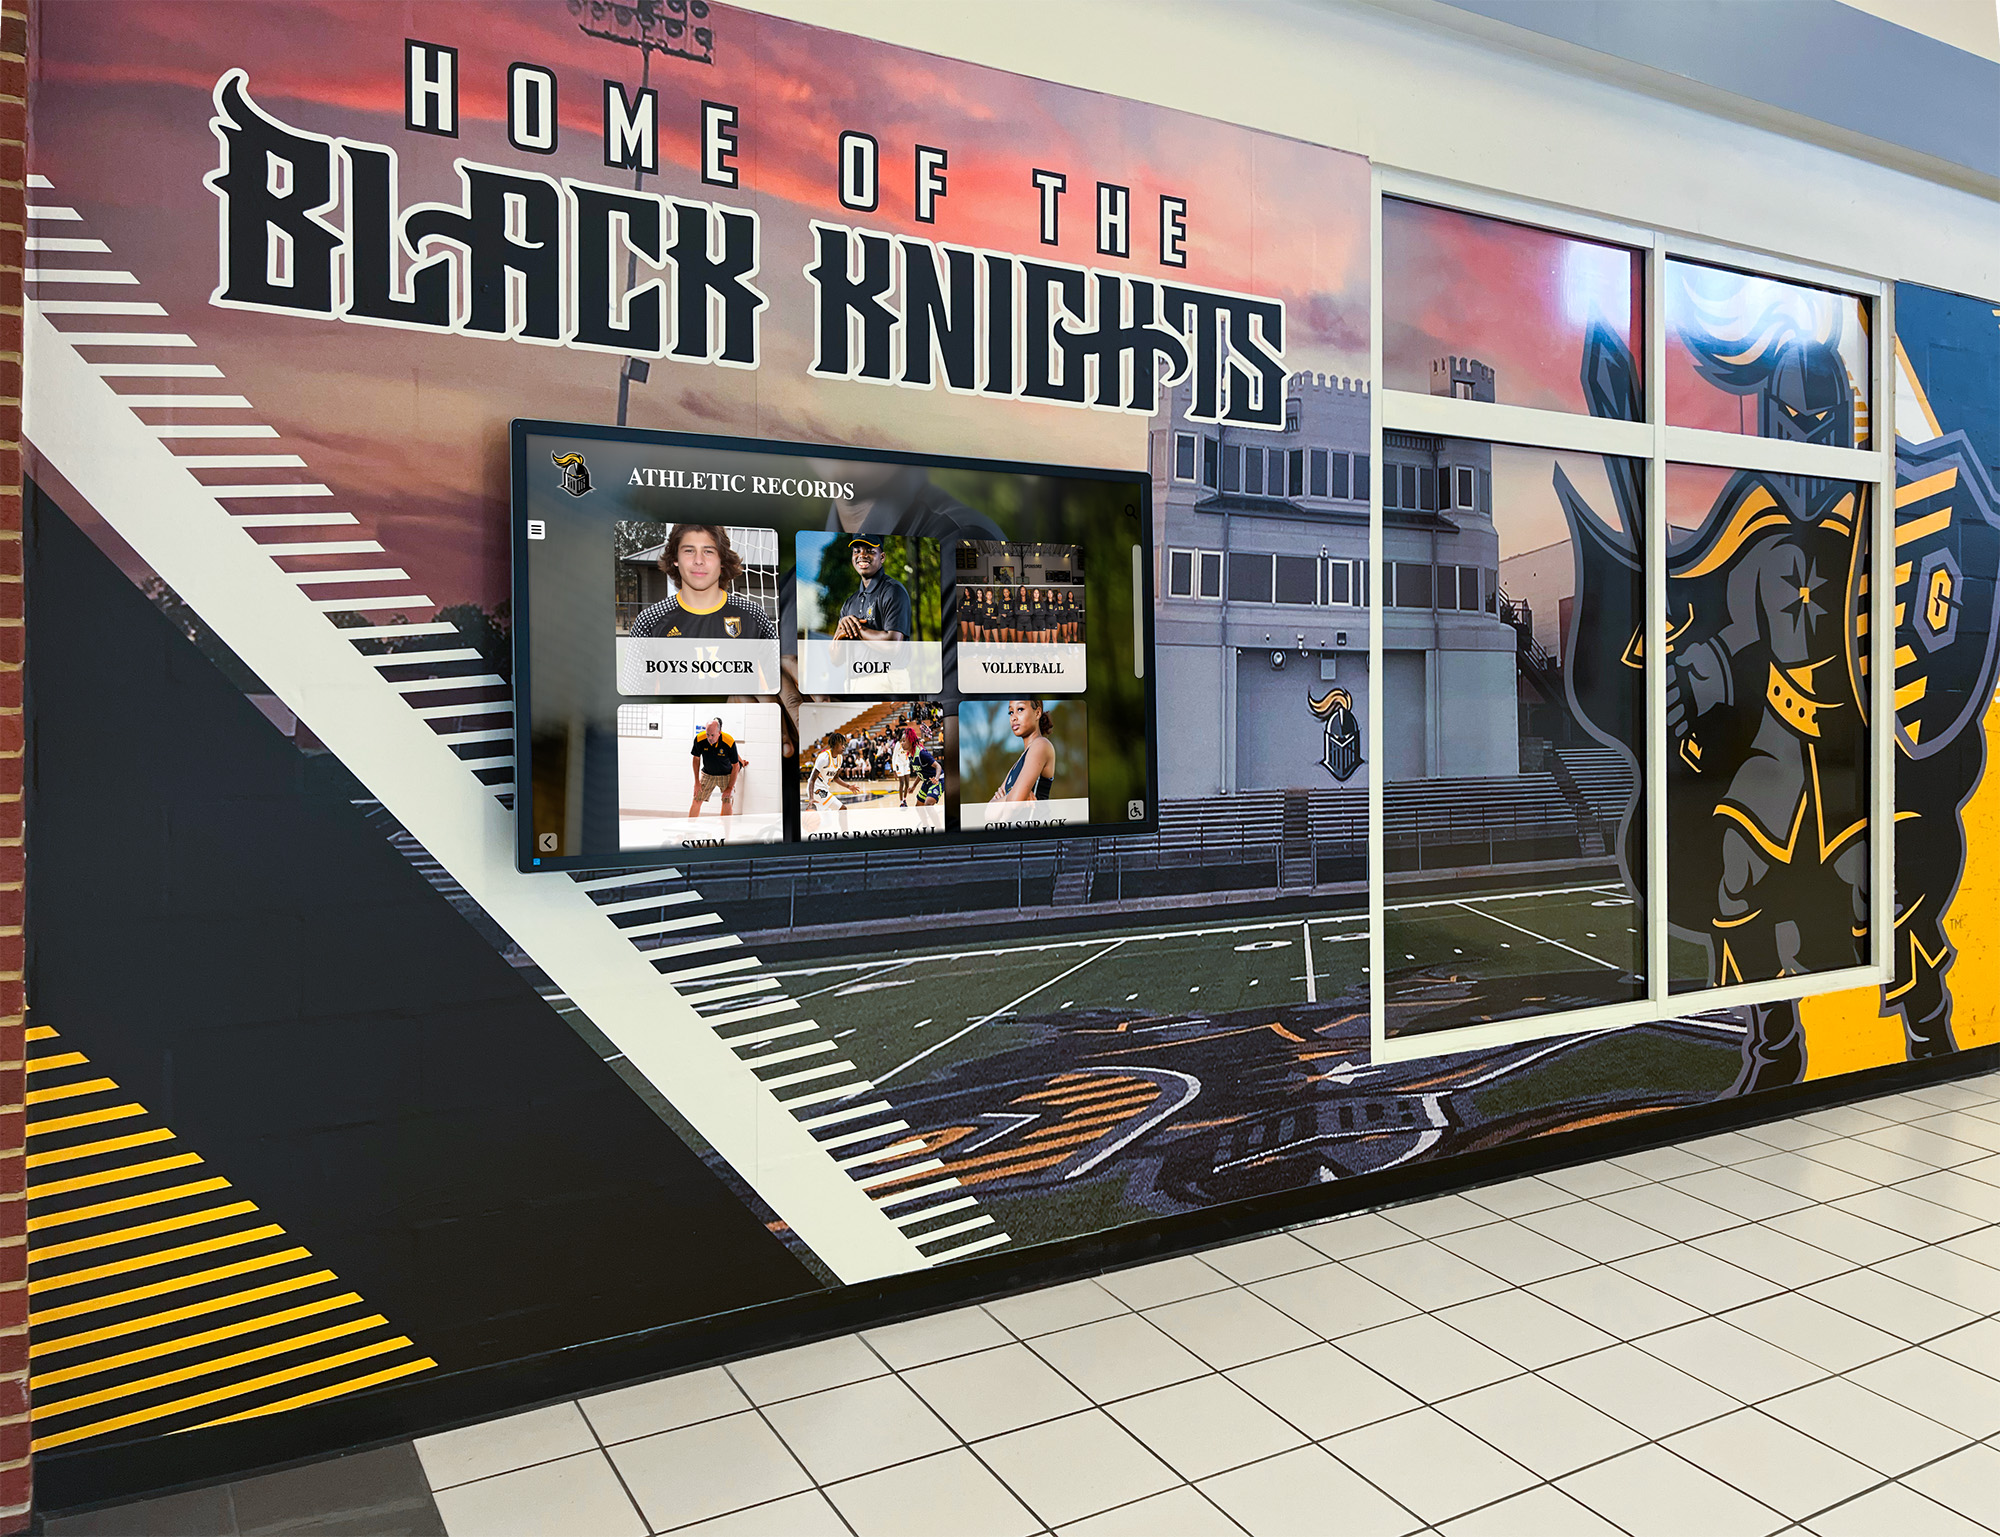
Hallway championship displays combine mascot graphics, bold lettering, and contrasting color fills — every boundary where two colors meet is a location where trapping verification prevents white registration halos on the finished banner
Spread vs. Choke Quick Reference
Use this table to determine which trapping method applies at each color boundary in a championship banner layout.
| Boundary Scenario | Trap Method | Which Object Changes | Example |
|---|---|---|---|
| Light foreground on dark background | Spread | Foreground expands outward | White school name on navy background |
| Dark foreground on light background | Choke | Background contracts inward | Black mascot shape on gold background |
| Light mascot outline on dark fill | Spread | Mascot outline edge expands | Cream outline on dark green field |
| Dark mascot shape on medium background | Choke | Background contracts toward mascot | Maroon mascot on tan or gray background |
| Spot color 1 on spot color 2 (approximately equal value) | Spread lighter | Lighter spot color spreads | Navy blue lettering on red field |
| White reversed text on any colored background | Spread | White text stroke expands | Any reversed-out school name or season record |
| Very dark on very dark (similar ink density) | Overprint | Neither — use overprint instead | Black linework on very dark navy |
| Gradient background meeting solid mascot | Choke or spread | Verify at the darkest gradient point | Mascot on fading color field |
When Trapping Is Most Critical on Championship Banners
Certain design elements in championship banner artwork create higher-priority trapping zones than others. A file with verified trapping at all of the following locations passes the practical production risk assessment for large-format banner printing.
Mascot shapes and outlines. A school mascot graphic typically combines a detailed silhouette or illustrated form with school colors, placed against a contrasting background. Every edge of the mascot where its fill color meets the background color is a boundary requiring a trap zone. If the mascot uses a filled shape with a separate outline in a third color, both the fill-to-background boundary and the outline-to-fill boundary require trapping.
School name and sport designation lettering. Lettering set in a school color against a contrasting background — or reversed white lettering against a dark background — requires trapping at every letterform edge. The stroke of individual letters is the highest-priority trapping location in most championship banner files because it is the most visually prominent boundary and the most immediately visible if a gap appears.
Championship year numerals. Large display numerals are subject to the same trapping requirements as lettering. Numerals sourced from different design elements than surrounding text may have different trap states — verify independently.
Conference and association marks. Official conference logos and association badges included in championship banner artwork often arrive from external sources with their own overprint and trap settings, which may conflict with the banner’s production workflow. Treat any externally sourced graphic element as having unknown trap state and verify before incorporating it into the banner layout.
Spot color boundaries. When a championship banner uses Pantone spot inks, boundaries between spot color regions require trapping verification against the spot color separation workflow. See Step 5 of the checklist below.
Championship Banner Trapping Preflight Checklist
Work through each step below before submitting any championship banner PDF to a commercial print vendor. Items marked (Required) will cause a visible print error if skipped. Items marked (Recommended) prevent less common failure modes.
Step 1: Identify All Color Boundary Zones
- Create a visual inventory of every location in the championship banner where two different colors share an edge. (Required)
- Categorize each boundary as: foreground on background (mascot, lettering, year numerals), background-to-background (adjacent background color zones), or spot color boundary. (Required)
- Note whether the foreground element is lighter or darker than the background at each boundary — this determines whether spread or choke trapping applies. (Required)
- Flag any location where a very dark color meets another very dark color — these boundaries may require overprint rather than trapping. (Recommended)
Step 2: Verify Trap Zone Presence in the Source Application
Before exporting the final PDF, confirm that trapping is applied at every identified color boundary.
Adobe Illustrator (manual or automatic trapping):
- Select a color-boundary element and confirm the trap zone is present as a separate object slightly overlapping the adjacent color. (Required)
- If automatic trapping was applied using Object > Trap, verify that the Trap dialog settings — thickness, height/width ratio, and tint reduction — match the vendor specification. (Required)
- Confirm that the trap object’s color uses the correct blending formula for the boundary type. Illustrator’s Object > Trap sets this automatically, but manually created trap objects may not. (Recommended)
Adobe InDesign:
- Open Window > Output > Trap Presets and confirm that a trap preset is assigned to every page that contains a championship banner layout. (Required)
- In the Trap Presets panel, verify that the trap width (the Default value) matches the vendor’s specification — typically 0.25 to 0.5 pt for most large-format vendors. (Required)
- Confirm that the trap preset is assigned to all relevant pages via the Layout > Trap Presets assigned pages panel. (Required)
If trapping will be applied by the vendor’s RIP:
Many large-format print vendors apply trapping automatically at the RIP level and do not require trapping in the source file. Confirm the vendor’s trapping workflow in writing before finalizing the file — if the vendor applies RIP trapping, do not duplicate it in the source file, because stacked trapping produces wider overlap zones than intended at any single boundary.
Step 3: Confirm Trap Width Is Within Specification
Standard trap width for large-format banner printing is typically 0.25 to 0.5 points (approximately 0.004 to 0.007 inch). Some vendors with lower equipment registration tolerance may specify up to 1 point. The trap width should be narrow enough that it is not visible as a distinct color band at the boundary when viewed at normal banner-viewing distance — too wide a trap zone creates a visible outline effect rather than a seamless color edge.
| Element Type | Minimum Trap Width | Recommended Trap Width | Maximum Before Visual Effect |
|---|---|---|---|
| Fine letterform strokes | 0.2 pt | 0.25 pt | 0.5 pt |
| Standard body text on banner | 0.25 pt | 0.35 pt | 0.75 pt |
| Display numerals (championship year) | 0.25 pt | 0.5 pt | 1 pt |
| Mascot fill boundary | 0.25 pt | 0.5 pt | 1 pt |
| Mascot outline-to-fill boundary | 0.2 pt | 0.25 pt | 0.5 pt |
| Background color zone boundary | 0.5 pt | 0.75 pt | 1.5 pt |
Confirm the vendor’s specification in writing before building the final file. Document the agreed trap width value in the production file notes so it can be verified during re-export after any correction.
Step 4: Check Mascot and Lettering Trap Type
For each mascot and lettering element identified in Step 1, confirm the following in the source application:
| Check | Method | Pass Criteria | Priority |
|---|---|---|---|
| Spread applied to light foreground elements | Inspect trap object — it must extend outward past the foreground edge | Trap object is present on the outside of the lighter element | Required |
| Choke applied to light background around dark elements | Inspect background — it must contract slightly toward the foreground edge | Background shrinks toward the dark foreground element’s edge | Required |
| Trap color blends both adjacent colors | Inspect trap object color formula | Trap object uses a blended color, not one of the two adjacent colors alone | Recommended |
| Reversed white text spreads outward | White letterform boundary expands slightly into dark background | White text stroke extends past the letterform edge | Required |
| Mascot outline traps separately from fill | Outline and fill treated as independent boundaries if different colors | Two distinct trap zones where three colors meet | Required |
Step 5: Verify Spot Color Trapping
For championship banners that use Pantone spot inks, trapping at spot color boundaries requires specific verification steps.
- In the source application (Illustrator or InDesign), confirm that spot color elements have trap zones against adjacent colors — both against other spot colors and against any process color elements in the file. (Required)
- In InDesign, open the Trap Presets assigned to the banner page and verify the Trap Color Reduction value — this controls the tint level of the blended trap color at boundaries between similar-density spot colors. (Recommended)
- In the exported PDF, open Tools > Print Production > Output Preview in Acrobat Pro and toggle each spot color plate. The trap zone at a boundary between two spot colors should appear on both plates — confirming that the trap color draws from both inks. (Required)
- Confirm with the vendor whether their RIP handles trapping between spot color plates automatically — if so, verify that the file does not contain redundant manual trap objects at the same boundaries. (Recommended)
For a complete workflow covering spot color separation and plate verification, the championship banner PDF/X preflight checklist covers the seven-category file verification that should follow trapping confirmation.
Step 6: Confirm Trap Settings Are Reflected in the Exported PDF
Trapping applied in the source application should survive the PDF export. Verify that the export process has not removed or altered trap objects.
- Export the championship banner to PDF using the production export preset. (Required)
- Open the PDF in Adobe Acrobat Pro and navigate to Tools > Print Production > Output Preview. (Recommended)
- In Separations view, zoom to 200% at a high-priority color boundary — white lettering on a dark background, or a mascot shape against a contrasting fill. Toggle the lighter color plate off. If trapping is present, a narrow zone of the trap color should remain visible at the boundary — confirming that the trap object draws from the background color as well as the foreground. (Required)
- If the trap zone is not visible in this test, trapping was either not applied in the source file or was removed during export. Return to the source application and verify the trapping workflow before re-exporting. (Required)
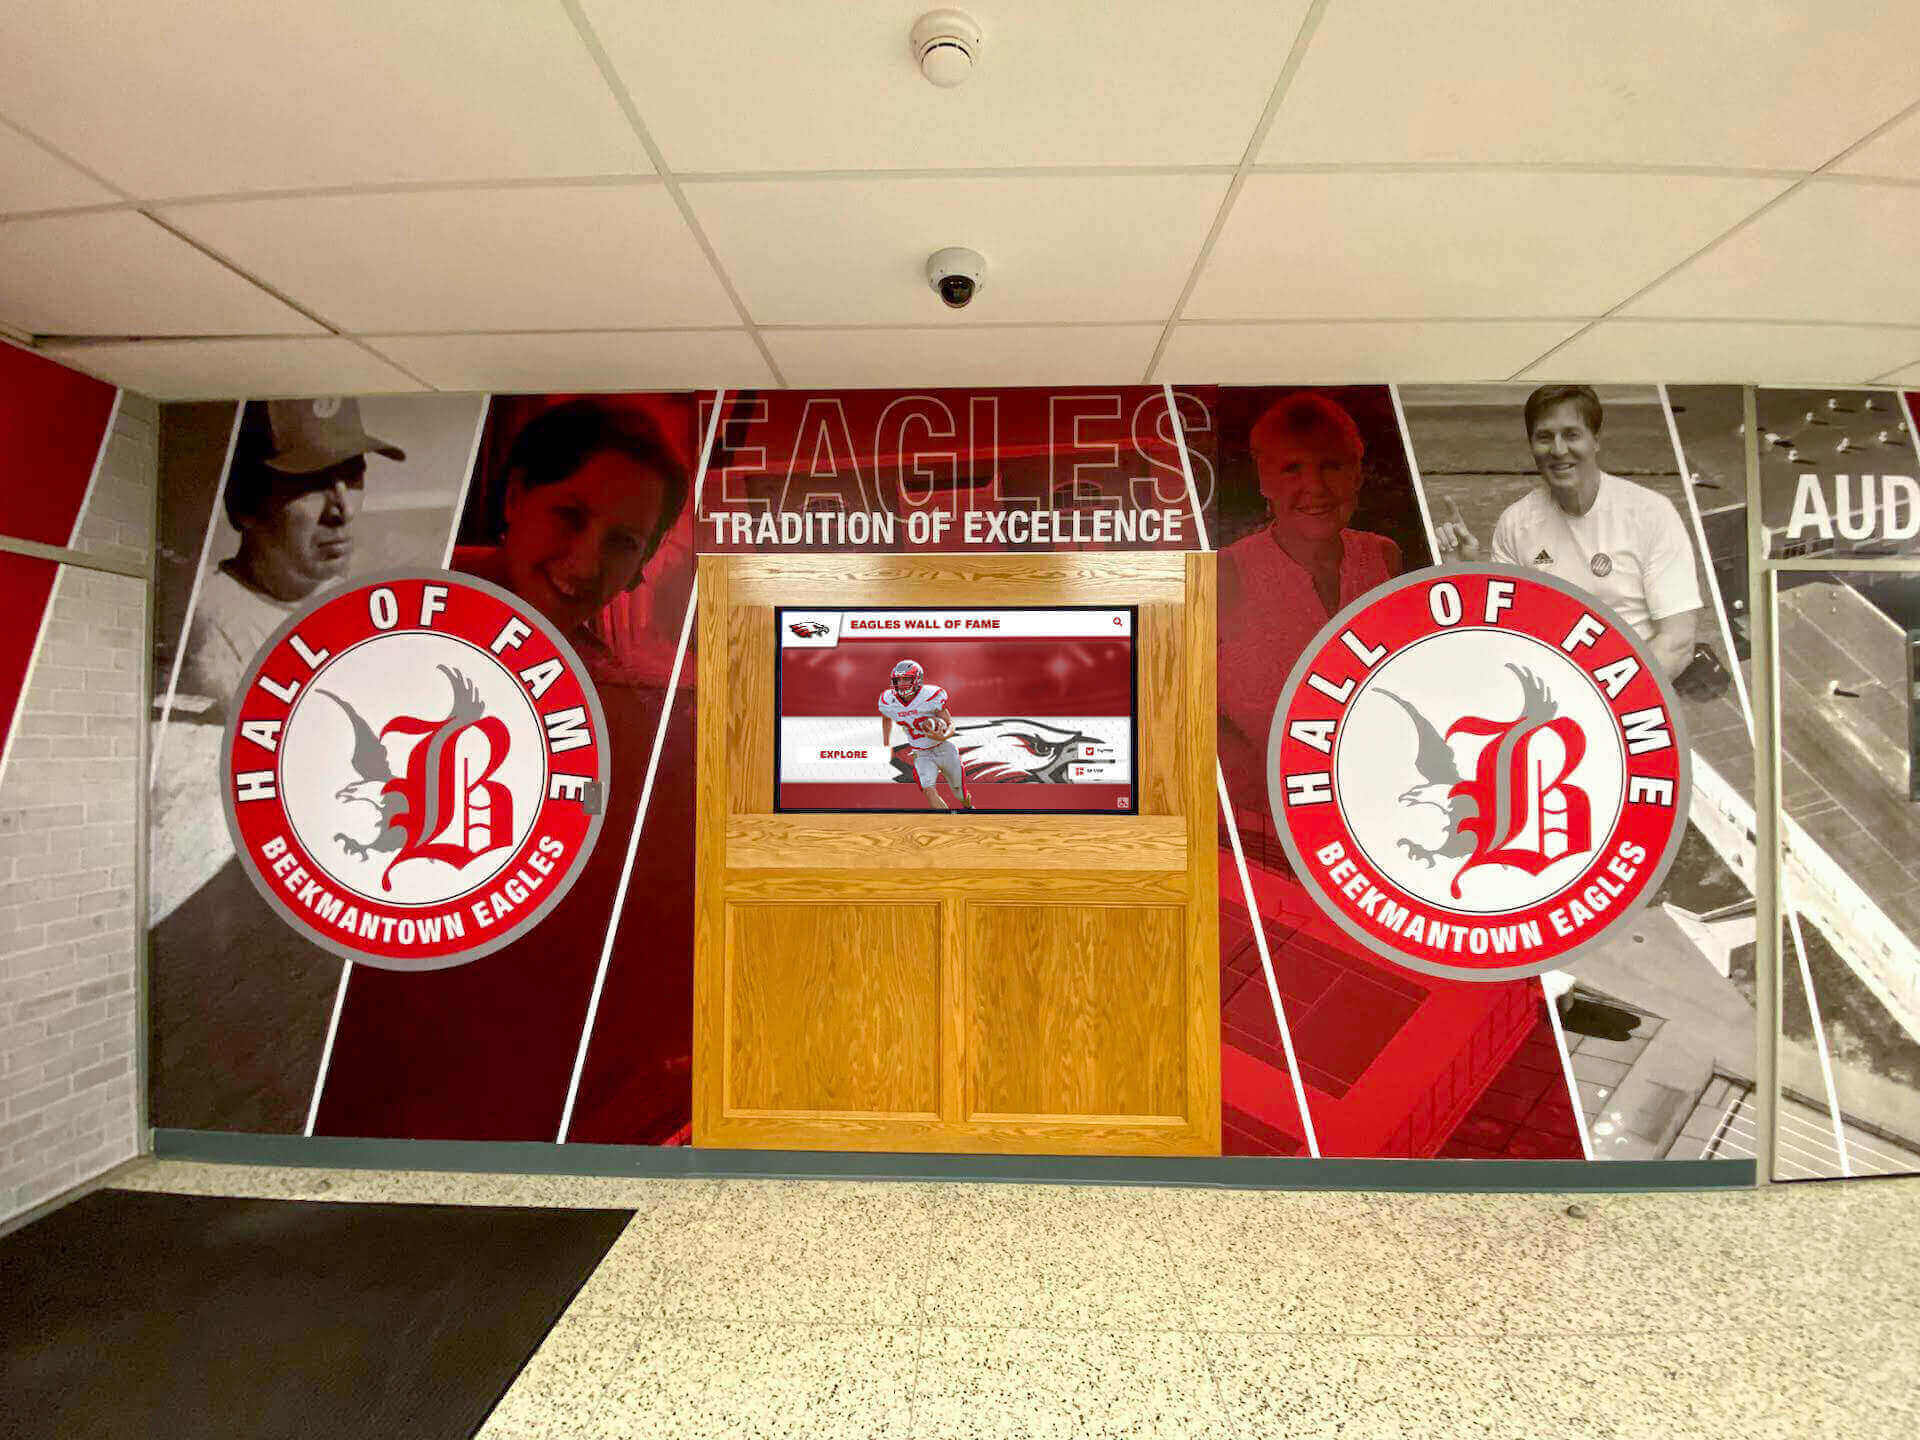
School mascot graphics displayed at large format create multiple color-boundary zones where spread and choke trapping must be verified — a single missed boundary produces a white gap visible to every athlete and visitor who passes through the space
Step 7: Re-export and Verify After Any Correction
After correcting trapping settings in the source application:
- Re-export the championship banner to PDF using the same production export preset. (Required)
- Open the new PDF in Acrobat and repeat Step 6 on all previously identified boundaries. (Required)
- Confirm that all previously identified trapping gaps are resolved. (Required)
- Run the complete PDF/X preflight check on the re-exported file — any re-export risks introducing new failures in color space, font embedding, or transparency. The championship banner registration marks preflight step should also be re-verified after any significant file correction. (Required)
Proofing Checklist: Trapping Verification Before Vendor Submission
Use this table as a one-page reference during file review. Work through every row before approving any championship banner for vendor submission.
| Check Item | Application | Method | Pass Criteria | Priority |
|---|---|---|---|---|
| Color boundary inventory complete | Source application | Visual inspection of all color-meeting zones | All boundaries identified and categorized | Required |
| Spread applied to light foreground elements | Source application | Inspect trap objects at each boundary | Trap object extends outside lighter element edge | Required |
| Choke applied to light background areas | Source application | Inspect background at each dark foreground | Background edge contracts toward dark element | Required |
| Trap width within vendor specification | Source application trap settings | Compare trap width value to vendor spec | Width matches stated vendor requirement | Required |
| Reversed white text spreads correctly | Source application | Inspect white letterform trap objects | White text edge extended into dark background | Required |
| Mascot boundary trapped at outline and fill | Source application | Inspect three-color meeting points | Two separate trap zones at outline-fill-background junction | Required |
| Spot color boundaries trapped per spec | Acrobat Pro Output Preview | Toggle spot plates in Separations view | Trap zone present on both plates at spot-to-spot boundary | Required |
| Trap objects survived PDF export | Acrobat Pro Output Preview | Toggle lighter plate off at key boundary | Narrow trap color zone visible at boundary | Required |
| No stacked trapping if RIP traps | Confirm with vendor | Verify vendor RIP trapping policy | Source file trapping disabled if vendor RIP applies it | Required |
| PDF/X preflight passed on final file | Acrobat Preflight | Run PDF/X-1a or X-4 profile | No preflight failures in final file | Required |
How Trapping Differs from Overprint and Other Preflight Categories
School staff reviewing championship banner files often encounter overprint, registration marks, trapping, and crop marks as four distinct concepts that are easy to conflate. Understanding the difference makes each preflight check faster to execute and easier to interpret.
| Concept | What It Controls | Failure If Absent | How to Verify |
|---|---|---|---|
| Trapping | Overlap zone at color boundaries | White registration halos at mascot and text edges | Source application trap objects; Output Preview separations |
| Overprint | Whether top object blends with or replaces object beneath it | Invisible text; unexpected color shifts | Overprint Preview in Acrobat; source application |
| Registration marks | Alignment crosshairs outside the print area | Plate misalignment on offset press; vendor production hold | Visual inspection in Acrobat full-page view |
| Crop marks | Cut-line guides outside the bleed boundary | Incorrect trim size; white edge after cutting | Visual inspection in Acrobat full-page view |
The championship banner overprint preview checklist covers overprint verification in detail. The championship banner crop marks preflight checklist covers trim mark verification. Trapping, overprint, and crop marks are three separate preflight categories — all three must pass before a championship banner file is ready for vendor submission.
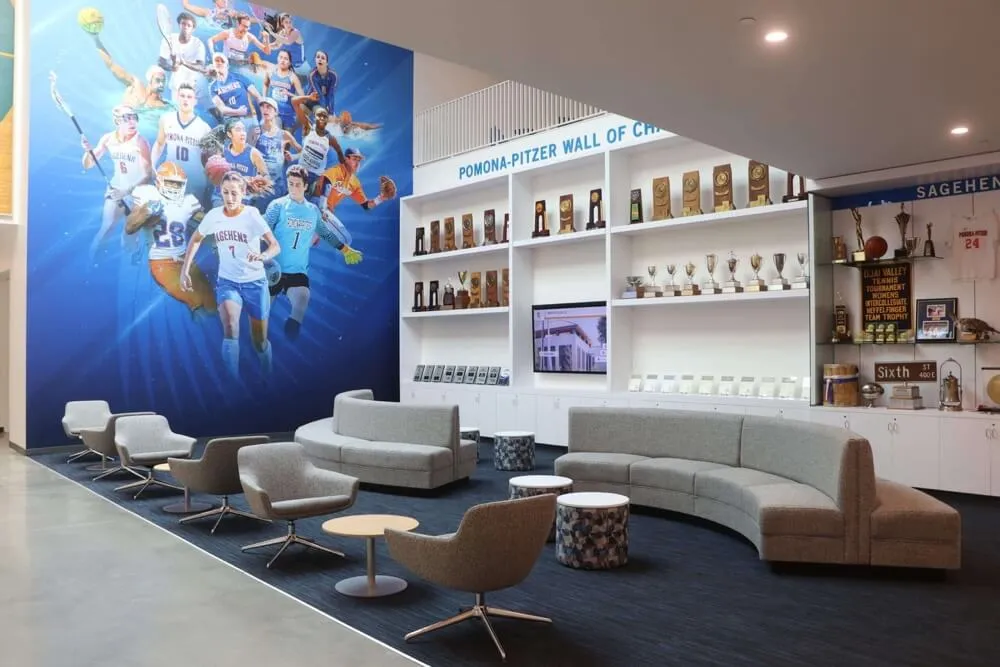
Championship recognition programs that combine trophy cases, physical banners, and digital displays depend on consistent print production quality — trapping verification is one of the preflight steps that protects the banner file through the full production process
Trapping Verification in the Context of School Recognition Programs
Championship banner files are production documents, but they carry institutional significance that extends well beyond the vendor submission. A registration halo at the edge of a school mascot graphic is a visible production failure on an artifact that may hang in a gymnasium for decades — read by every athlete, student, and visitor who passes through that space.
Schools building comprehensive athletic recognition programs manage championship banner production alongside other recognition materials and digital display systems. Digital recognition platforms that extend championship history beyond the gymnasium wall — including interactive touchscreens displaying athlete profiles, retired jersey numbers, and team records — are described in resources like this academic recognition programs guide for schools building multi-format recognition ecosystems. The print-verified championship banner artwork serves as a high-resolution source asset for digital display adaptation when the original file meets production standards, avoiding the need to recreate artwork for screen formats.
Athletic departments coordinating banner production as part of a larger recognition awards cycle often display championship history alongside academic honors. For programs that recognize student-athletes across competitive and academic categories — including academic decathlon teams and scholar-athlete programs — resources like this academic decathlon recognition guide reflect how schools build multi-category recognition displays where the same print quality standards apply to every banner, regardless of the category being honored.
For athletic directors and recognition-program coordinators building long-term recognition infrastructure, understanding the full range of hall of fame display tools available — from physical banner systems to digital touchscreen kiosks — helps frame where championship banner production fits within a broader recognition strategy. Resources on hall of fame tools for athletics, donors, arts, and history describe how schools evaluate recognition display options across categories and budgets, and how print and digital systems work together in the same athletic spaces.
Schools planning anniversary events, alumni reunions, and recognition ceremonies often produce championship banner series alongside commemorative programming. Resources on high school reunion programming and digital displays reflect how recognition coordinators connect physical championship display materials to event programming — where a banner produced with visible registration halos becomes a quality concern at the exact moment the school’s alumni community is paying closest attention.
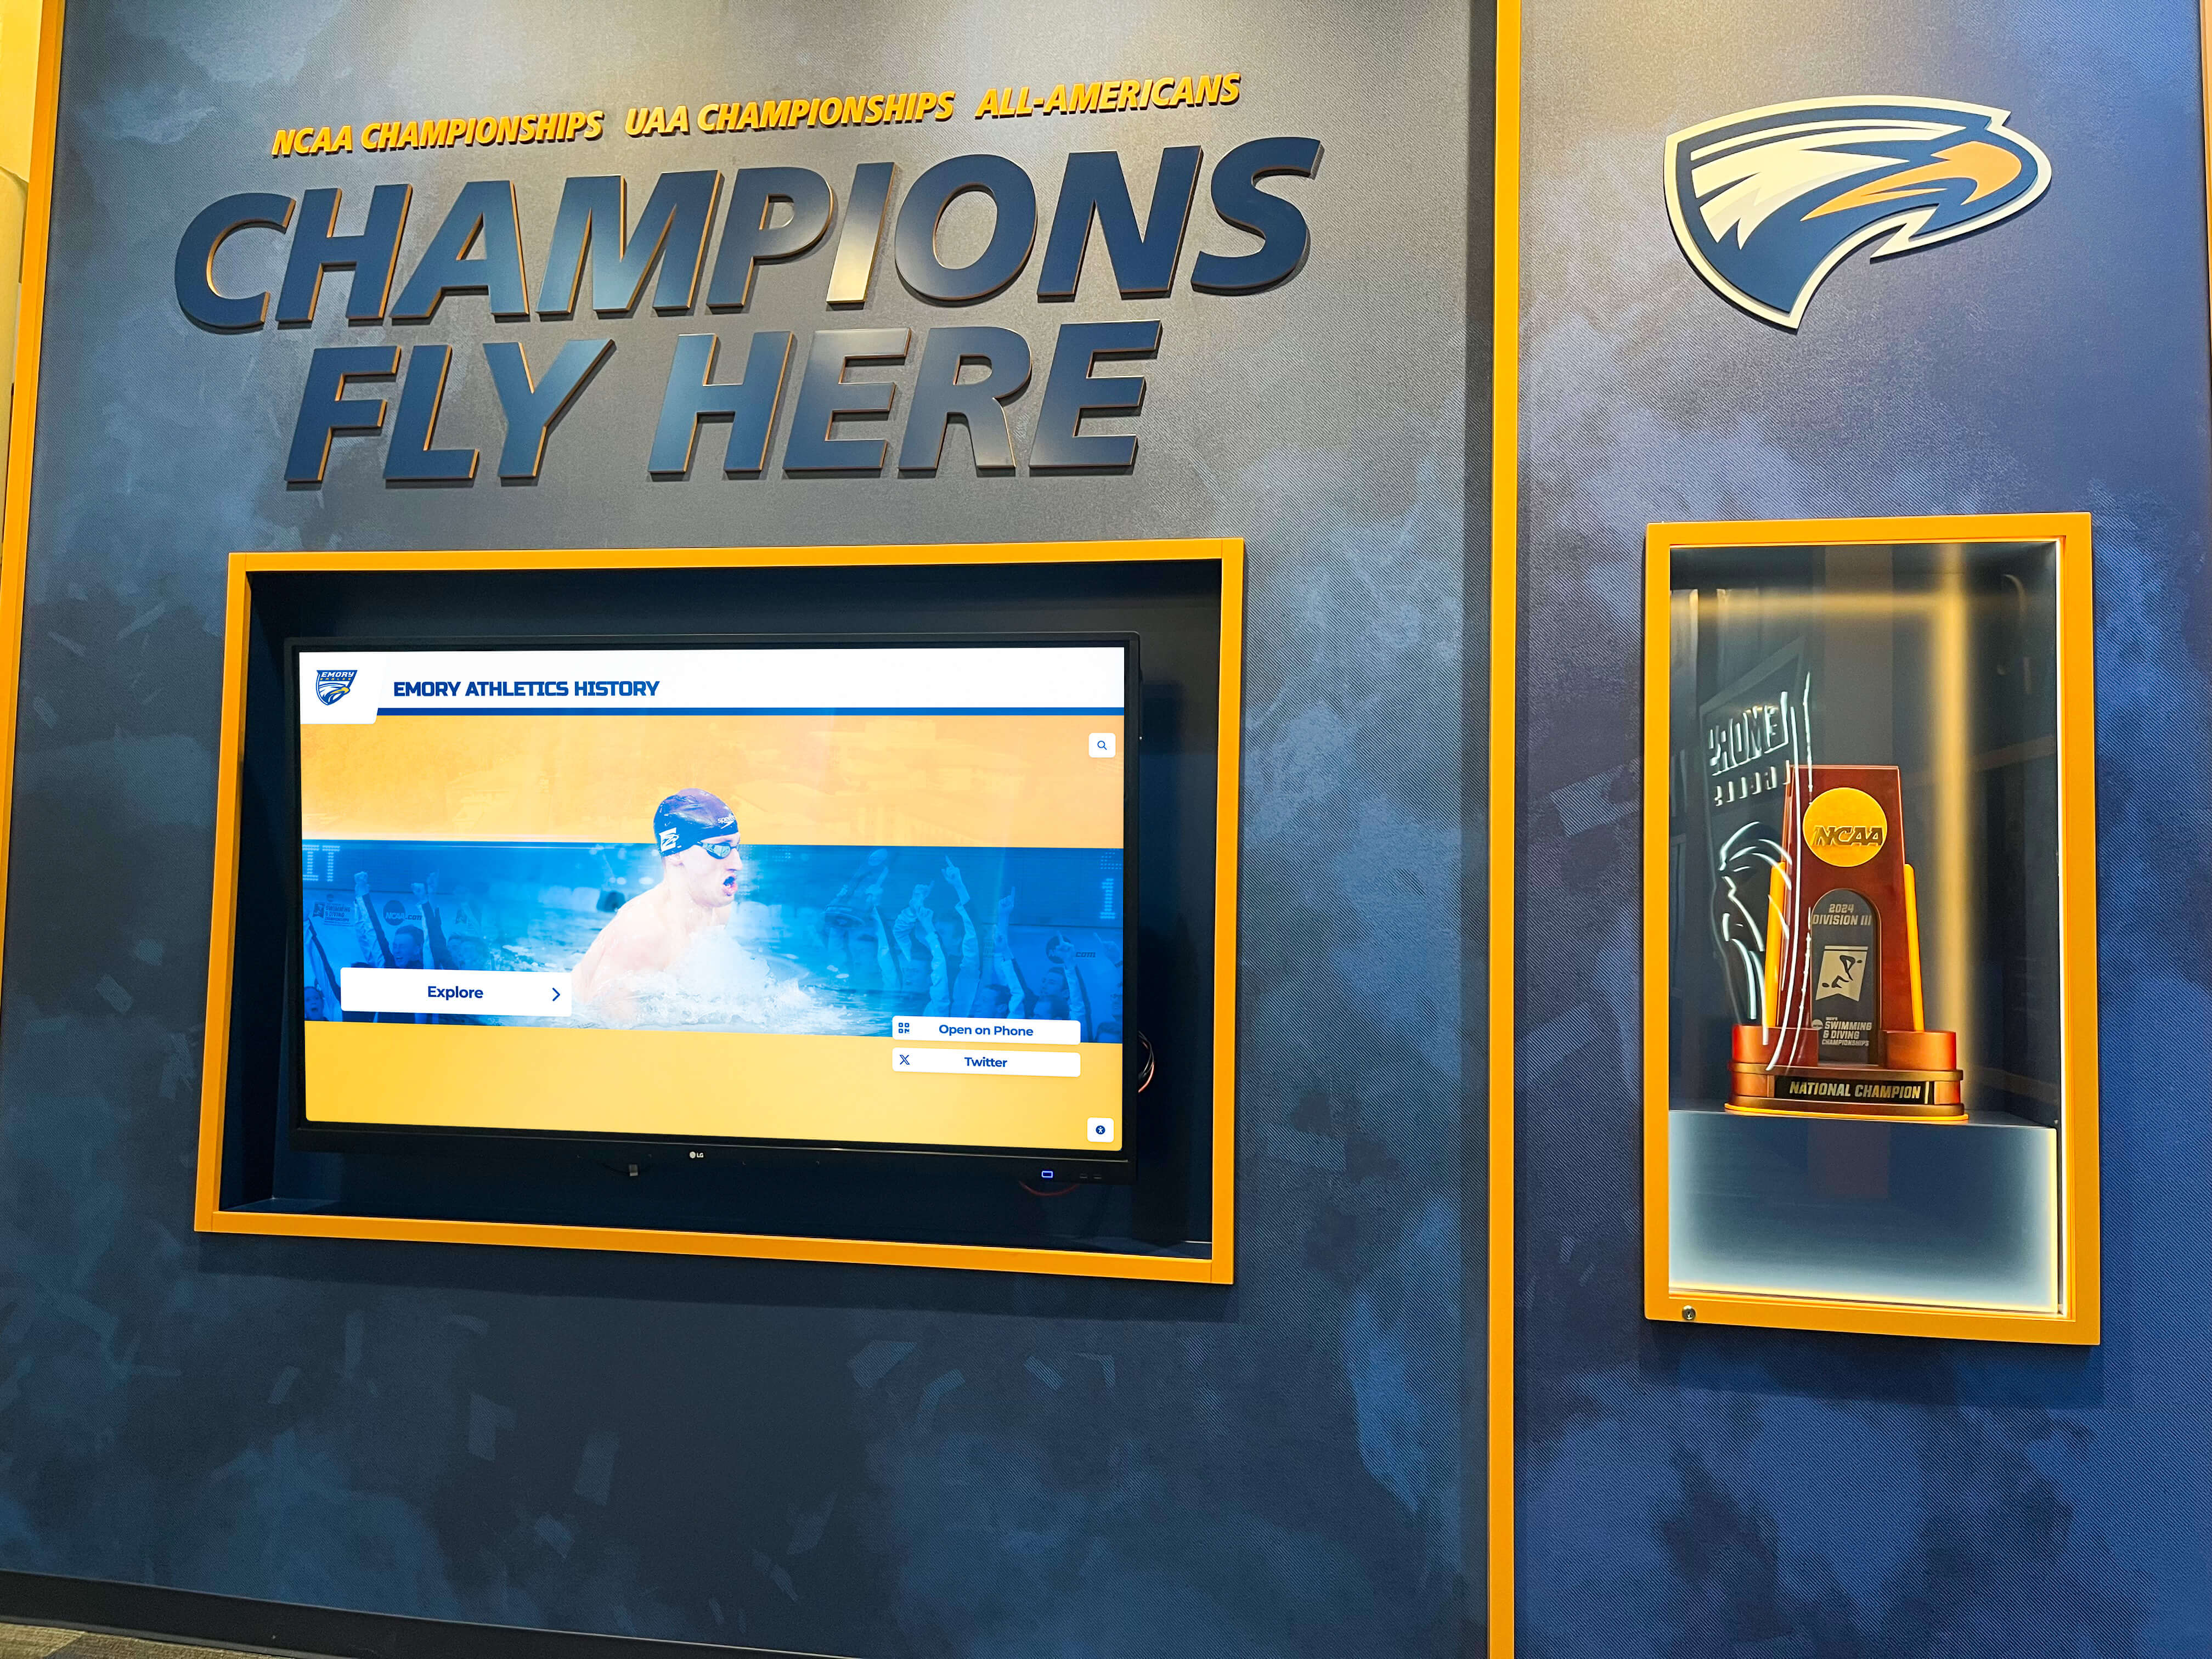
Championship recognition collections that span decades and multiple sports depend on consistent print file standards — a trapping verification workflow applied to every new banner submission ensures the newest addition matches the quality of installations from years earlier
For schools that display physical championship banners alongside interactive recognition kiosks in athletic hallways and lobbies, resources on recognition programs and hall of fame implementation guides describe how recognition coordinators evaluate the combination of print-based and digital recognition systems. Championship banner artwork that passes trapping and preflight verification provides the source material for digital display content without requiring artwork recreation — the verified print file adapts to screen dimensions at the resolution and color fidelity the digital system requires.
Athletic programs that track championship history across multiple seasons benefit from recognition infrastructure that extends the visibility of that history beyond the banner installation. Resources covering hall of fame tools for schools describe how institutions evaluate and implement recognition infrastructure across program categories, including both physical and digital display systems that can complement championship banner programs at any facility scale.
For recognition programs that extend beyond athletics to encompass academic, arts, and community service recognition, the trapping and preflight standards that apply to championship banners apply equally to every print recognition artifact the school produces. Resources covering recognition tools for schools of every size and budget describe how institutions build recognition infrastructure that serves multiple program categories — a framework that applies the same production quality standard from championship banners to every print recognition material the school commissions.
Frequently Asked Questions: Championship Banner Trapping Preflight
What is trapping in championship banner printing?
Trapping in championship banner printing is a deliberate slight overlap between adjacent color regions in a print file that prevents white gaps — called registration halos — from appearing where two colors meet when the printing equipment shifts slightly during production. Without trapping, any minor positional variation between color passes or plates exposes the unprinted substrate between adjacent colors as a white line at the boundary. Spread trapping expands lighter foreground objects into darker backgrounds; choke trapping contracts lighter backgrounds around darker foreground elements. Both methods create an overlap zone that prevents white gaps from appearing at the color boundary.
What is the difference between spread and choke trapping?
Spread trapping expands a lighter foreground object slightly outward into the adjacent darker background — the lighter color grows to overlap the background edge. Choke trapping contracts a lighter background object slightly inward, toward a darker foreground element — the lighter background shrinks toward the darker foreground’s edge. Both methods create a narrow overlap zone at the boundary between two colors. The correct method depends on which color is lighter: lighter colors are spread or choked to meet darker colors, because lighter inks have less visual weight and the overlap zone is less perceptible at the boundary edge.
How wide should the trap zone be on a championship banner print file?
Standard trap width for large-format banner printing is typically 0.25 to 0.5 points (approximately 0.004 to 0.007 inch). Some vendors with lower equipment registration tolerance may specify up to 1 point. The trap width must be narrow enough that it is not visible as a distinct color band at the boundary when viewed at normal banner-viewing distance — too wide a trap zone creates a visible outline rather than a seamless color edge. Confirm the vendor’s specification in writing before finalizing the file.
Do I need to apply trapping if the vendor’s RIP handles it automatically?
Many large-format print vendors apply trapping automatically at the RIP level and do not require trapping in the source file. If the vendor applies RIP trapping, do not also apply trapping in the source file — stacked trapping produces wider overlap zones than intended at any boundary, which can create a visible color band at the edge. Confirm the vendor’s trapping workflow in writing before finalizing the file. If the vendor handles it, submit without source-level trapping and document this in the file handoff.
How do I verify that trapping is present in the exported PDF?
Open the exported PDF in Adobe Acrobat Pro and navigate to Tools > Print Production > Output Preview. In Separations view, zoom to 200% at a high-priority color boundary — white lettering on a dark background, or a mascot shape against a contrasting fill. Toggle the lighter color plate off. If trapping is present, a narrow zone of trap color remains visible at the boundary — confirming that the trap object draws from the adjacent color. If no trap zone appears after toggling the lighter plate off, trapping was not applied in the source file or was removed during PDF export.
Print It Right the First Time
A championship banner trapping preflight checklist addresses a failure mode that is invisible in standard print preview and immediately visible on a finished banner hung at eye level in a gymnasium: the white registration halo at every color boundary where two adjacent inks were not overlapped. Trapping is a narrow technical step — confirming that every mascot edge, every letterform, and every background color zone boundary has a deliberate overlap of the correct width and type — but it is the step that determines whether the color transitions on a printed banner look sharp or frayed at production distance. Running through the seven checklist steps above before every banner submission takes fewer than fifteen minutes on a correctly configured file and catches the errors that produce a visible, permanent defect on a recognition artifact that may hang in a school gymnasium for a generation.
For athletic departments adding a new banner each season, a written trapping verification standard compounds its value with every order. The same checklist that caught a missing trap zone on the first banner submission prevents the same class of error on the tenth — building a production quality standard that protects the school’s recognition investment across every championship documented.
Build a Championship Recognition Program That Lasts
Rocket Alumni Solutions helps school athletic programs build championship recognition systems — from print-ready graphic standards and digital display networks to interactive hall-of-fame kiosks that connect banner history to the athletes and alumni who earned it. See how your school's recognition program fits together.
Get notified when Rocket Graphics opens