A championship banner transparency flattening preflight checklist prevents the class of production failure where transparent shadows, blend modes, and semi-transparent graphic objects produce rasterized text, unexpected color shifts, or missing spot-color ink at the print vendor — errors that look correct on screen and arrive wrong in the finished banner. The direct answer: before submitting any championship banner file to a commercial print vendor, open the PDF in Adobe Acrobat Pro, enable Flattener Preview under Print Production, confirm that all text objects remain as vector paths after simulated flattening, verify that no color-shift zones appear at transparency boundaries, and confirm the flattening resolution is set to the High Resolution preset (1200 dpi for vector/text, 300 dpi for raster). If the file will be submitted as PDF/X-1a — the format most commercial print vendors require — all transparency must be fully flattened before delivery, because PDF/X-1a does not support live transparency.
This checklist is organized by verification step and failure type, with a quick-reference table for ongoing use. It is written for school administrators, athletic directors, facilities managers, and recognition-program coordinators who review banner artwork before production approval — not for professional prepress operators.
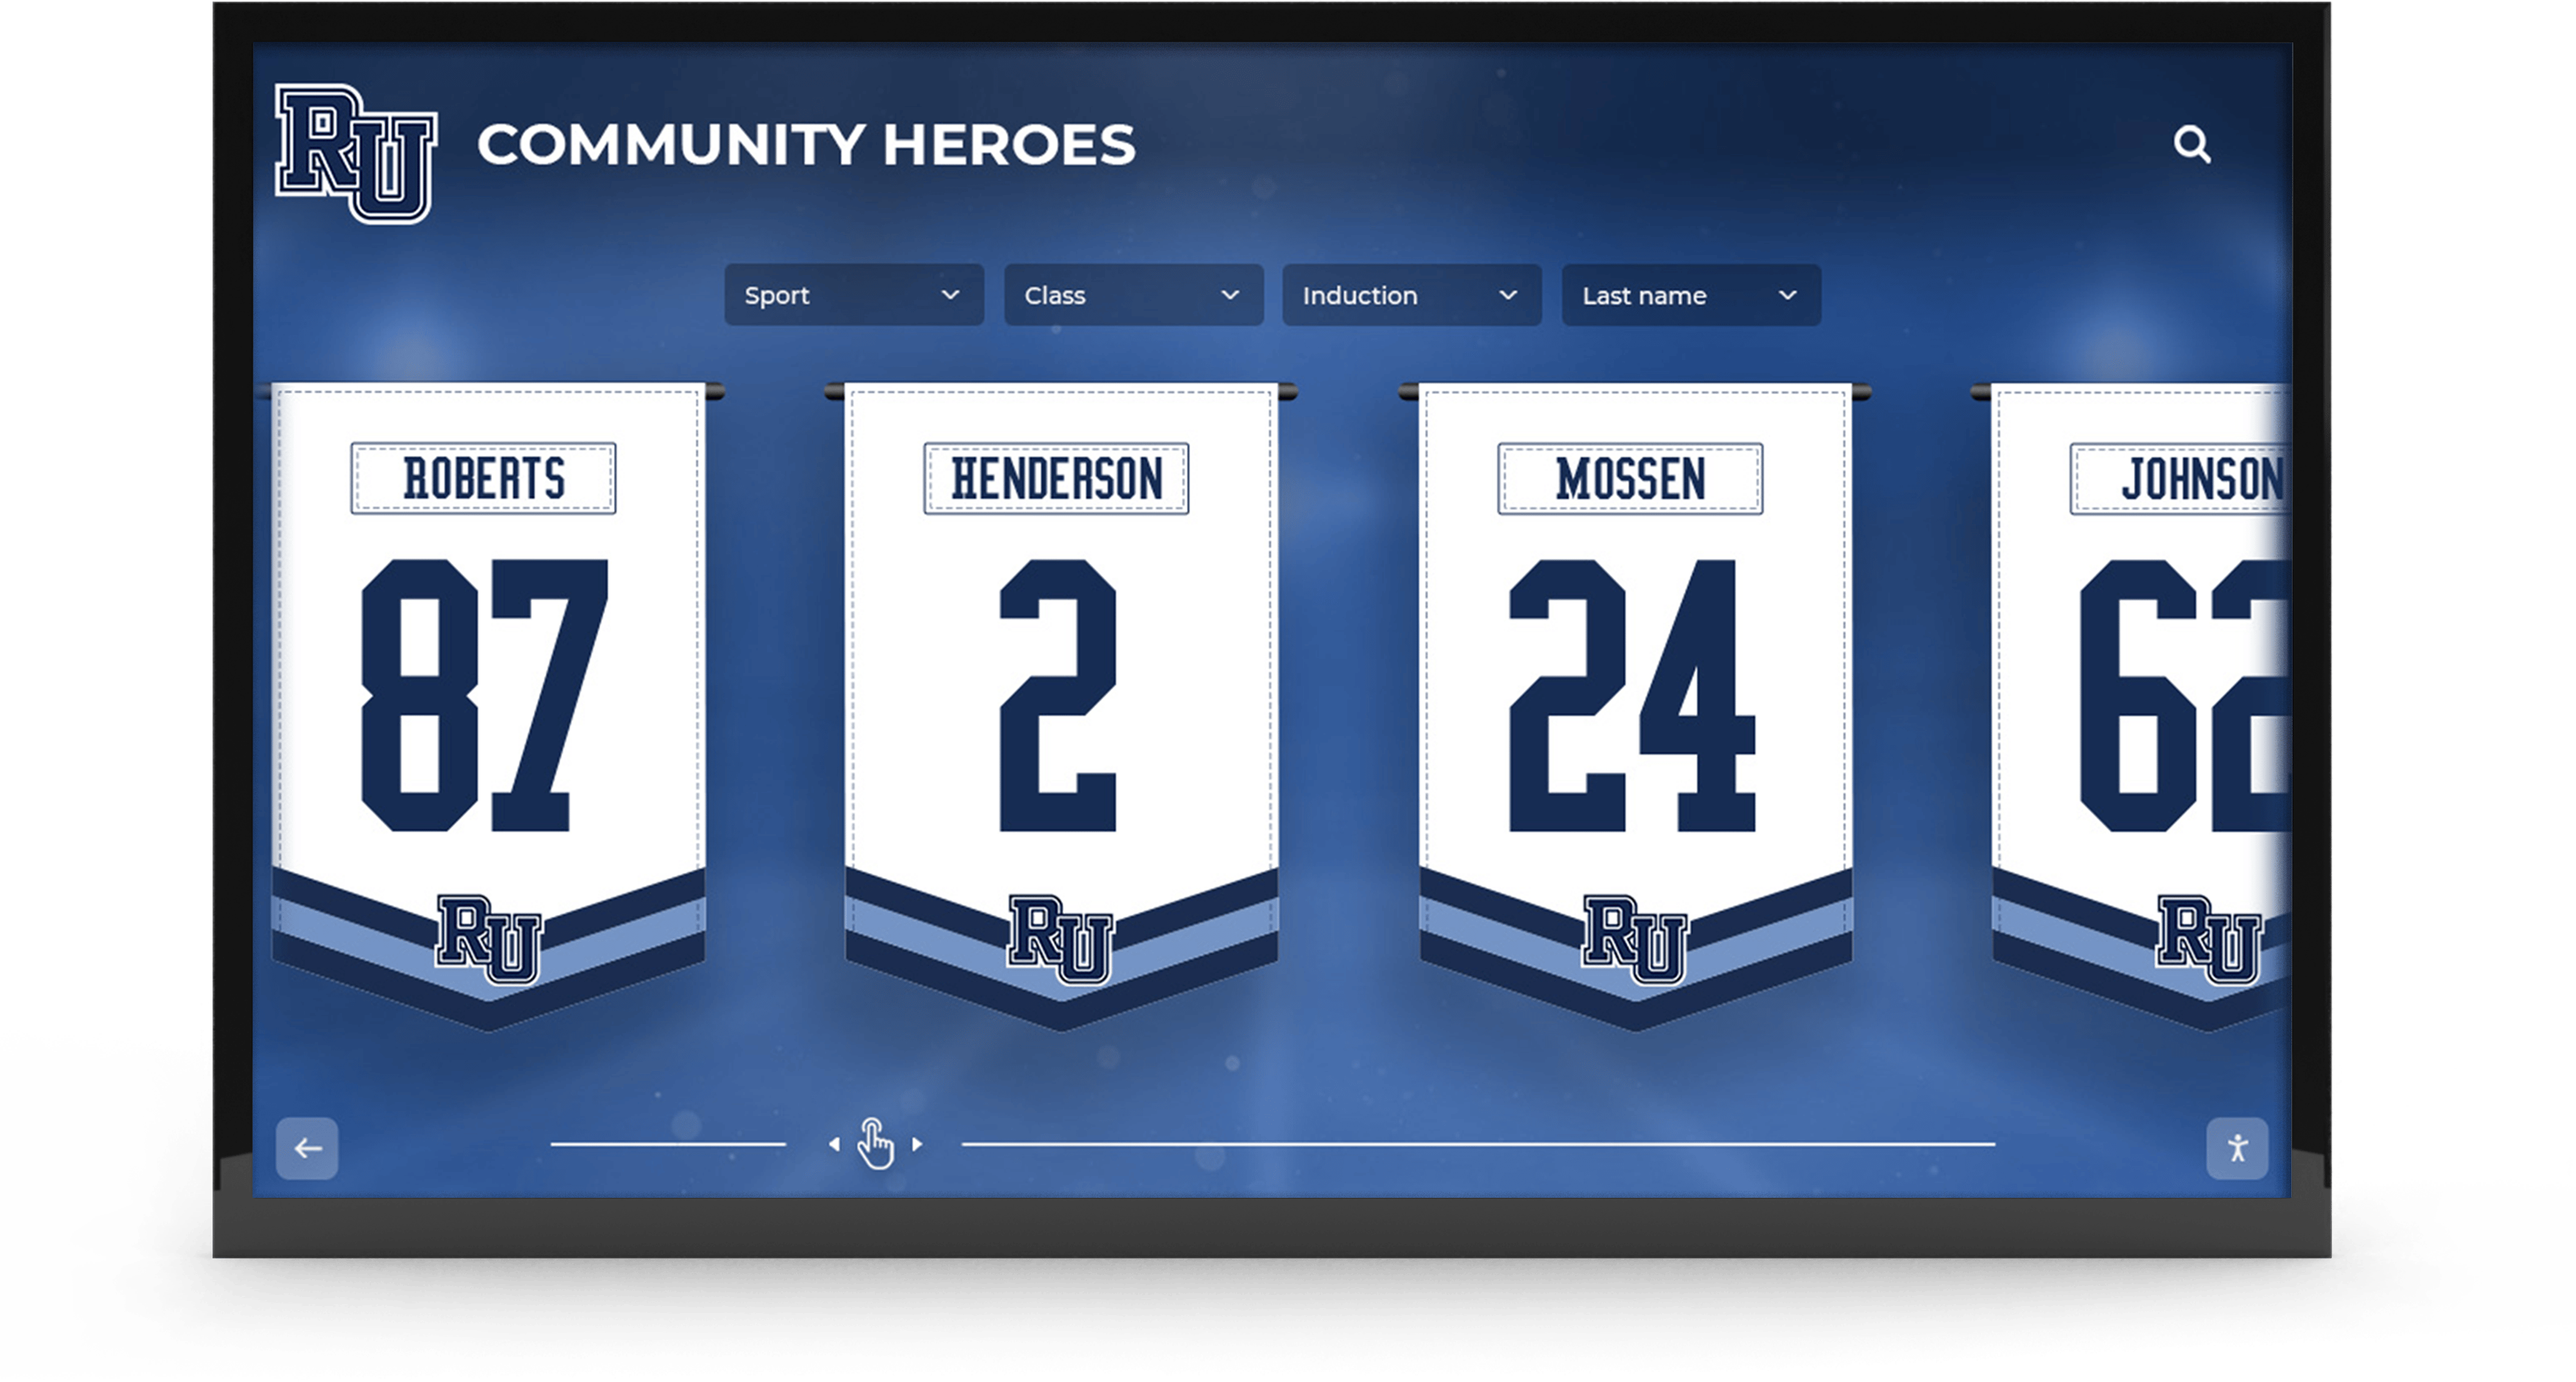
Championship banners installed in school gymnasiums and lobbies represent permanent athletic records — a transparency flattening error that reaches the vendor produces rasterized text, color-shifted backgrounds, or missing spot colors that cannot be corrected after production
Why Transparency Flattening Matters for Championship Banner Production
Transparency in a print file describes any object or effect that interacts visually with what is beneath it rather than sitting on top as a fully opaque element: drop shadows, glows, feathered edges, multiply or screen blend modes, and any object with opacity below 100%. These effects render correctly on screen in Adobe Acrobat and all modern PDF viewers. The problem appears at the vendor.
Commercial print vendors process PDF files through a Raster Image Processor (RIP) — software that converts the PDF’s instructions into the dots of ink placed on the substrate. Legacy RIPs and PostScript-based production workflows do not natively support live transparency. To print a file containing transparent objects, those effects must be “flattened” — converted from live, interacting objects into a mosaic of opaque tiles that simulate the visual result of the original transparency. That conversion is transparency flattening.
Flattening is not inherently harmful. A file flattened correctly at the right resolution and with the right settings produces output indistinguishable from the live-transparency version. Flattening that occurs at the wrong settings or with the wrong application behavior produces visible and permanent defects:
- Rasterized text: Text objects adjacent to transparent regions may be included in a rasterized tile during flattening, converting sharp vector letterforms into a grid of pixels. On a championship banner printed at large format, rasterized text produces softened edges visible at reading distance.
- Color shifts at transparency boundaries: Where flattened tiles meet solid areas, slight color-value differences at tile edges can produce a visible seam — most noticeable at the edge of a drop shadow against a solid school-color background.
- Spot-color conversion: Transparency involving objects assigned to Pantone spot colors may cause flattening to convert those spot-color values to CMYK process equivalents, shifting the printed color away from the school-color specification.
- White element loss: White objects involved in transparency interactions may flatten to a value that renders them invisible on the printed substrate.
For championship banners that hang in gymnasiums and corridors for decades as a permanent record of athletic achievement, any of these errors produces a visible defect that represents the recognition program inaccurately for as long as the banner remains installed.
The Three Transparency Flattening Errors That Damage Championship Banners
Understanding what goes wrong — and why — makes the checklist steps faster to execute.
Error 1: Rasterized Text at Transparency Boundaries
When a text object sits near or overlaps a transparent effect — a drop shadow applied to adjacent artwork, a semi-transparent image layer beneath the text — the flattener may include that text in a rasterized tile rather than preserving it as a vector object. On screen and in a standard proof, the text looks identical either way. On a large-format banner printed at viewing distances of two to eight feet, the difference between sharp vector text and rasterized text is visible: softened strokes and slightly fuzzy edges are apparent on letters with fine serifs or tight character spacing.
This failure is most common when a file uses drop shadows on school name text — a very common design choice for depth — combined with PDF/X-1a delivery, which requires all transparency to be flattened before submission.
Error 2: Spot Color Converted to CMYK by Flattening
Championship banners frequently specify school colors as Pantone spot-color values to ensure the printed banner matches brand standards regardless of ink mix variation. When a transparent effect involves a spot-color object, flattening may be unable to preserve the spot-color ink channel and converts the value to a CMYK process equivalent instead. The Pantone match is lost, and the vendor prints a CMYK approximation that may be several perceivable color units away from the school-color specification.
This error is invisible in standard PDF preview, which renders spot colors as their screen RGB approximation regardless of whether the spot channel is preserved in the file. Verification requires examining color separations in Acrobat Pro’s Output Preview.
Error 3: White Gaps at Object Boundaries After Flattening
Where flattened tiles meet adjacent solid objects, slight rounding of values at tile boundary calculations can produce a hairline white gap — visible on dark backgrounds at banner scale. This seam artifact is most common at the boundary of a soft feathered-edge object (a glow or shadow) meeting a solid-color background fill, and becomes more visible as banner size increases.
Championship Banner Transparency Flattening Preflight Checklist
Work through each step below before submitting any championship banner PDF to a commercial print vendor. Items marked (Required) will cause a visible production error or vendor hold if skipped. Items marked (Recommended) prevent less common failure modes.
Step 1: Identify Transparency in the Source File
- Open the source design file (Illustrator, InDesign, CorelDRAW, or Affinity) and list every element that uses transparency in any form. (Required)
- Include: drop shadows, outer glows, inner glows, any object with opacity below 100%, blend mode objects (Multiply, Screen, Overlay, Soft Light), feathered edges, and gradient objects with transparency stops. (Required)
- Note which transparent elements are adjacent to or overlapping text objects — these carry the highest risk for text rasterization during flattening. (Required)
- Note which transparent elements involve spot-color objects — these carry the highest risk for unintended CMYK conversion. (Recommended)
- If no transparency is present in the file, Steps 2 through 6 can be abbreviated to a single Acrobat Flattener Preview check for confirmation. (Required)
Step 2: Check Flattening Preview in Adobe Acrobat Pro
Adobe Acrobat Pro includes a Flattener Preview tool that simulates on screen exactly how transparency will be resolved when the file is flattened for production — without actually modifying the file.
- Open the championship banner PDF in Acrobat Pro. (Required)
- Navigate to Tools > Print Production > Flattener Preview. (Required)
- In the Flattener Preview panel, select the High Resolution preset from the dropdown. (Required)
- Enable the Rasterized Complex Regions highlight — this overlay marks every area of the document that will be converted from vector to raster during flattening. (Required)
- Confirm that no text objects are included in the highlighted rasterized regions. If text is highlighted, the flattening settings require adjustment in the source application before re-export. (Required)
- Enable the Transparent Objects overlay to identify every element in the document that carries a transparency attribute — this confirms the inventory from Step 1. (Recommended)
| Flattener Preview Highlight | Meaning | Action Required |
|---|---|---|
| Rasterized Complex Regions (red) | These areas will be rasterized during flattening | Verify no text is included; adjust settings if needed |
| Transparent Objects (teal) | Live transparent objects in the current PDF | Inventory and categorize for downstream checks |
| All Affected Objects (yellow) | Objects that will be impacted by flattening | Review for text, spot-color, and critical content |
| Outlined Text (purple) | Text that will be converted to outlines | Confirm all outlined text is intentional |
Step 3: Verify Text Remains Vector After Flattening
Text rasterized during flattening is a quality defect at large-format print scale. This step confirms that no text objects in the championship banner file will be converted to raster tiles when the PDF is flattened.
- In Acrobat Flattener Preview with the Rasterized Complex Regions overlay active, zoom to 200% at each area where text appears near transparent effects. (Required)
- Confirm that no text areas are highlighted — if any text element is covered by the rasterized-regions overlay, that text will be rasterized during flattening. (Required)
- If text rasterization is detected, return to the source application and move the transparency-producing elements so they do not directly overlap the text objects. Re-export and repeat the Flattener Preview check. (Required if text rasterization is detected)
- In InDesign: navigate to Edit > Transparency Flattener Presets > High Resolution and confirm the Rasterize Complex Regions option is unchecked — this prevents adjacent non-transparent objects from being pulled into rasterized flattening tiles. (Recommended)
- For Illustrator exports: in File > Save as PDF > Advanced > Transparency Flattening, select the High Resolution preset. Confirm that Convert All Text to Outlines is not enabled — outlining text prevents it from being recognized as live type by downstream systems. (Recommended)
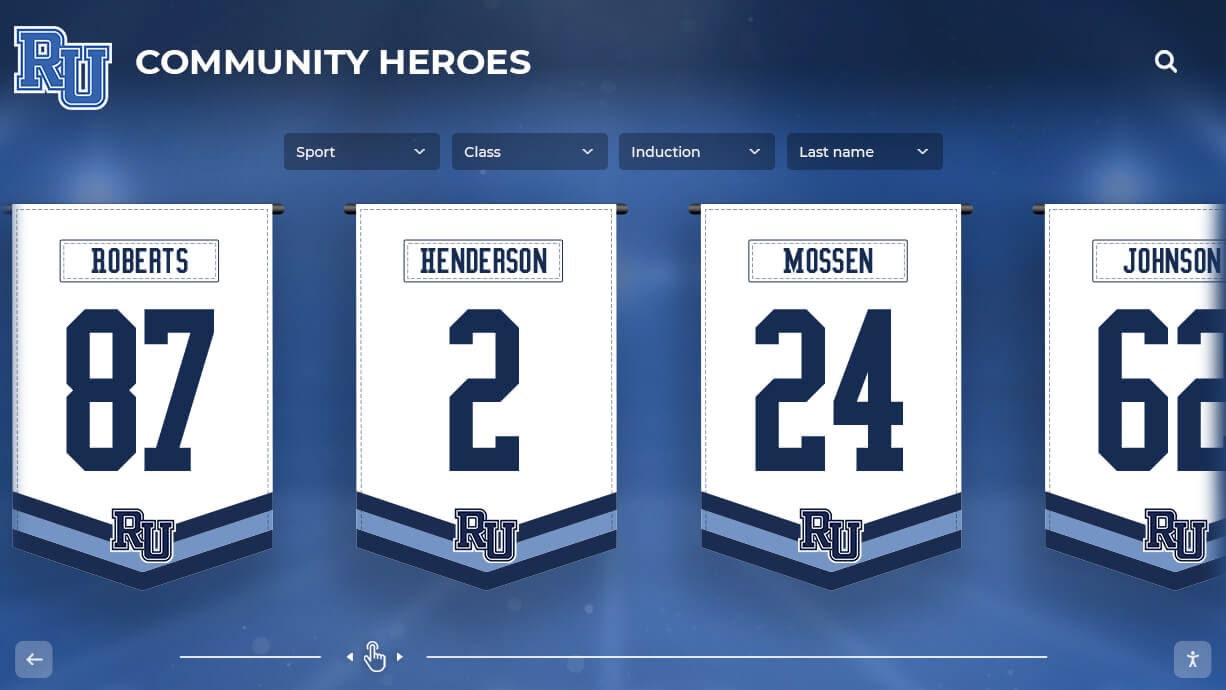
Championship banners are viewed at close range in school gymnasiums and lobbies — text rasterized during transparency flattening produces perceptibly softer strokes that are immediately visible compared to correctly preserved vector text
Step 4: Check for Color Shifts at Transparency Boundaries
- In Acrobat Pro, go to Tools > Print Production > Output Preview. (Recommended)
- Enable Simulate Overprinting in the preview options — this mode simulates how the file’s inks interact at output, including at flattened transparency zones. (Recommended)
- Zoom to 200% at every boundary where a transparent effect meets a solid background color. Look for: visible seams or halos, unexpected color shifts, areas where background color changes intensity near a shadow or glow edge. (Required)
- If a seam or color shift is visible in the simulated preview, the transparency flattening resolution may be too low for the file’s complexity. Return to the source application, apply the High Resolution flattener preset, and re-export. (Required if shift is detected)
- For files submitted as PDF/X-4 — which supports live transparency and does not require flattening — request written confirmation from the vendor that their RIP accepts live-transparency PDF/X-4 before using this format. (Recommended for PDF/X-4 submissions)
Step 5: Verify Spot-Color Integrity Through Flattening
- In Acrobat Pro Output Preview, set the view to Separations mode. (Required for spot-color banner files)
- Toggle the separation list to show only the spot-color plates (Pantone channels, if present). (Required)
- Confirm that spot-color objects that carry transparent effects still appear on the spot-color plate. If they have been converted to CMYK, they will appear only on the Cyan, Magenta, Yellow, and Black plates — not on the Pantone plate. (Required)
- If spot-color values have converted to CMYK, return to the source application and resolve the transparency without involving the spot-color object directly: apply the transparent effect to a separate CMYK element, or export as PDF/X-4 which can preserve spot colors through live-transparency rendering without flattening. (Required if spot-color conversion is detected)
- Confirm the total number of spot-color inks with the vendor before submission — some vendors limit spot-color submissions to one or two custom channels. (Recommended)
| Spot-Color Check | Separations View Method | Pass Criteria | Priority |
|---|---|---|---|
| School primary color preserved | Toggle primary Pantone plate | Object visible on Pantone plate, not split to CMYK | Required |
| Secondary accent color preserved | Toggle secondary Pantone plate | Object visible on Pantone plate, not split to CMYK | Required |
| Transparent effect isolated from spot object | Verify effect layer is CMYK | Spot-color objects carry no direct transparency attribute | Required |
| Total ink coverage within vendor limit | Output Preview total ink coverage | Total area coverage at or below vendor-specified limit | Required |
Step 6: Confirm Flattening Resolution Settings
The flattening resolution determines the quality of rasterized tiles generated during flattening. Too low and rasterized regions are noticeably pixelated at banner print scale; too high and file sizes may exceed vendor upload limits without improving visible output beyond what the substrate and ink system can reproduce.
For championship banner production:
- Vector and text resolution: 1200 dpi minimum. This is the resolution at which vector objects adjacent to transparent regions are rasterized when the flattener cannot preserve them as paths. 1200 dpi produces vector-equivalent sharpness on most large-format substrates at standard viewing distances. (Required)
- Gradient and mesh resolution: 300 dpi minimum at final print size. Smooth gradients and mesh fills require enough pixel density to display without banding but do not benefit from resolutions above 300 dpi for large-format output. (Required)
- Flattener preset: Use the High Resolution preset in InDesign, Illustrator, or Acrobat’s Flattener Preview — this applies 1200/300 dpi settings automatically. (Required)
To verify these settings in a delivered PDF:
- In Acrobat Pro Flattener Preview, apply the High Resolution preset and visually review text areas near transparent effects. (Recommended)
- If no visible rasterization artifacts appear in text areas at 200% zoom, the file’s existing flattening resolution is adequate. (Recommended)
- If pixelation or softening is visible in text near transparent regions, the file was flattened at too low a resolution and must be re-exported from the source application with the High Resolution preset applied. (Required if artifacts detected)
Step 7: Re-Export and Verify After Any Correction
After correcting transparency interactions, flattening resolution, or spot-color behavior in the source application:
- Re-export the championship banner to PDF using the appropriate preset — PDF/X-1a for vendors requiring full flattening, PDF/X-4 for vendors that accept live transparency. (Required)
- Open the new PDF in Acrobat and repeat Steps 2 through 6. (Required)
- Confirm that all previously identified transparency flattening errors are resolved. (Required)
- Run the complete PDF/X preflight check on the re-exported file — any re-export may introduce new preflight failures in color space, font embedding, or overprint settings. The championship banner PDF/X preflight checklist covers the full seven-category verification in detail. (Required)
How to Set Transparency Flattening in Major Design Applications
Adobe Illustrator: In the File > Save As > Adobe PDF dialog, go to the Advanced panel. Under Transparency Flattening, choose the High Resolution preset. This applies 1200/300 dpi settings and preserves text as vectors where possible. For files submitted as PDF/X-1a, Illustrator applies flattening automatically during the PDF export process — verify the result with Acrobat’s Flattener Preview before sending.
Adobe InDesign: In the File > Export > Adobe PDF (Print) dialog, go to the Advanced panel. Under Transparency Flattener, select the High Resolution preset. For PDF/X-4 export, live transparency is preserved by default — confirm with the vendor that their system accepts PDF/X-4 before using this format for championship banner delivery.
CorelDRAW: In the File > Publish to PDF > Settings dialog, go to the PDF Objects tab. Set Transparency to Flatten and confirm the rasterization DPI is 300 or higher. For files using spot-color objects with transparency, verify Output Preview separations in Acrobat after export.
Affinity Publisher / Designer: In the File > Export > PDF dialog, enable Flatten Transparency under the More options section if the vendor requires PDF/X-1a. Affinity’s PDF exporter applies a High Resolution equivalent flattening preset automatically when this option is enabled.
Canva: Canva does not provide transparency flattening controls in its PDF export. Shadow, blur, and opacity effects will be exported in a format the vendor’s system must process. For championship banner production from Canva files, confirm with the vendor that their preflight process handles live-transparency PDFs — or migrate the file to a professional application before final export.
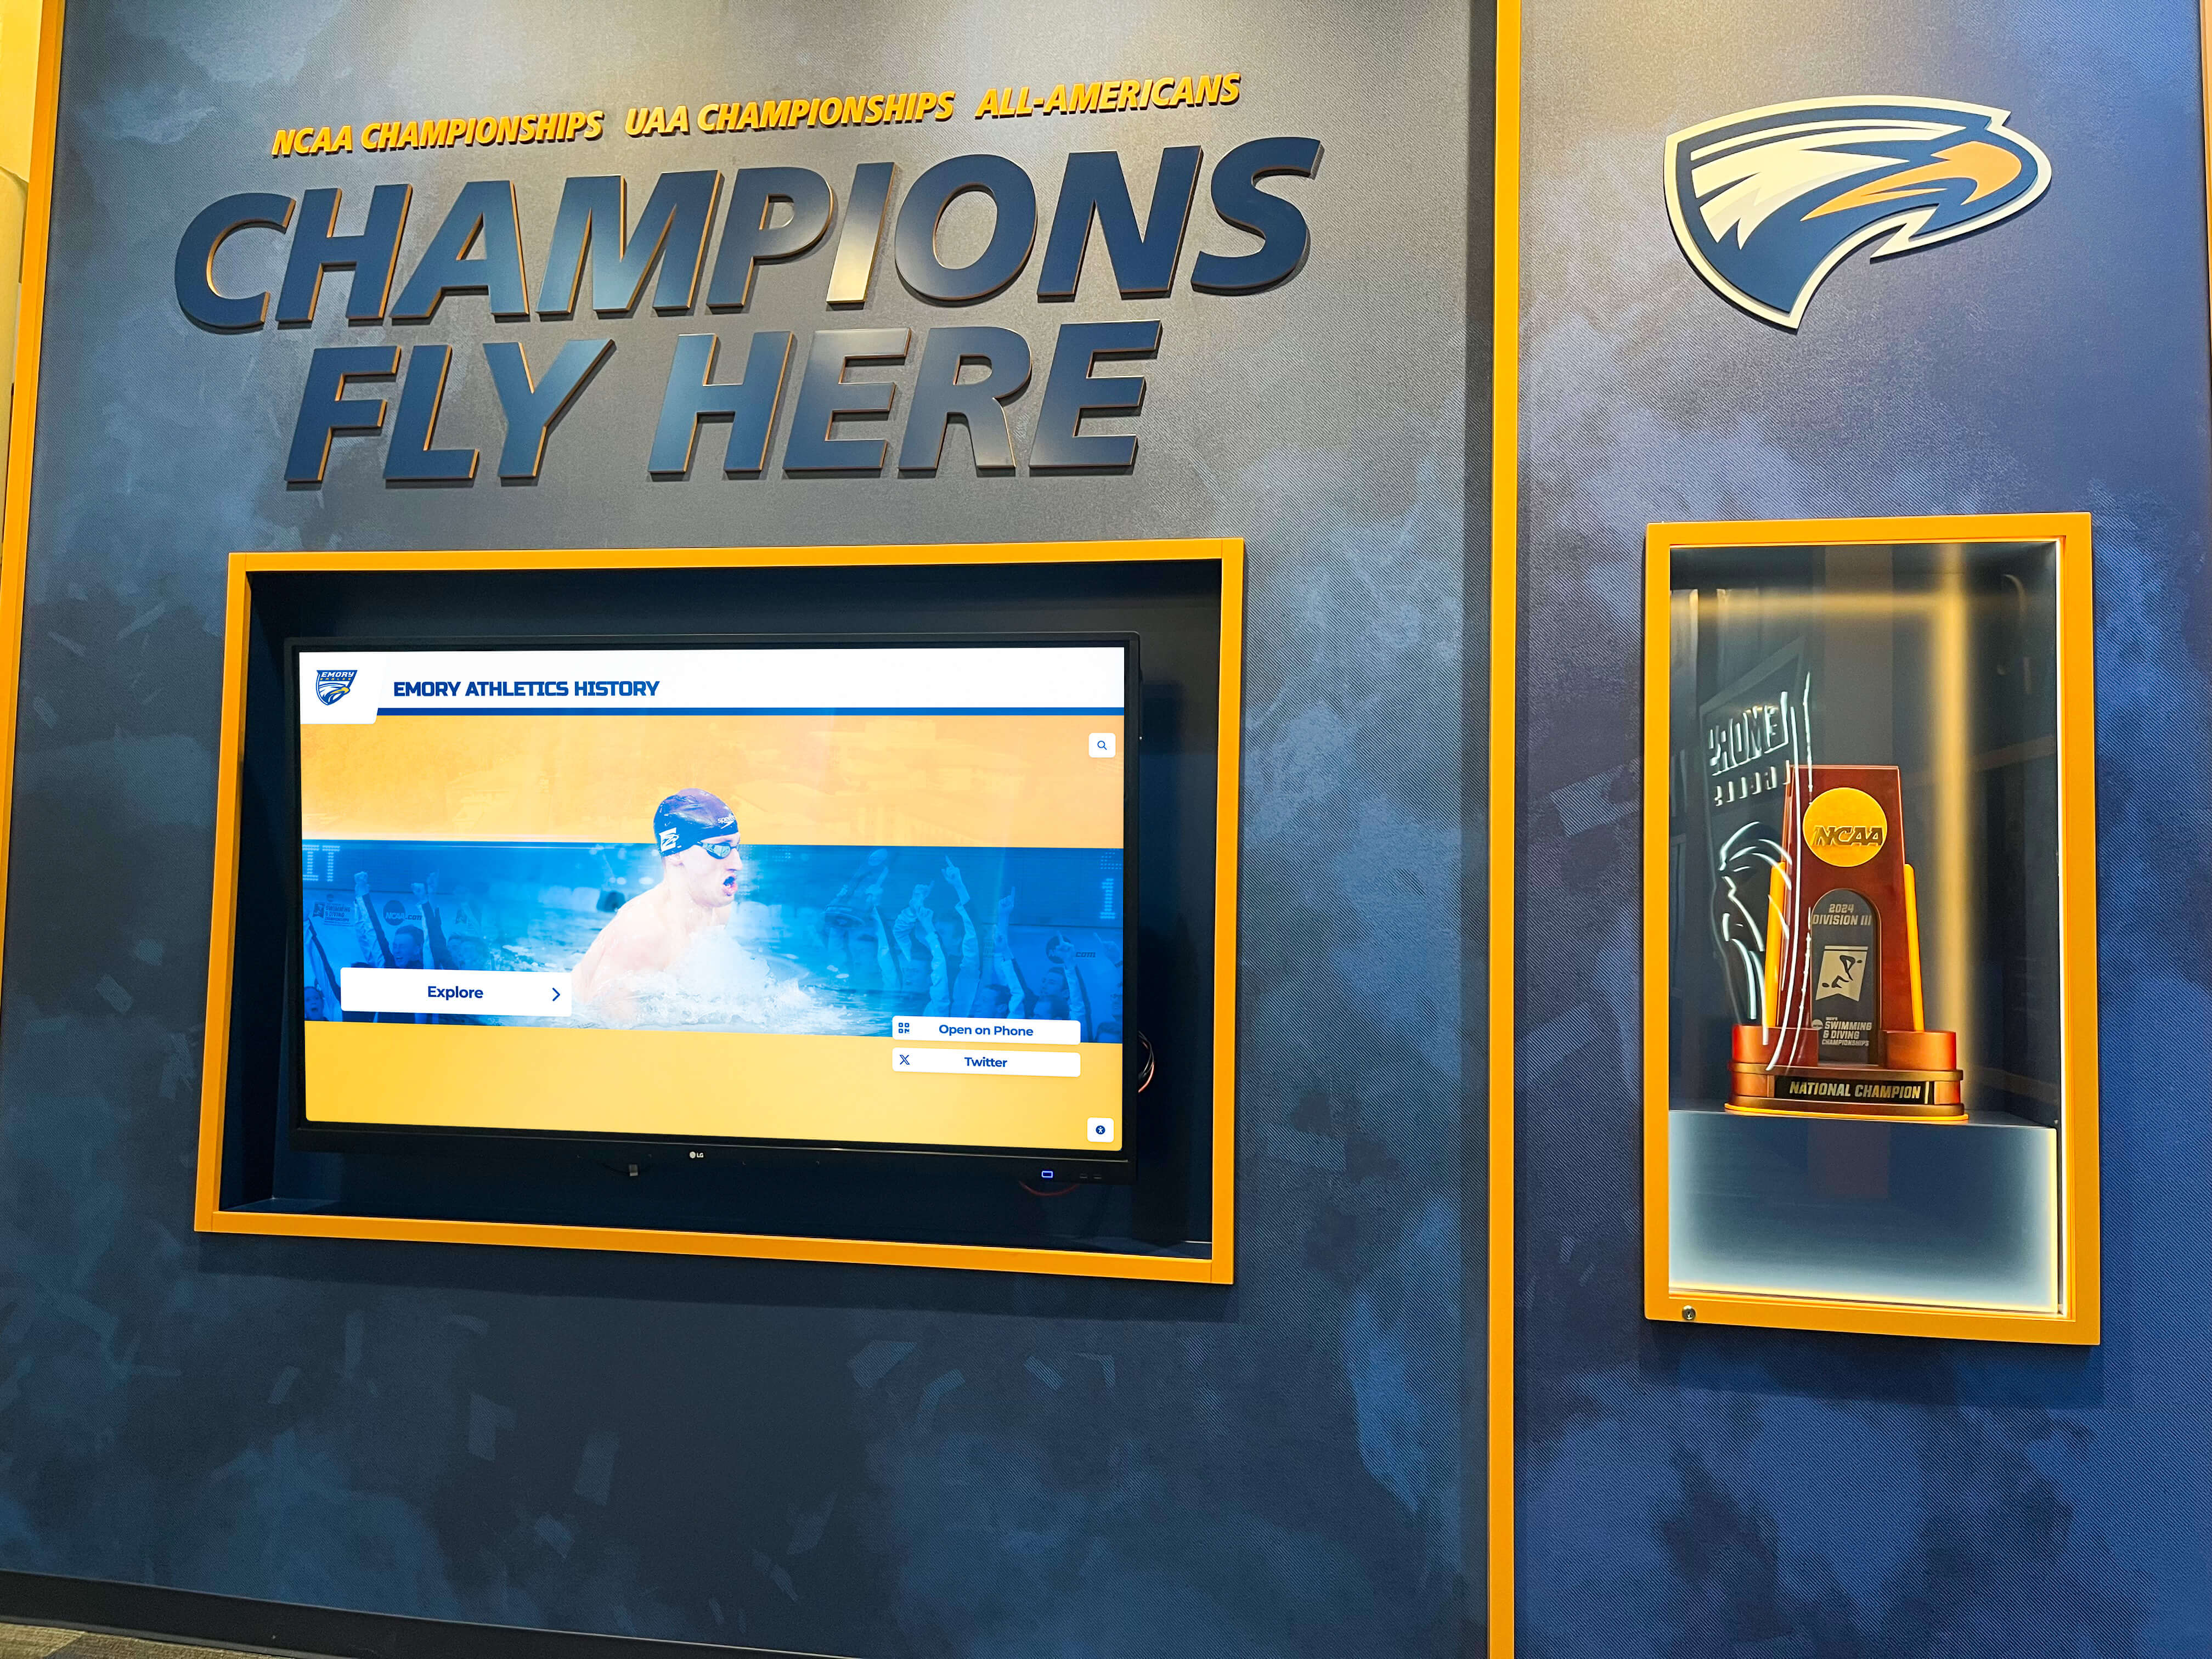
Championship recognition programs accumulate banners from multiple sports and seasons — a written transparency flattening standard applied to every submission ensures each new banner matches the print quality of those produced in prior years
Quick-Reference Transparency Flattening Preflight Checklist Table
Use this table as a one-page reference during banner file review. Work through every row before approving any championship banner file for vendor submission.
| Check Item | Application | Method | Pass Criteria | Priority |
|---|---|---|---|---|
| Transparency inventory complete | Source design application | List all transparent effects and adjacent objects | All transparency identified before export | Required |
| Flattener Preview enabled | Acrobat Pro | Tools > Print Production > Flattener Preview | Preview active with Rasterized Complex Regions overlay | Required |
| No text in rasterized regions | Acrobat Flattener Preview | Rasterized Complex Regions overlay at 200% on all text areas | No text elements highlighted as rasterized | Required |
| No color seams at transparency edges | Acrobat Output Preview (Simulate Overprinting) | Zoom 200% at all transparency boundaries | No visible seam or color shift at any boundary | Required |
| Spot-color plates preserved | Acrobat Output Preview Separations | Toggle Pantone plates | Spot-color objects on Pantone plates, not converted to CMYK | Required for spot-color files |
| High Resolution flattening preset applied | Source application export dialog | Advanced > Transparency Flattening preset | High Resolution (1200/300 dpi) preset selected | Required |
| PDF/X format matches vendor requirement | Acrobat Preflight | Run PDF/X-1a or X-4 profile | File passes appropriate format profile without errors | Required |
| Total ink coverage within vendor limit | Acrobat Output Preview | Total Area Coverage display | Coverage at or below vendor-specified limit | Required |
| Re-export verified after any correction | Acrobat Preflight | Full PDF/X preflight on corrected file | No new preflight errors introduced by re-export | Required |
Transparency Flattening in the Context of School Athletic Recognition Programs
Championship banner artwork that uses transparency effects is commonplace — drop shadows on school name text, semi-transparent team-color background layers, glowing mascot graphics — because these effects are available by default in every design application and produce compelling results on screen. The preflight gap is that the same effects that look compelling in a design preview can produce visible artifacts at vendor production if transparency flattening is not verified before file submission.
Schools building comprehensive athletic recognition programs — connecting physical championship banners in the gymnasium to digital displays in lobbies and hallways — encounter this workflow at the intersection of print and digital. A championship banner designed for the gymnasium and a fantasy football championship banner created for informal program recognition share the same underlying transparency-handling challenge: transparent design effects must resolve correctly at their destination output, whether that destination is a large-format print vendor or a display screen.
Recognition programs that span multiple output formats benefit from a source-file approach where transparency is resolved correctly once — in a verified print-ready file — and that file serves as the archival master for both the physical banner and any digital adaptations. Schools reviewing the full scope of their physical recognition materials alongside digital systems will find that parallel checklists for different failure categories apply a similar discipline to different domains. The way a trophy case inspection checklist addresses physical recognition assets and their long-term integrity parallels the way a transparency flattening checklist addresses print file integrity: verify before the artifact is permanent.
For athletic directors and program coordinators managing recognition materials across sports and seasons, donor recognition approaches for modern schools reflect how recognition programs integrate multiple material types — physical banners, trophy cases, donor walls, and digital displays — that all benefit from production standards applied at the file-delivery stage. A championship banner that arrives from the vendor with rasterized text or a color-shifted background is a recognition failure as much as a print failure: it represents the school’s athletic achievement inaccurately to every student, athlete, and visitor who sees it.
Schools preserving physical recognition artifacts alongside digital archives benefit from understanding how archival standards apply across different recognition formats. Resources on graduation recognition and preservation practices reflect the same underlying principle applied to physical objects: the artifact is a permanent representation of an achievement, and the conditions under which it was produced determine how accurately it represents that achievement for as long as it remains on display.
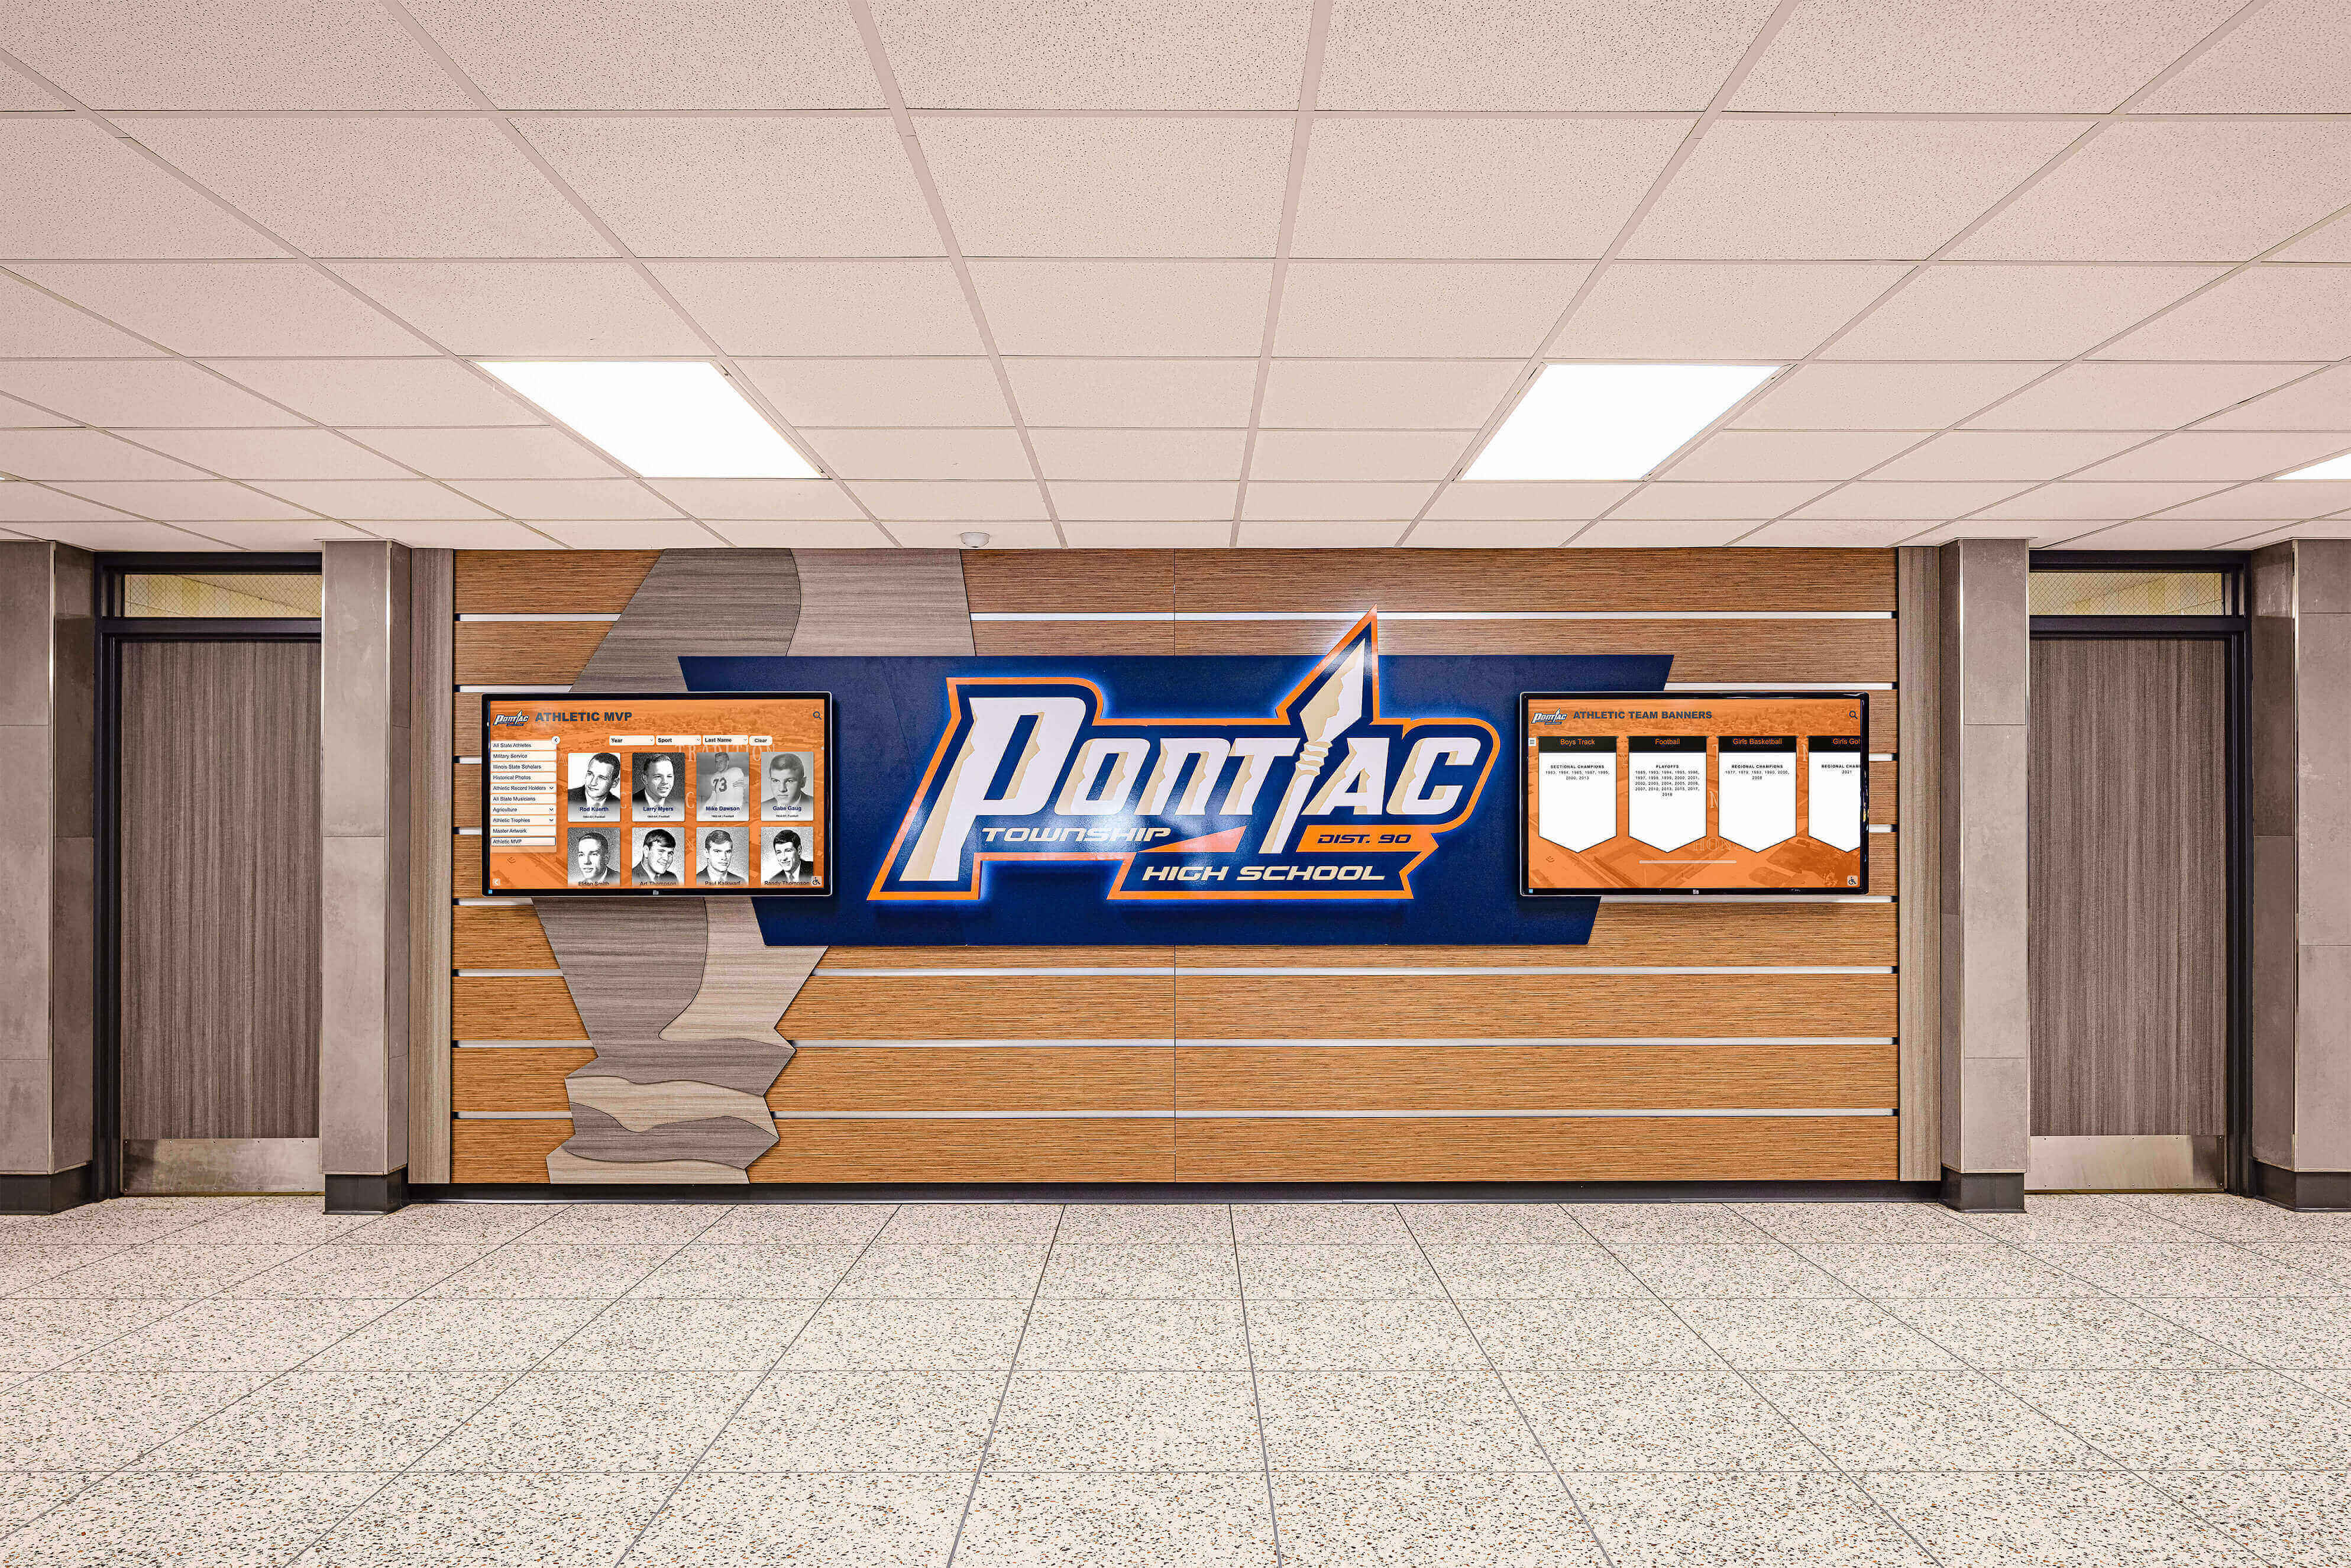
Athletic recognition programs in school hallways are viewed by thousands of students, athletes, and visitors — preflight-verified print files produce banners and displays that render as correctly as the approved design proof, including all transparency effects
Digital recognition systems that extend championship banner history into interactive and searchable formats require the same source artwork clarity that transparency flattening verification provides. Schools building digital hall of fame experiences alongside physical gymnasium banners benefit from championship artwork files where transparency was resolved intentionally — producing master files that serve both physical print and digital display without the quality trade-offs of a file where transparency was flattened as a side effect of an inadequate export process.
Athletic programs that use AI-powered graphics tools for social media, event promotions, and digital signage alongside championship banner production benefit from platforms built specifically for school recognition workflows. Systems like Rocket Alumni Solutions’ unlimited-screen recognition platforms provide a digital complement to the physical banner production workflow covered in this checklist: where print files require verified transparency flattening, digital recognition graphics require consistent school branding applied efficiently across social and display formats. Both workflows serve the same goal — producing championship recognition content that represents the school’s athletic achievement accurately in every format.
Frequently Asked Questions: Championship Banner Transparency Flattening
What is transparency flattening in a championship banner print file?
Transparency flattening is the process of converting live transparent effects — drop shadows, blends, reduced-opacity objects, and blend modes — into opaque tiles that simulate the visual result of those effects. Flattening is required for PDF/X-1a files (the most common format for commercial print vendors) because that format does not support live transparency. Flattening performed at the wrong settings or resolution produces rasterized text, color-shifted boundaries, or missing spot-color ink on the finished banner.
How do I check if transparency is flattened correctly in Adobe Acrobat?
In Adobe Acrobat Pro, navigate to Tools > Print Production > Flattener Preview. Enable the Rasterized Complex Regions overlay — this highlights any area of the document that will be converted from vector to raster during flattening, including text objects at risk. Confirm that no text is included in highlighted regions. For color verification, use Tools > Print Production > Output Preview with Simulate Overprinting enabled, and zoom to 200% at each transparency boundary to check for color seams or shifts.
Why does a drop shadow cause text to rasterize on a championship banner?
A drop shadow creates a transparency region — the shadow is partially transparent so the background shows through at the shadow edges. When a PDF/X-1a flattener processes this area, it may include nearby text objects in the same rasterized tile as the shadow, converting those objects from vector to raster. The fix is to ensure text objects do not overlap or touch the transparent shadow region directly, or to export as PDF/X-4 which supports live transparency and does not require flattening. In InDesign, disabling Rasterize Complex Regions in the flattener preset also reduces text rasterization risk.
Will transparency flattening change the Pantone spot colors on my championship banner?
Transparency flattening can convert spot-color objects to CMYK process values when those objects are directly involved in a transparency interaction. If a Pantone-colored object has reduced opacity, a blend mode, or a transparent effect applied to it, the flattener may be unable to preserve the spot-color channel and converts the value to a CMYK approximation instead. To prevent this: apply transparency effects to separate CMYK elements rather than directly to spot-color objects, or use PDF/X-4 format which preserves spot colors through live-transparency rendering without flattening.
What flattening resolution should I use for a championship banner?
Use the High Resolution preset in your design application’s transparency flattening settings — this corresponds to 1200 dpi for vector and text objects and 300 dpi for gradient and raster objects. The 1200 dpi setting ensures that text or vector objects rasterized during flattening are converted at a density that renders as sharp as the original vector at large-format print viewing distances. Both values are applied automatically when the High Resolution preset is selected in Adobe Illustrator, InDesign, or Acrobat’s Flattener Preview.
Print It Right the First Time
The championship banner transparency flattening preflight checklist addresses one of the least visible — and most damaging — classes of print production error: failures that are invisible in standard PDF preview and appear for the first time on the finished banner after it has been trimmed, hemmed, and installed. Running through the seven steps above before any banner file reaches the vendor catches transparency-sourced rasterization, color seams, and spot-color conversion before those errors are permanent. For athletic departments adding a new championship banner each season, a consistent transparency preflight standard applied at every submission protects the school’s recognition investment across every championship documented — ensuring that the banner marking this year’s title meets the same quality standard as those that have hung in the gymnasium for the past decade.
Build a Championship Recognition Program That Lasts
Rocket Alumni Solutions helps school athletic programs build championship recognition systems — from print-ready graphic standards and digital display networks to interactive hall-of-fame kiosks that connect banner history to the athletes and alumni who earned it. See how your school's recognition program fits together.
Schedule a Free Demo