A championship banner spectrophotometer calibration check is the instrument verification step performed before any school-color measurement, proof comparison, or production file sign-off — the step that confirms the device reading your banner’s printed colors is itself accurate before those readings are used to make permanent production decisions. The direct answer: a spectrophotometer that has not been calibrated at the start of the measurement session, after significant temperature changes, or after any physical disturbance can return color values that differ from the substrate’s actual color by enough to cause a misread proof approval — and a banner with visibly wrong school colors installed in the gymnasium cannot be corrected without a full reprint. A championship banner spectrophotometer calibration check takes fewer than two minutes to perform, requires only the instrument and its calibration tile, and is the most defensible preflight step available to the athletic department or print vendor before a color proof is approved.
This guide is written for school administrators, athletic directors, facilities managers, and recognition-program coordinators who oversee championship banner production and proof approvals — not for professional color scientists or full-time prepress technicians. No prior spectrophotometer experience is assumed.
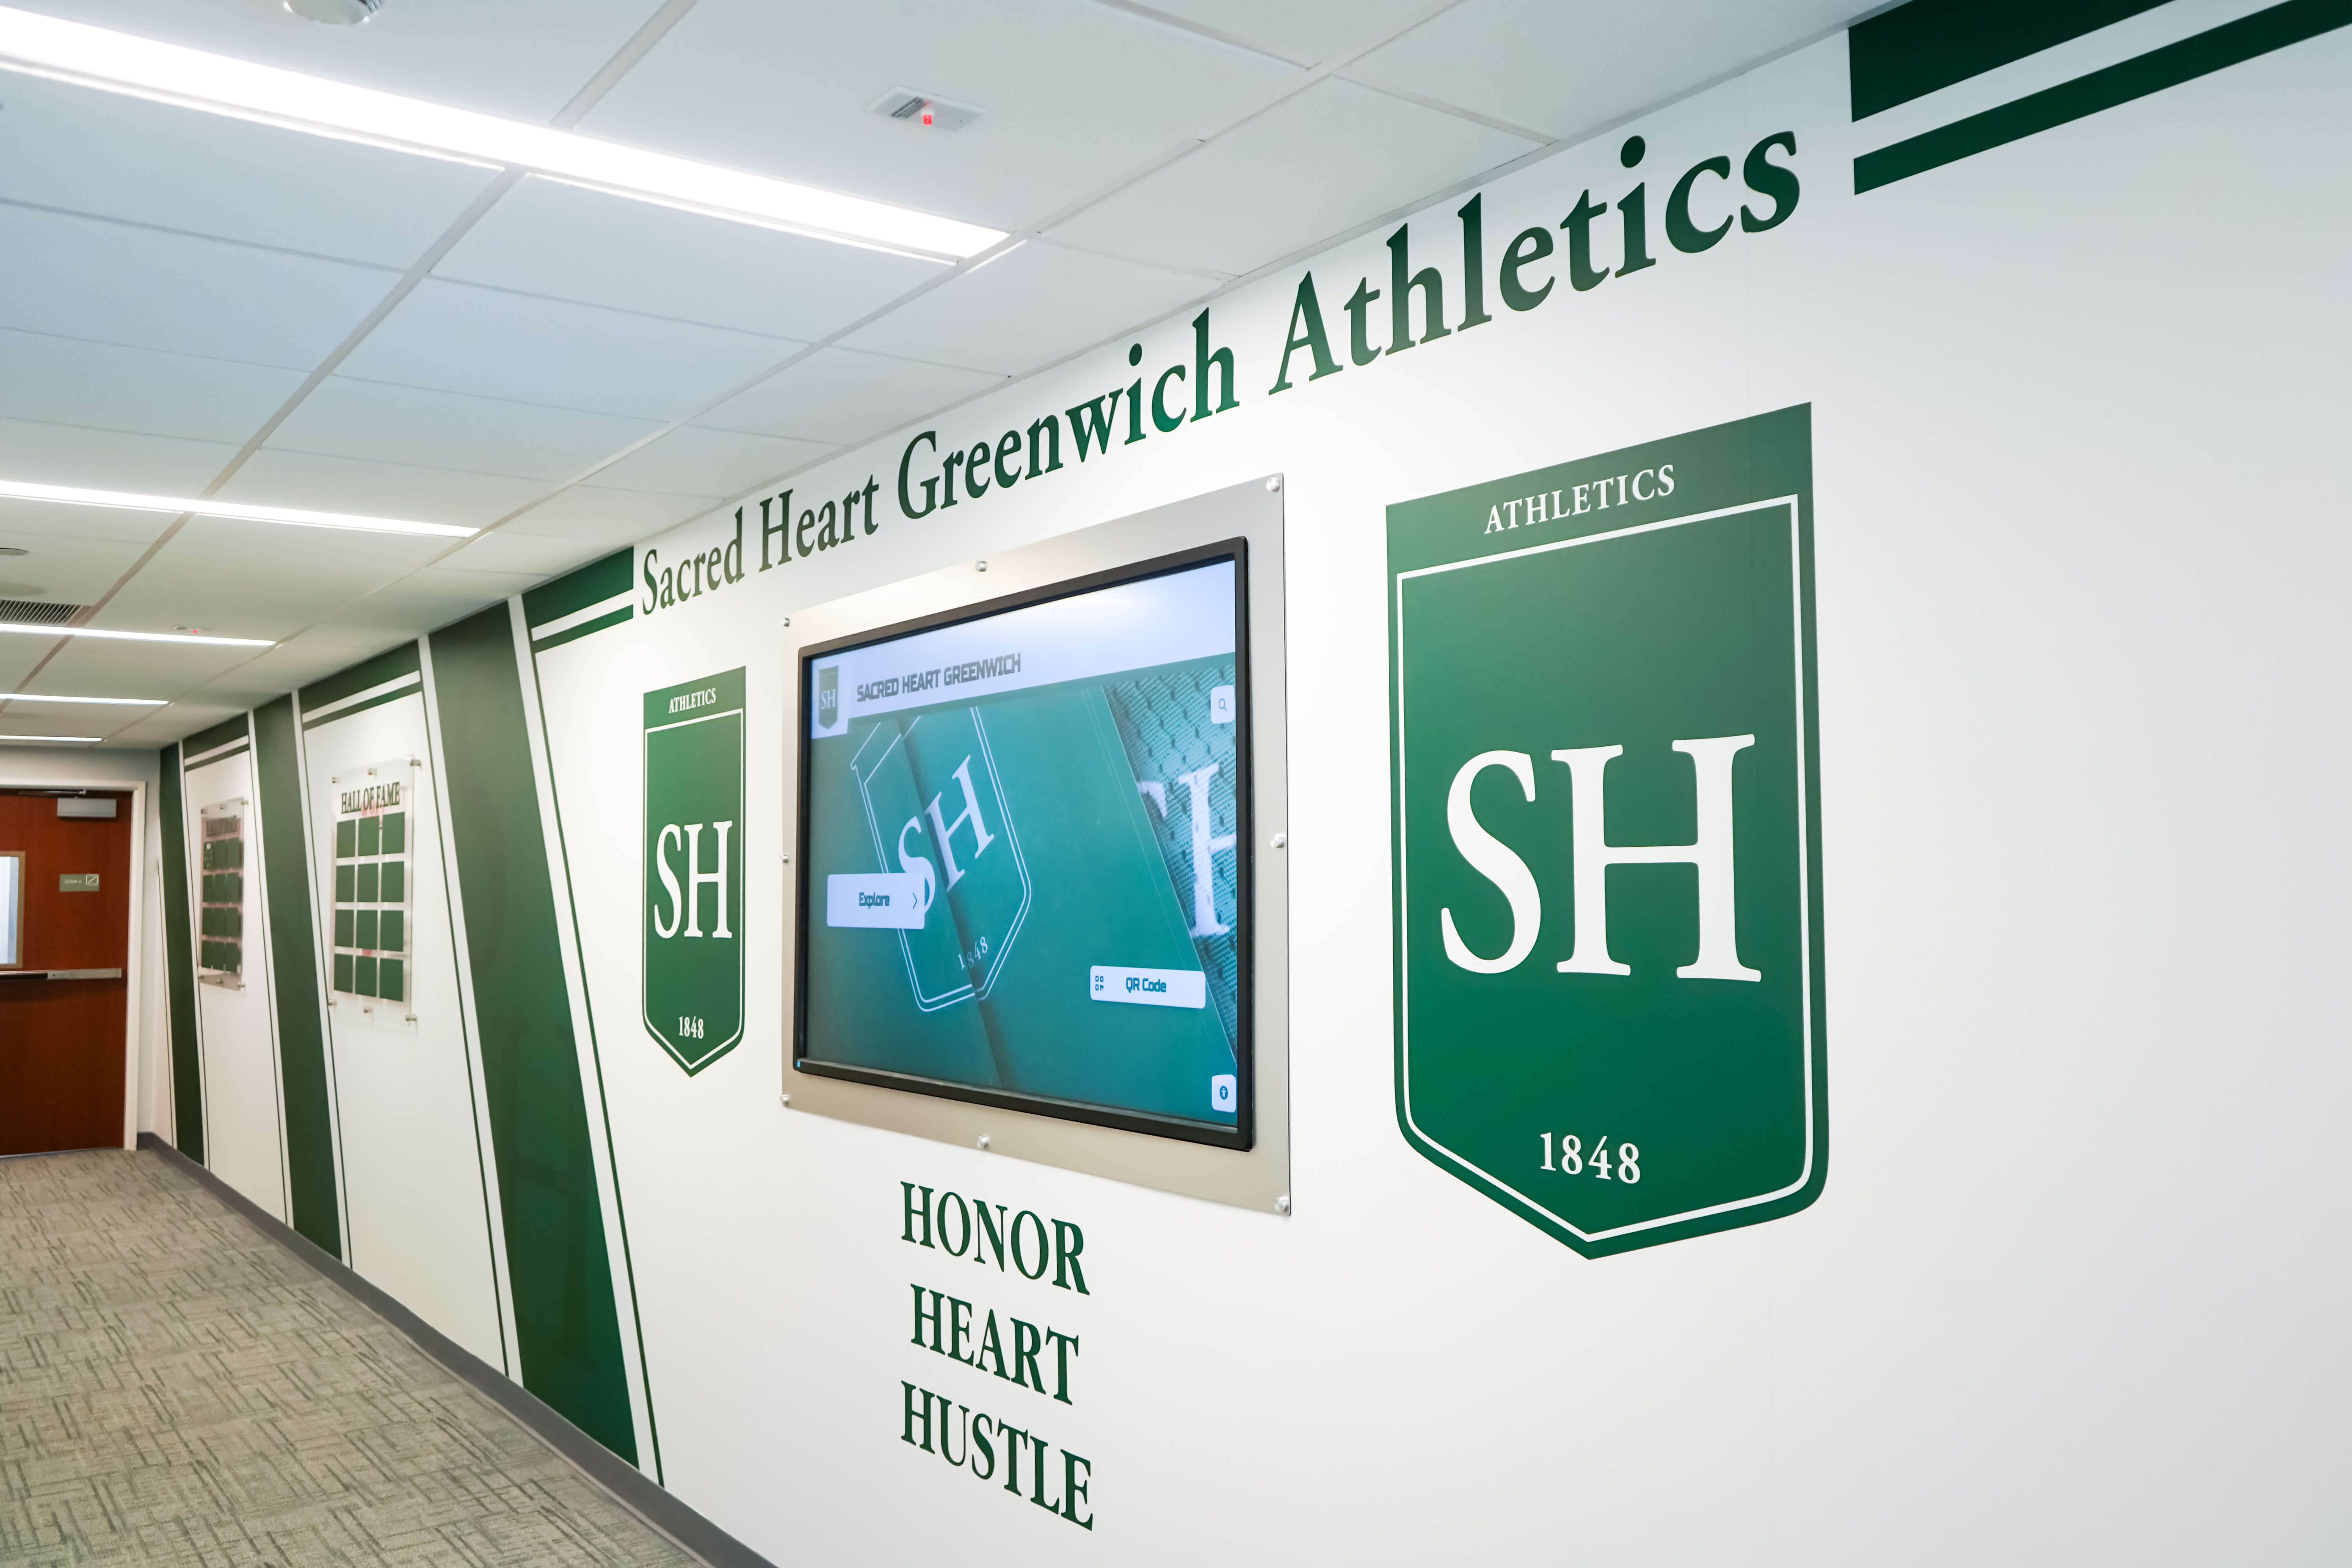
Color accuracy in championship banner production depends on spectrophotometer readings taken during proof evaluation — those readings are only as reliable as the calibration check performed at the start of each measurement session
What a Spectrophotometer Calibration Check Is and Why It Matters for Championship Banners
A spectrophotometer measures color by projecting light onto a surface and analyzing the spectrum of light reflected back, wavelength by wavelength across the visible range (approximately 380–730 nm). The resulting spectral data is converted to tristimulus values — the numbers used to define a color in CIE L*a*b*, CMYK ink percentage, or a spot-color match — that determine whether the printed banner color matches the school’s approved brand color.
Calibration establishes the instrument’s reference baseline by measuring two known standards before operational measurements begin:
White calibration sets the instrument’s reference for maximum reflectance. The spectrophotometer measures its calibration tile — a white ceramic or barium sulfate surface with a known, certified spectral reflectance — and stores the result as the reference against which all subsequent measurements are normalized. Any error in the white calibration propagates into every measurement made during that session.
Zero or black calibration (on instruments that require it) sets the reference for minimum reflectance, eliminating stray light inside the instrument’s optical path. Some modern instruments perform this automatically via an internal black trap; others require the user to position the aperture over a black light trap or leave the aperture open in a dark position during zeroing.
The International Color Consortium (ICC), which publishes the ICC profile specification used by every color management workflow in championship banner production, defines measurement conditions that assume instrument accuracy — they define how measurements should be taken, not the corrections needed when the instrument measuring is out of calibration. ISO 13655, the international standard for spectral measurement of printed media, similarly specifies that measuring instruments must be verified against reference standards and recalibrated whenever accuracy may have changed. A championship banner spectrophotometer calibration check before color proofing implements these requirements at the level of the athletic department’s practical production workflow.
For school recognition programs where championship banners, digital trophy case interactive displays, and physical award materials are evaluated side by side in the same corridor installation, the color measurements driving banner approval need to be instrument-accurate — not just visually close — so that color consistency across multiple recognition formats can be verified and documented.
When a Spectrophotometer Loses Calibration Accuracy
A spectrophotometer does not always fail with a visible error message. Calibration drift can be gradual, partial, or condition-specific. Understanding what causes calibration errors helps determine when a calibration check is required and when measured readings should be treated as suspect.
Temperature and Humidity Changes
Spectrophotometer optics, detectors, and internal references respond to temperature. The X-Rite i1Pro family, the Konica Minolta FD series, and similar instruments used in graphic arts proofing specify an operating temperature range and a warm-up period after significant temperature change. When an instrument is moved from a cooled storage area or a vehicle to a room-temperature measurement environment and used immediately — without a warm-up period and without a fresh calibration in the new thermal environment — measurements taken during that first session reflect the thermal state of the instrument at the start, not the stable operating state.
Instruments should be allowed to equilibrate to the measurement environment for at least 15–30 minutes before calibration (per X-Rite’s published guidance for the i1Pro series). Calibration should then be performed in the measurement environment, not during the equilibration period.
White Tile Contamination and Wear
The calibration tile used for white calibration is a precision-engineered reference surface. Finger oils, dust, paper fiber, ink transfer from a banner sample, or scratches change the tile’s spectral reflectance. A contaminated tile produces a calibration baseline that shifts all measurements made in that session. Even small contamination visible under raking light represents a measurable calibration error for the narrow-wavelength spectral readings a spectrophotometer relies on.
Per X-Rite’s published guidance: the calibration tile should be stored in its protective case when not in use, cleaned only with a dry, lint-free cloth or lens tissue (never solvents), and inspected before every calibration session. Tiles that show yellowing, scratches across the measurement aperture zone, or embedded particulate contamination should be replaced — they cannot be cleaned back to specification. X-Rite and Konica Minolta both offer replacement tiles for their instruments; a replacement tile is significantly less expensive than a misprinted championship banner.
Time Elapsed Since Last Calibration
Most graphic arts spectrophotometer manufacturers recommend recalibration every session, and many instruments display a calibration age indicator or prompt. The i1Profiler software used with X-Rite i1 instruments displays calibration age in the measurement interface and warns when calibration has elapsed past its nominal accuracy window.
For championship banner proof evaluation sessions that extend across multiple hours — measuring color swatches before the vendor proof arrives, then measuring the vendor proof when it is delivered — recalibration at the start of the proof evaluation phase is appropriate even if calibration was performed earlier in the session.
Physical Disturbance
Dropping an instrument, placing it aperture-down on a textured surface, or shipping without adequate cushioning can shift the optical alignment and produce measurements that pass the software calibration check but return values that are consistently offset from the correct reading. If an instrument has been dropped or transported and returns consistently different readings from a known reference patch compared to values taken before the incident, service calibration by the manufacturer may be required.
Championship Banner Spectrophotometer Calibration Check: Step-by-Step
Follow this procedure at the start of every color measurement session related to championship banner proof evaluation or school-color verification. It applies regardless of whether the measurements will be used to verify a vendor proof, to document school-color Lab values for the brand standards file, or to compare a newly installed banner against an existing reference installation.
Step 1: Equilibrate the Instrument
- Remove the spectrophotometer from its case or storage area.
- Place it in the measurement environment — the room where proof evaluation will take place — aperture-up, on a clean, stable surface.
- Allow 15–30 minutes of equilibration time before proceeding. Do not perform calibration or measurements during this period.
- If the instrument has been stored below 15°C (60°F) or above 30°C (86°F), extend the equilibration period to 30–45 minutes.
Step 2: Inspect the Calibration Tile
- Remove the calibration tile from its protective case.
- Hold the tile at a low angle under the room light to check for:
- Visible dust or fiber on the measurement face
- Fingerprints or oil deposits (appear as matte spots against the glossy white surface)
- Scratches that cross the measurement aperture zone (the central region the instrument reads)
- Yellowing or visible color shift across the tile surface
- If dust or fiber is present, remove it by gently blowing with clean compressed air or by touching lightly with a lint-free lens tissue. Do not rub.
- If fingerprints are present, clean with a dry lint-free cloth using very light pressure — no solvents, no water.
- If scratches are visible across the aperture zone, do not proceed with a calibration that will produce inaccurate results. Contact the instrument manufacturer for a replacement tile.
Step 3: Perform the White Calibration
- Open the instrument’s measurement software (i1Profiler, ColorThink, the vendor’s RIP color tool, or the instrument’s standalone interface).
- Navigate to the calibration function — typically accessible from the main toolbar or a “Measure” or “Device” menu.
- Position the instrument aperture squarely on the calibration tile in the orientation specified by the manufacturer (most instruments have a positioning notch or dock on the tile holder).
- Initiate the calibration sequence. The instrument will measure the tile spectral reflectance, typically in two to four seconds.
- Confirm the software reports calibration success. Most instruments display a green confirmation indicator and log the calibration date and time.
Step 4: Perform Zero Calibration (If Required by the Instrument)
Not all instruments require a manual zero calibration step. Check the instrument’s documentation:
- X-Rite i1Pro (all generations): Zeroing is performed automatically at white calibration using an internal light trap. No separate user step is required.
- X-Rite i1iO table: White calibration is the primary user step. The instrument handles zero-level correction internally.
- Konica Minolta FD-series handheld instruments: May require a separate zero or dark calibration step. Follow the instrument’s menu prompts.
- Instruments with an integrated black trap in the calibration dock: Place the instrument in the black trap position when the software prompts; the instrument measures the low-light state automatically.
Step 5: Verify Calibration with a Known Reference Patch
Calibration completion reported by the software confirms the instrument successfully measured the tile — it does not confirm the tile is still accurate. For critical championship banner proof approvals, verify the calibration independently using a known reference:
- Measure a Pantone-numbered swatch from a current-edition physical Pantone color guide (not a printed reproduction) or a certified color reference patch with documented Lab values.
- Compare the measured Lab values to the published reference values for that Pantone or process color.
- A well-calibrated instrument under standard D50 illumination should return Lab values within ΔE 2000 ≤ 1.0 of the reference for common graphic arts colors. ΔE 2000 ≤ 2.0 is acceptable for general proof evaluation; greater than 2.0 warrants recalibration or tile inspection.
- Document the reference patch ΔE result and the calibration date and time in the proof-approval record. This creates a defensible audit trail that the measurement instrument was verified before the proof decision was made.
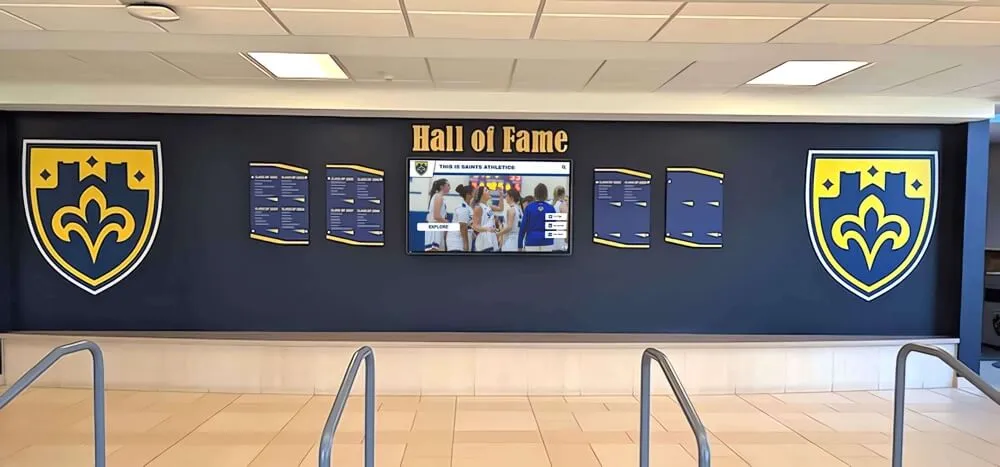
When championship banners are installed alongside other recognition materials — shields, plaques, and trophy displays — color consistency across the entire program is evaluated by visitors who see all materials side by side, making instrument-verified color measurements the only defensible basis for production approval
Calibration Check Frequency Table
Use the following table to determine when a calibration check is required during a championship banner proof evaluation session.
| Situation | Calibration Required? | Notes |
|---|---|---|
| Start of any measurement session | Yes — always | Regardless of when instrument was last calibrated |
| After moving instrument between rooms | Yes | Allow 15–30 min equilibration before calibrating |
| After instrument was transported in a case | Yes | Check tile for transport-related contamination first |
| Mid-session, after 2+ hours of continuous use | Recommended | Calibration drift accumulates over extended sessions |
| After instrument was set aperture-down on a substrate | Yes | Potential contamination of aperture optics; inspect before calibrating |
| After instrument was dropped or bumped hard | Yes | Contact manufacturer if readings remain inconsistent after recalibration |
| Before measuring a press proof delivered by vendor | Yes | Even if calibrated earlier in the session |
| Tile shows visible scratch across aperture zone | Do not proceed — replace tile | Scratched tile produces inaccurate calibration baseline |
| Tile shows fingerprints or dust | Clean tile, then recalibrate | Do not calibrate against a contaminated tile |
| Ambient temperature changed by more than 5°C | Yes — after re-equilibration | Allow full equilibration period before new calibration |
| Instrument software reports calibration age warning | Yes | Follow software prompt before continuing measurements |
Championship Graphics With Verified Color Standards
Rocket Alumni Solutions helps school athletic programs build championship recognition systems — from print-quality graphic workflows and digital display networks to interactive hall-of-fame kiosks that connect banner history to the athletes and alumni who earned it.
Get notified when Rocket Graphics opens.Measurement Conditions: M0, M1, M2, and Which to Use for Championship Banners
ISO 13655 defines four measurement conditions — M0, M1, M2, and M3 — that determine how the spectrophotometer illuminates the sample during measurement. For championship banner substrates, the measurement condition selected affects how optical brighteners in the substrate are captured in the reading.
M0 — Uncontrolled illumination, including ultraviolet content. This is the legacy condition used by older instruments and workflows. M0 measurements of substrates with optical brighteners reflect some UV excitation, but the amount is instrument-dependent and not standardized.
M1 — Controlled illumination that includes UV content standardized to D50. This is the ISO 13655 condition for graphic arts proofing. M1 measurements of optically brightened substrates capture the brightener response proportional to D50 daylight — the same illuminant used in ISO 3664 viewing booths. For championship banner substrates with optical brighteners (many bright-white polyester fabrics), M1 is the correct measurement condition for proof evaluation because it simulates how the substrate will appear under a standard viewing booth.
M2 — UV-excluded illumination. M2 measurements suppress optical brightener response entirely, measuring only the base substrate color without UV excitation. This condition is used when measuring for color characterization of press outputs where optical brightener contribution is excluded from the profile.
M3 — Polarized illumination to suppress surface gloss. Used for measuring wet ink or glossy surfaces where specular reflection contaminates the reading.
For championship banner proof evaluation: Use M1 if the instrument supports it (X-Rite i1Pro 2 and 3 support M0, M1, M2, and M3; some older instruments support only M0). M1 ensures that optical brightener response in bright-white fabric substrates is captured consistently with the reference viewing condition. Confirm that the print vendor used the same measurement condition when generating their color proof data — M0 and M1 measurements of the same optically brightened substrate can differ by ΔE 2.0–4.0, which is significant for school-color approval decisions.
Calibration must be performed with the same measurement condition that will be used for banner color measurements. An M1 calibration cannot be substituted for an M0 calibration or vice versa — the instrument stores condition-specific calibration baselines.
How Calibration Errors Affect School-Color Proof Decisions
Championship banners are produced in a single large-format print run. Color corrections after the run requires a full reprint. This makes the proof approval decision — the moment when a responsible school staff member or athletic director confirms that the vendor’s proof represents acceptable color — a high-stakes and low-error-tolerance evaluation.
A spectrophotometer with a calibration error does not produce obviously wrong readings. The values it returns are plausible numbers in the correct range — they are simply offset from the actual color by an amount corresponding to the calibration error. Common consequences:
False proof approval. A proof that reads as a 95% school-color match based on miscalibrated measurements may actually be a 90% or 85% match. The banner that results from approving that proof will show a visible color difference from the school’s uniforms, existing banners, or display materials when viewed side by side in the gymnasium.
False proof rejection. A proof that is actually a good match reads as outside tolerance because the instrument is measuring the proof incorrectly. The athletic department requests a reprint that was unnecessary, adding cost and delay to the recognition program timeline.
Inconsistent cross-session measurements. When proof approval data from session A is compared against reference measurements from session B — for example, when verifying a replacement banner against the color record from the original banner three seasons ago — instrument calibration differences between the two sessions introduce apparent color differences that may not reflect actual production variation.
For school recognition programs that include end-of-season sports awards and year-round recognition materials, establishing a documented calibration protocol ensures that color approvals made across multiple production cycles — banners, award plaques, presentation materials, and certificates — rest on a consistent measurement foundation rather than instrument-condition assumptions.
Calibration Records and the Color Approval Audit Trail
For any championship banner proof approval that will be referenced in future production cycles — approving a color match for a school that will order replacement or additional banners in future seasons — the calibration check should be documented as part of the approval record.
A minimal calibration record should include:
- Date and time of calibration — confirmed by the instrument software’s calibration log or screen capture
- Instrument model and serial number — identifies which specific instrument was used
- Measurement condition (M0, M1, M2) — confirms compatibility with vendor’s characterization data
- Calibration tile condition notes — any cleaning performed, any anomalies observed
- Reference patch ΔE result — the ΔE from the verification measurement against a known reference patch
- Software version — instrument firmware and controlling software version, relevant if instrument is later updated
This record does not need to be a formal document — a dated note in the proof-approval file, a photograph of the software calibration screen, or a line entry in a production log all serve the purpose. The goal is ensuring that if a color match is disputed in a future production cycle, the measurement methodology can be verified rather than assumed.
Athletic departments managing multi-year recognition programs — tracking championship banners across multiple sports and seasons — benefit from calibration documentation for the same reason that digital hall of fame software inventory registers track the history of recognition records: a complete record allows future decisions to build on a verified foundation rather than starting from uncertainty.
Schools that maintain both physical championship programs and digital hall of fame displays versus traditional trophy cases often approve colors for both formats in the same session — the spectrophotometer calibration check made before measuring the banner proof also validates the instrument for any digital display color verification performed in the same workflow.
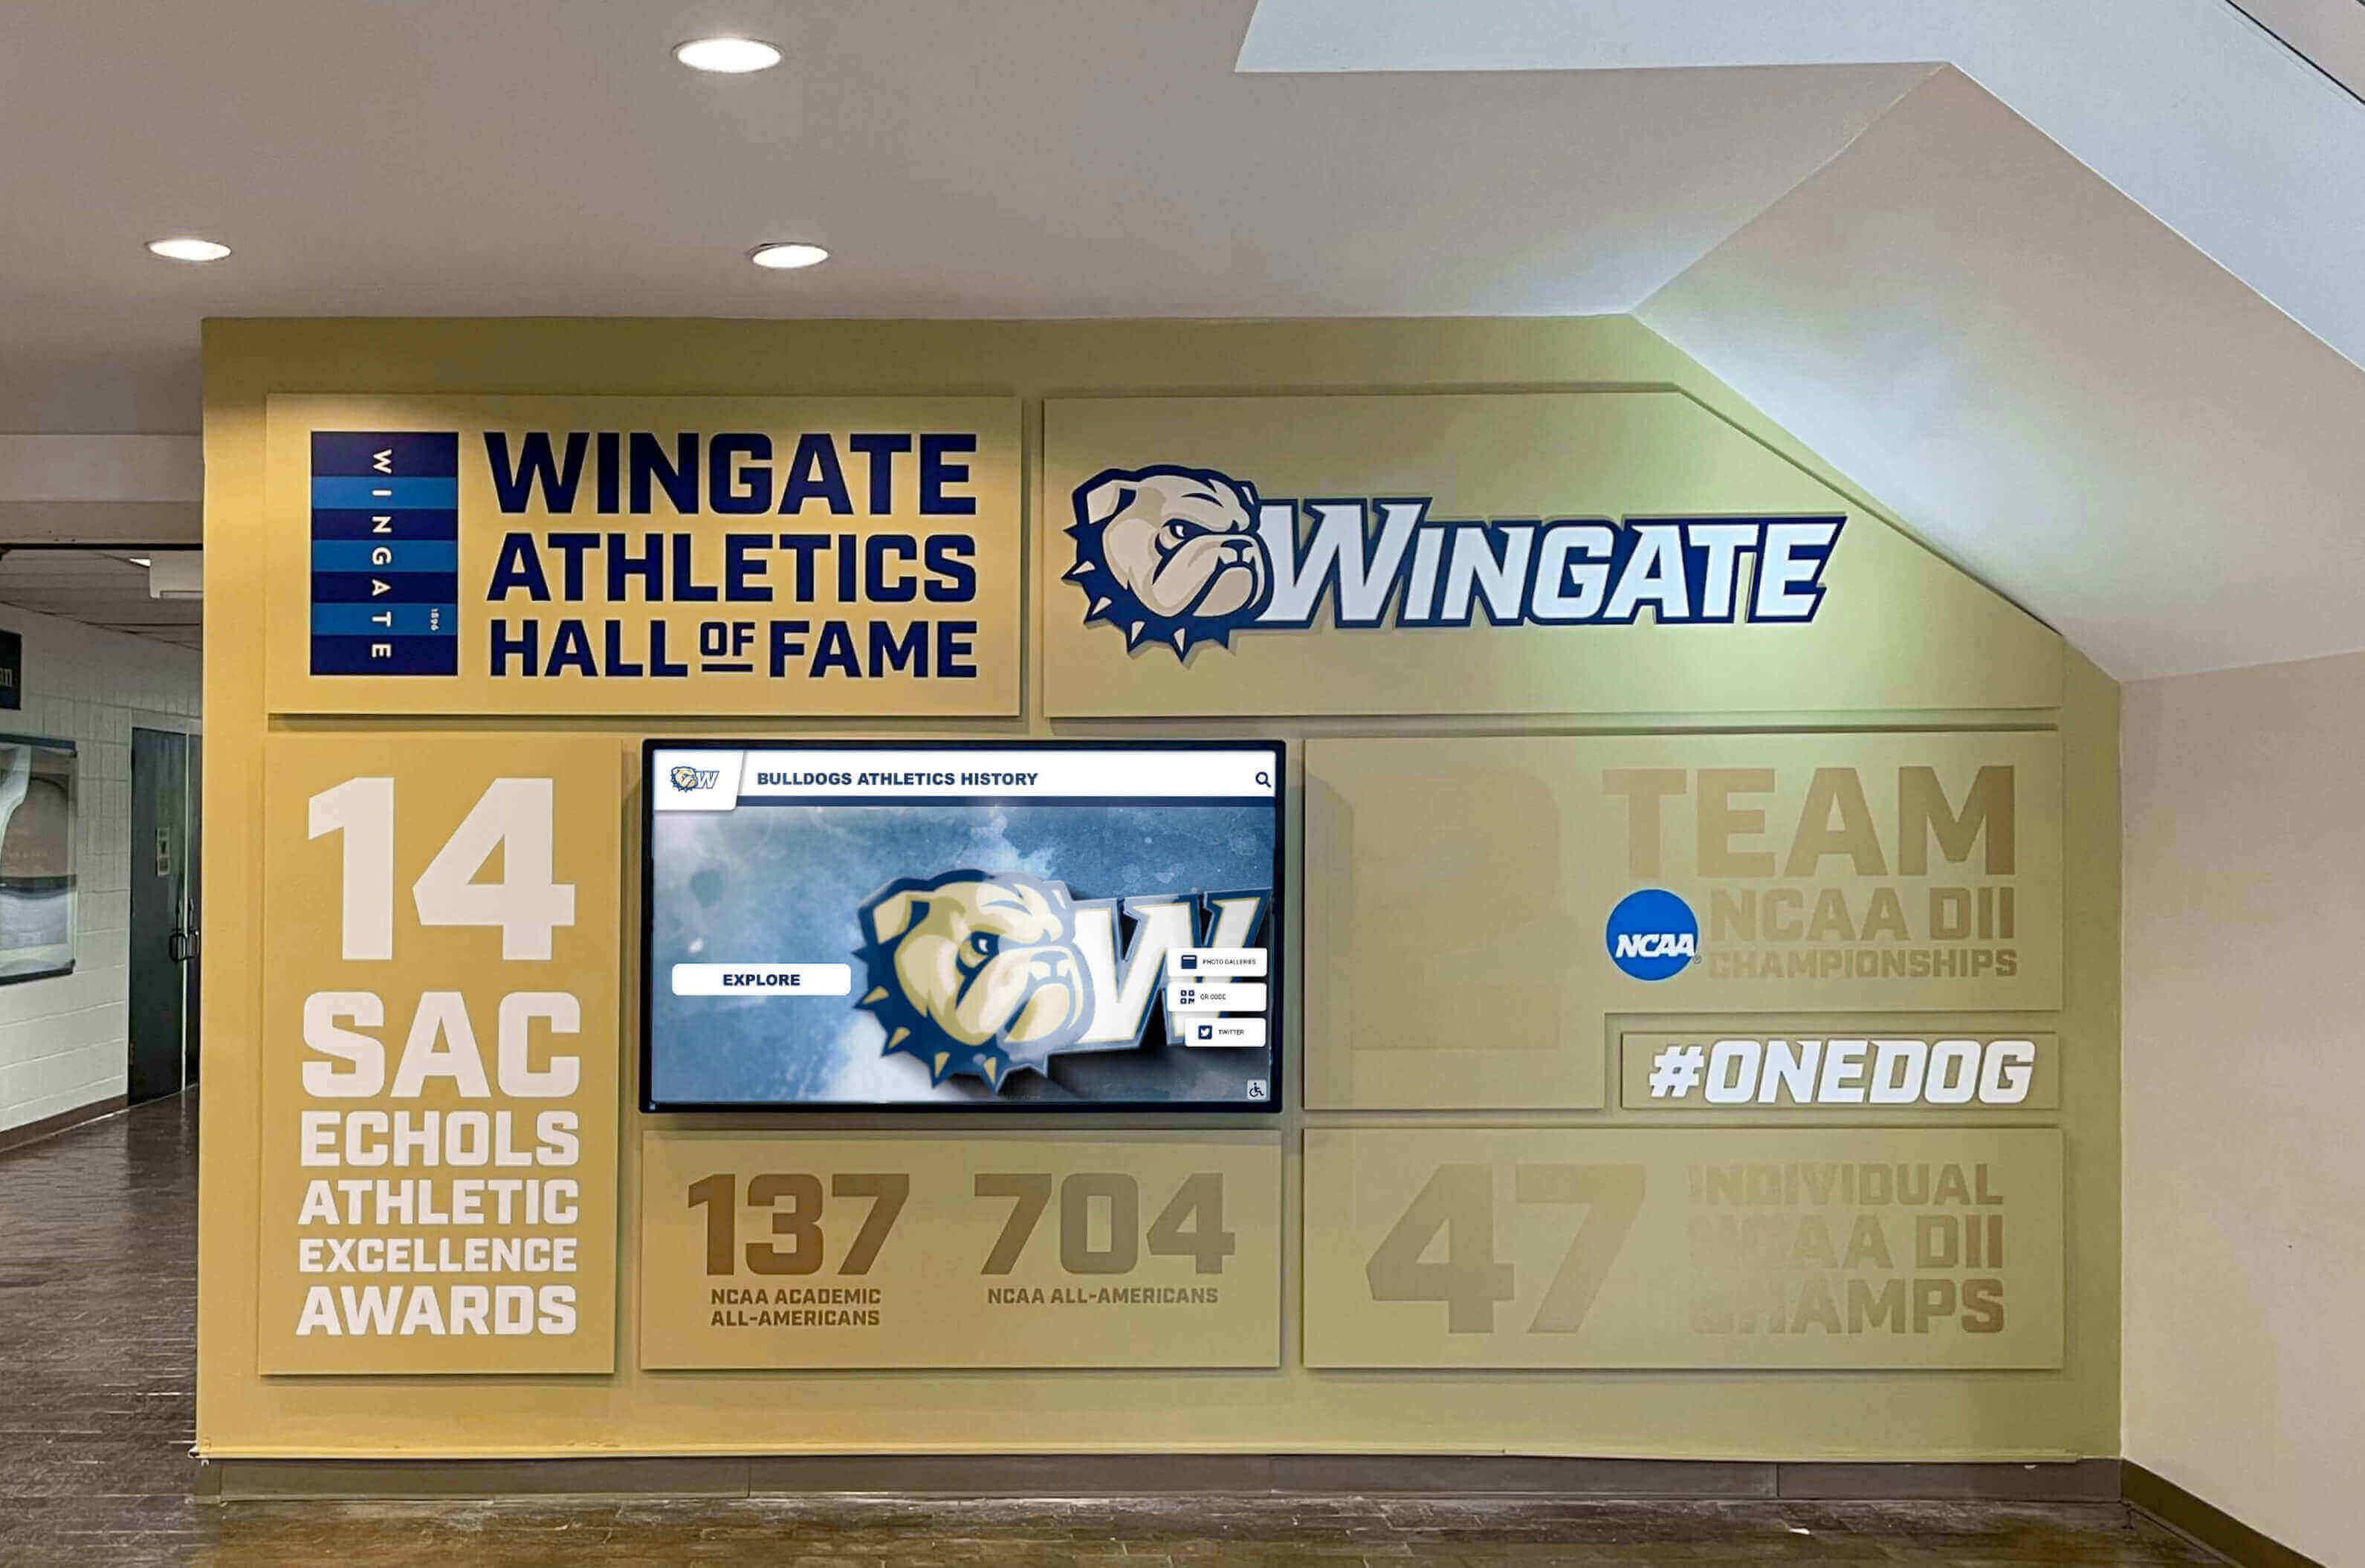
Championship recognition installations featuring school mascot artwork are approved against measured color data — the spectrophotometer calibration check before those measurements is the step that makes the color data reliable enough to serve as the basis for a production decision
Integrating the Calibration Check Into the Championship Banner Production Workflow
A spectrophotometer calibration check is not a standalone quality step — it is the prerequisite for every other color measurement in the banner production workflow. Calibration should be positioned in the preflight sequence before the measurement steps it enables.
Recommended spectrophotometer calibration timing:
Before measuring school-color reference values from a physical brand standard. When an athletic department is establishing the LAB reference values for the school’s official navy, maroon, or gold — measured from a Pantone guide, a previous banner, or a physical uniform fabric swatch — calibration before these measurements ensures the reference values entered into the brand standards file are instrument-accurate. These reference values may be used for proof comparisons for years.
Before measuring a vendor’s color proof. When a print vendor delivers a physical color proof or an on-substrate test strip for approval, calibrate before any measurement. Proof measurements taken against a miscalibrated instrument do not accurately represent the proof’s color relationship to the school’s reference.
Before measuring the final installed banner. Some production workflows include a post-installation color verification — confirming the installed banner matches the approved proof and the school’s reference standard in the actual viewing environment. Calibrate in the installation environment, not in a separate preparation room, since ambient temperature in the installation space may differ from the prep area.
For schools managing sports banquet awards categories and athlete recognition programs that include printed banner and award materials produced on a seasonal cadence, establishing a written calibration protocol — step-by-step, with the conditions that trigger recalibration — prevents calibration step omissions when the coordinator managing the measurement process changes across seasons.
Athletic programs that produce graduation ceremony recognition displays alongside championship banners benefit from consistent color measurement standards across both production streams. Resources on graduation ceremony display and recognition materials reflect how schools coordinate recognition programs across athletics and academics — programs that share color standards and proof approval workflows need a single instrument calibration protocol that applies consistently across all measurement sessions.
Calibration Check and the Broader Color Proofing Workflow
The spectrophotometer calibration check feeds into a broader championship banner color proofing sequence. Calibration accuracy makes every downstream measurement step reliable:
- Championship banner substrate white-point proofing simulates the banner material’s base white in the soft proof — the accuracy of that simulation depends on the ICC profile built from spectrophotometer measurements taken with a calibrated instrument.
- Championship banner rendering intent preflight confirms the correct ICC rendering intent is applied during CMYK conversion — the rendering intent governs how measured color differences between source and destination profiles are handled during conversion.
- Championship banner metamerism proofing checklist verifies school colors look consistent under multiple illuminants — spectrophotometer measurements under different illuminants are only comparable when the instrument is calibrated consistently across measurement sessions.
- Championship banner black-point compensation preflight confirms shadow detail survives CMYK conversion — shadow-zone ink values inspected with the Info panel rely on color profile data built from accurate spectrophotometer measurements.
A calibration check at the start of each measurement session is the lowest-effort, highest-confidence step in the championship banner color accuracy workflow. Two minutes of calibration time at the start of a session prevents a proof approval decision — and potentially a full-banner reprint decision — from resting on inaccurate instrument readings.
For recognition programs where championship banners represent a school’s athletic history and are displayed permanently in spaces visited by current athletes, alumni, and community members, the quality standard applied to color proof approval is not a production detail. It is part of how the athletic program represents itself for as long as the banner hangs. Resources on how schools recognize athletes at sports banquets and year-round award programs reflect the recognition-program context in which championship banners exist — a context where color accuracy has an audience.
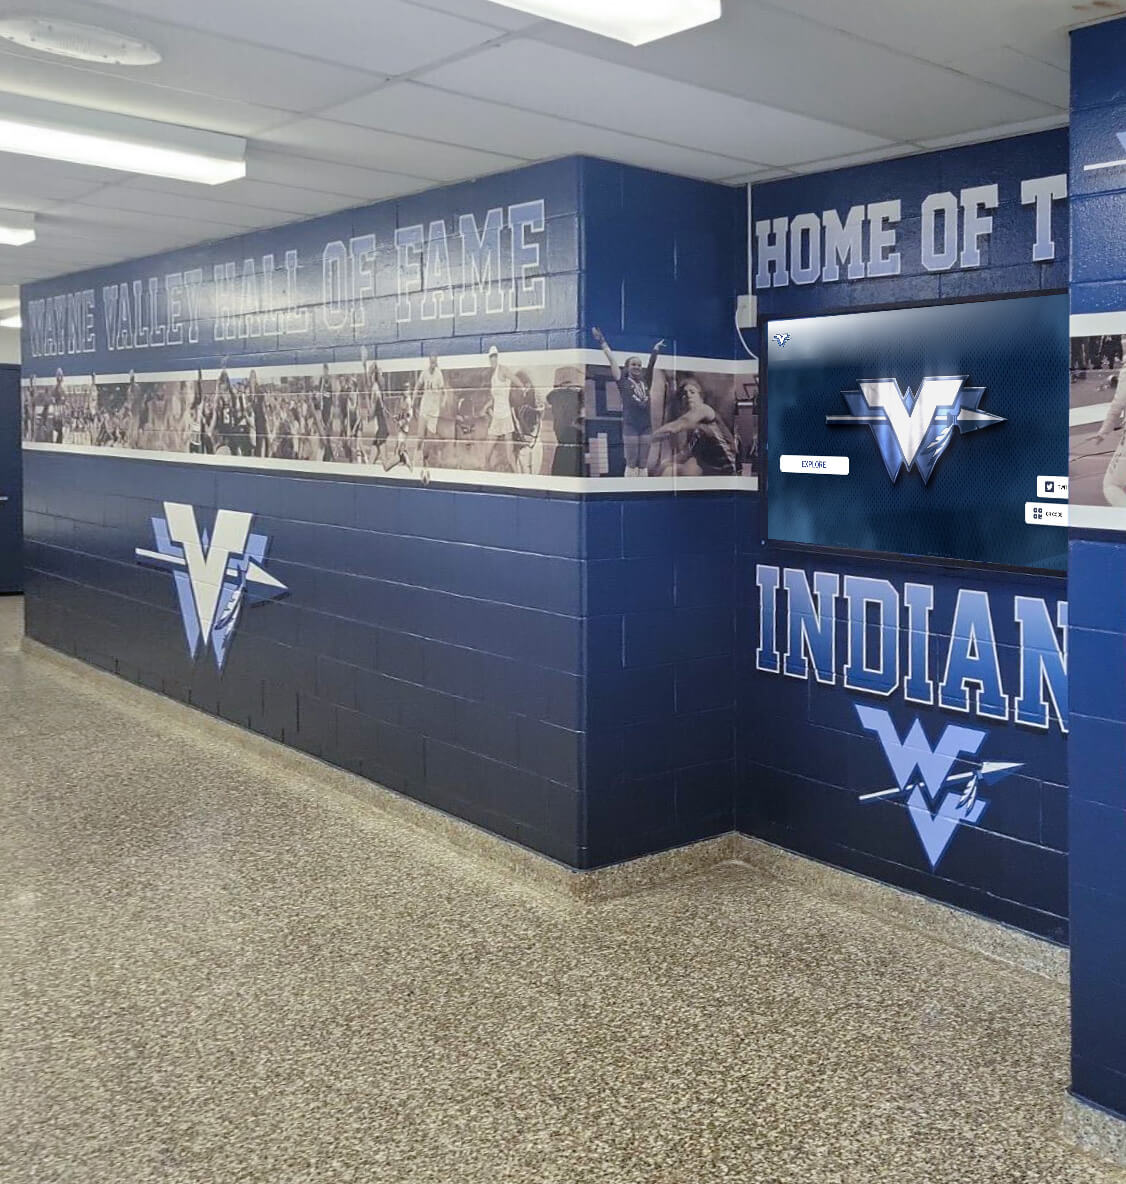
Athletic corridor recognition programs are viewed daily by students, faculty, and visitors — championship banner colors approved against calibrated measurements hold their school-color identity across the full lifespan of the installation
Frequently Asked Questions: Championship Banner Spectrophotometer Calibration Check
How often should a spectrophotometer be calibrated before championship banner color proofing?
A spectrophotometer should be calibrated at the start of every measurement session, regardless of when it was last calibrated. Additional calibrations are required after the instrument has been moved between environments with different temperatures, after any physical disturbance, after the calibration tile has been cleaned, and after any session that has run for more than two continuous hours. The instrument’s software calibration age indicator, if present, should be respected as a minimum standard — most manufacturer guidance recommends beginning every session with a fresh calibration rather than relying on a prior session’s baseline.
What measurement condition (M0, M1, M2) should be used for championship banner substrate measurements?
M1 measurement condition, as defined by ISO 13655, is correct for championship banner proof evaluation on optically brightened substrates — including most bright-white polyester fabrics used for dye-sublimation banners. M1 uses UV illumination standardized to D50, the same illuminant used in ISO 3664 graphic arts viewing booths. M0 and M1 can differ by ΔE 2.0–4.0 on optically brightened substrates. Calibration must be performed in the same measurement condition that will be used for the banner color measurements.
What should I check on the calibration tile before running a calibration check?
Hold the tile at a low angle under room light and inspect for dust or fiber (remove with compressed air or a dry lint-free lens tissue), fingerprints (clean with a dry lint-free cloth, no solvents), scratches across the measurement aperture zone (do not calibrate against a scratched tile — contact the manufacturer for a replacement), and yellowing or visible color shift (a yellowed tile has changed spectrally). Calibrating against a contaminated or damaged tile produces a shifted baseline that affects every measurement in the session.
How do I verify calibration accuracy after the instrument reports calibration success?
Measure a known reference — a current-edition Pantone guide swatch or a certified reference patch with documented Lab values — and compare the measured values to the published reference. A well-calibrated instrument should return values within ΔE 2000 ≤ 1.0 of the reference for standard graphic arts colors. A result greater than ΔE 2.0 warrants re-inspection of the calibration tile, a repeat calibration, and if the result remains elevated, contact with the instrument manufacturer. This step confirms the tile is still accurate, not just that the calibration sequence completed without a software error.
What should be documented when recording a championship banner proof approval based on spectrophotometer measurements?
The calibration record should include: date and time of calibration (from the instrument software log), instrument model and serial number, measurement condition (M0, M1, M2), calibration tile condition notes, the ΔE result from measuring a known reference patch after calibration, and the software version. This creates a defensible audit trail that the instrument was verified before the measurements driving the production decision were taken — essential for recognition programs that will order replacement banners in future seasons and need to match a previously approved color standard.
Protect Every Color Approval With an Instrument That’s Actually Calibrated
A championship banner spectrophotometer calibration check before color proofing is the shortest, most actionable step available to a school’s recognition program for ensuring that the production decisions made from color measurements rest on accurate data. The two-minute calibration sequence at the start of each measurement session — tile inspection, white calibration, reference-patch verification — determines whether the numbers used to approve a proof reflect the banner’s actual color or the instrument’s drift state. No other preflight step can substitute for an accurate instrument reading at the moment the proof approval decision is made.
A calibration check belongs at the start of every measurement session regardless of what other color management steps the production workflow includes. Combined with the championship banner substrate white-point proofing workflow, the championship banner rendering intent preflight, the championship banner metamerism proofing checklist, and the complete championship banner effective PPI preflight, a documented calibration check before each proof evaluation session is the production standard that ensures the school’s navy, maroon, gold, or scarlet banner colors read correctly in the gymnasium — for every athlete and family who stands beneath them throughout the banner’s installation life.
Championship Recognition Built on Accurate Color Standards
Rocket Alumni Solutions helps school athletic programs build championship recognition systems — from print-quality graphic workflows and digital display networks to interactive hall-of-fame kiosks that connect banner history to the athletes and alumni who earned it. When your recognition program needs both print and digital to meet the same verified color standard, we help ensure they do.
Get notified when Rocket Graphics opens.