A championship banner print-density target check is the production verification step that confirms each ink channel in a large-format banner print is depositing at the correct optical density before the full run begins — the check that catches weak solids, over-inked backgrounds, and inconsistent school colors before they are permanently committed to a gymnasium wall. The direct answer: before a championship banner exits the press and ships to installation, a densitometer or spectrophotometer should measure the solid ink density (SID) for each CMYK channel on a control strip and confirm each reading falls within the vendor’s production target range for that substrate and ink combination. A print-density target check takes fewer than five minutes, requires only the measuring instrument and a control strip printed alongside the banner artwork, and is the most direct quality gate between a production press and a finished banner that accurately represents the school’s official colors.
This guide is written for school administrators, athletic directors, facilities managers, and recognition-program coordinators who oversee championship banner production — including the proof-approval and vendor-sign-off steps in the production workflow. No prior densitometry experience is assumed.
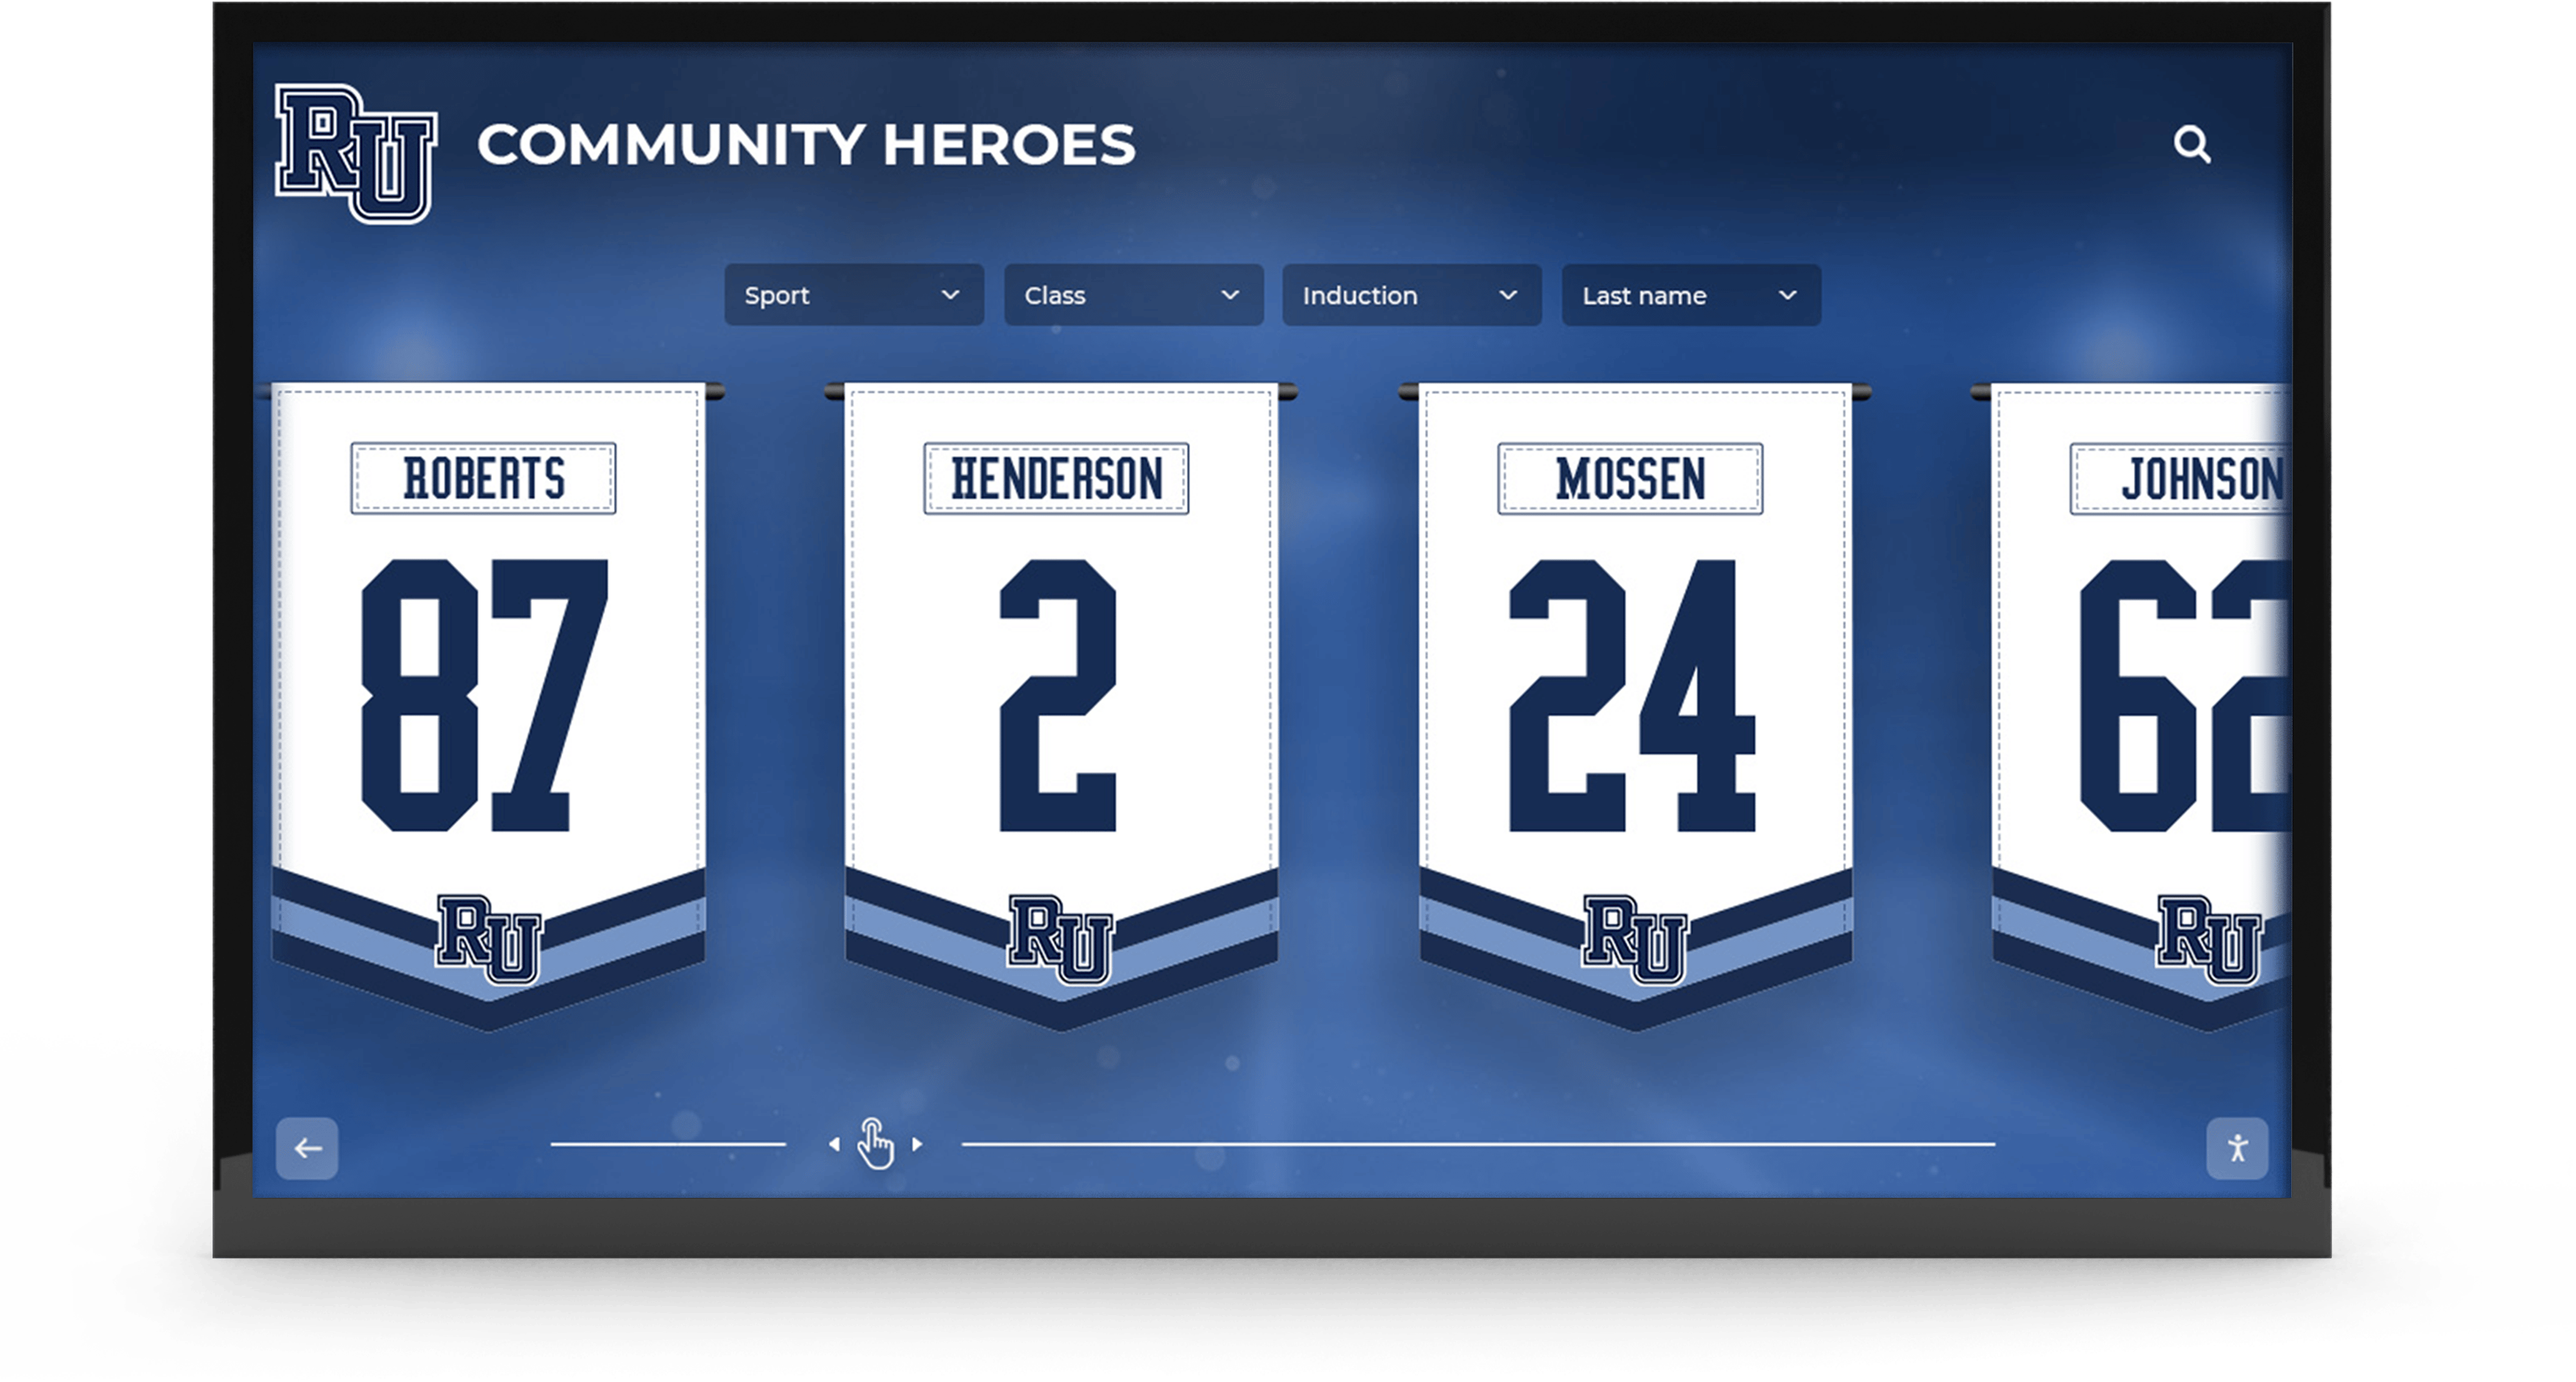
Championship banners displaying school colors and athlete jersey numbers are approved for installation against ink-density measurements taken at the start of each press run — a print-density target check is the production verification step that confirms the color quality visible in the finished installation
What Print Density Is and Why It Determines School Color Accuracy
Print density — formally called optical density or solid ink density (SID) — is a measurement of the amount of light absorbed by an ink film printed on a substrate. A densitometer or spectrophotometer measures reflected light through a color filter: the less light reflected, the higher the density reading, and the more ink is present in the measured zone. Density is expressed on a scale where 0.00 represents a perfectly white reference surface and higher values indicate progressively denser ink coverage.
For championship banners, print density is the physical measurement that corresponds directly to how saturated and opaque each school color channel appears on the finished substrate. A cyan ink layer that measures below its target density appears washed out — the school’s official navy blue lacks depth, reads as a lighter shade than the approved reference, and fails the visual consistency check anyone can perform by comparing the banner against existing recognition materials in the same gymnasium. A cyan layer that measures above its target density creates a different set of problems: ink that has not fully cured on the substrate surface, color shifts from over-saturation, and bleed into adjacent color fields.
Unlike color measurements such as CIE L*a*b* or Delta-E, print density does not directly measure the perceptual difference between the printed ink and a color standard. It measures the ink film’s physical concentration on the substrate. Density checks are performed at the start of a press run — before the full banner is committed to production — because ink-delivery consistency at the start of the run predicts output consistency across the entire job. If the first control strip off the press shows cyan at 1.40 when the target is 1.55, that deficit will persist through the full run unless the press is adjusted before output continues.
For school recognition programs that expect championship banners to visually match the school’s uniform colors, existing trophy case hardware, and digital recognition displays, density measurements provide the numerical confirmation that the school color channels are printing at production specification — not just looking approximately correct at the time of press approval.
How Density Targets Are Set for Large-Format Banner Substrates
Density targets for large-format banner printing differ significantly from offset printing targets. Offset printing on coated stock operates with cyan density targets in the range of 1.35–1.65, magenta and yellow at 1.25–1.50, and black at 1.60–1.80, per ISO 12647-2 guidance for commercial offset. Large-format inkjet printing on vinyl, fabric, and mesh substrates uses different ink types — aqueous, solvent, UV-curable, or dye-sublimation — and produces different density ranges on materials with different absorption and reflectance profiles.
Vendors who produce championship banners professionally establish substrate-specific density targets based on characterization runs with their specific press, ink, and substrate combination. These targets are documented in the vendor’s press certification data or in their press fingerprint — the characterization set that ties the vendor’s ICC profile to the press’s operational density range.
When requesting a print-density target check from a production vendor, confirm in writing:
- The solid ink density target for each CMYK channel on the specific substrate being used for the banner
- The acceptable tolerance range around each target (typically ±0.05 to ±0.10)
- The filter set the vendor uses for density measurement (Status T in North America; Status E in some European workflows)
- The measurement condition used (M0 or M1, consistent with the proofing workflow per ISO 13655)
The density targets in the table below are representative working ranges for common championship banner substrate categories. They are starting points for vendor discussion — not universal specifications, and not substitutes for the vendor’s own characterization data on their specific press.
Print-Density Target Reference Table for Championship Banner Substrates
| Ink Channel | Vinyl (Solvent/Latex) | Polyester Fabric (Direct Print) | Dye-Sub Transfer | Notes |
|---|---|---|---|---|
| Cyan (C) | 1.20–1.55 | 1.10–1.45 | 1.30–1.65 | Higher absorption in dye-sub transfer |
| Magenta (M) | 1.15–1.45 | 1.05–1.40 | 1.25–1.55 | Fabric values lower due to fiber absorption |
| Yellow (Y) | 0.85–1.10 | 0.80–1.05 | 0.90–1.20 | Yellow reads lighter at equivalent density |
| Black (K) | 1.50–1.85 | 1.40–1.75 | 1.55–1.90 | Black targets highest across all categories |
| Tolerance (all channels) | ±0.05 to ±0.10 | ±0.05 to ±0.10 | ±0.05 to ±0.08 | Tighter on dye-sub due to heat-transfer variability |
A channel reading outside these ranges — below the lower bound (weak solid) or above the upper bound (over-inking) — indicates a press adjustment is required before production output is committed to the final substrate.
The Three Failure Modes a Density Check Prevents
Understanding the specific failure modes a print-density target check prevents helps determine what to look for during the check and what corrective action each failure requires.
Weak Solid: Insufficient Ink Density
A weak solid occurs when a solid ink channel measures below its target density range. On a championship banner, weak solids produce school colors that appear faded, pale, or desaturated compared to the approved proof. Visible effects include:
- The school’s navy blue appearing as a medium blue — lacking the depth and saturation of the official color
- Maroon school colors reading as a dusty rose or brownish red rather than the school’s defined maroon
- Black lettering and school crests appearing gray rather than true black
- The banner looking visibly underprinted alongside existing banners from prior seasons when installed side by side in the gymnasium
Causes of weak solids include depleted ink supply lines, clogged print heads, incorrect substrate thickness settings, or reduced print speed settings that deposit fewer ink passes than the substrate’s target density requires. A weak solid is correctable at the start of the run by adjusting ink delivery settings and reprinting the control strip before production proceeds.
Over-Inking: Excessive Ink Density
Over-inking occurs when one or more channels measure above the target density range. On banner substrates, excessive ink delivery creates its own production failures:
- Ink that cannot absorb into the substrate surface remains wet, extends drying time, and may block or offset onto adjacent banner material in the roll or delivery stack
- Color fields bleed laterally into neighboring design elements — a dark school-color background can spread into adjacent reversed white type, compromising legibility at installation size
- Over-inked channels can visually dominate the school color mix, shifting the perceived hue away from the approved reference (excess cyan pushes navy toward a cooler, darker tone)
- Drying failures in large-format output can cause the substrate to cockle or distort while still on the press
Ink Imbalance: Density Variation Across Channels
A third failure mode occurs not when all channels are uniformly out of spec, but when individual channels measure within range while others do not — producing a density imbalance. A banner with cyan at target density but magenta 0.15 below target produces school colors visually shifted toward cyan: a navy blue that reads slightly more cyan-heavy than the approved reference, a maroon that reads more brown than red. The individual channels have not failed in isolation, but their combined effect on school color accuracy fails the visual reference check.
Density balance across channels — all four CMYK values at or near their respective targets simultaneously — is the condition that produces accurate multi-channel school colors on the finished banner. Balance checks are performed by reading all four channels on the control strip in sequence and evaluating the results as a set, not channel by channel in isolation.

Championship banner school colors are evaluated in the installation environment alongside other recognition materials — a print-density target check before production ensures the ink density of each color channel matches the level required to produce accurate school colors in the finished installation
Championship Banner Print-Density Target Check: Production Checklist
Follow this checklist at the start of every championship banner production run. It applies to any large-format banner job where school color accuracy will be evaluated against an approved reference standard.
1. Confirm the Vendor’s Density Targets and Filter Set
Before any measurement is taken:
- Request the vendor’s solid ink density target for each CMYK channel on the specific substrate being used
- Confirm the tolerance range (typically ±0.05 to ±0.10 per channel)
- Confirm the filter set (Status T or Status E) the vendor’s densitometer is calibrated to use
- Document these values in the press-approval record for this banner order
If the vendor does not provide substrate-specific density targets, request their ICC profile characterization data — the target densities are embedded in the characterization workflow. For context on the full cost and substrate landscape of championship banner production, high-school championship banner printing costs, materials, and vendor comparison provides background that helps athletic departments set appropriate expectations for what a production-quality vendor includes in their standard workflow.
2. Confirm the Control Strip Is Included in the Press File
A control strip — a set of solid color patches for each CMYK channel, printed in a thin strip outside the banner artwork bleed area — is the measurement surface for the density check. Confirm:
- The press file includes a control strip adjacent to the banner artwork, within the print area and outside the bleed
- Each channel’s solid patch is large enough for the measuring instrument’s aperture (minimum 6 mm × 6 mm for most instruments)
- The strip includes separate patches for C, M, Y, K, and optionally two-color overprints (CM, CY, MY) for trap evaluation
If the vendor’s file preparation process does not include a control strip, request that one be added before the press run proceeds. Measuring ink density on the banner artwork itself — rather than on a dedicated control patch — is inaccurate because artwork density varies by the ink percentages in each design element, not by the press’s solid-ink-density delivery state.
3. Print and Measure the Control Strip at the Start of the Run
When the press begins the banner job:
- Measure the control strip from the first press output — the first full-length output of the banner before the production run is committed
- Measure each CMYK channel’s solid patch with the densitometer or spectrophotometer set to the confirmed filter and measurement condition
- Record all four channel readings in writing before evaluating them
- Compare each reading to the target range confirmed in step 1
Do not approve the production run based on a visual check of the control strip colors alone. Density measurements are required because human visual evaluation of ink density under press-area lighting is not reliable enough to distinguish a 0.10 density deficit from a correct reading.
4. Evaluate Results Against the Density Target Range
Apply the following decision criteria to the measured readings:
| Reading Outcome | Decision | Action |
|---|---|---|
| All channels within target range | Pass — approve production run | Document readings and proceed |
| One or more channels below target (weak solid) | Fail — stop production | Adjust ink delivery; reprint control strip; re-measure before proceeding |
| One or more channels above target (over-inking) | Fail — stop production | Adjust ink delivery; reprint control strip; re-measure before proceeding |
| All channels in range but with imbalance >0.15 across channels | Flag for review | Evaluate soft proof under revised density state; consider adjustment if school colors are affected |
| Control strip shows mottle or banding in solid patches | Fail — stop production | Investigate print-head uniformity; reprint control strip after maintenance |
5. Confirm Ink Uniformity Across the Banner Width
Density measurements from a single control strip location confirm ink delivery at one point across the banner width. For wide-format banners — typically 4 feet or wider — ink delivery can vary across the print-head array, producing density gradients that are invisible in a single control strip but visible in the finished banner as color banding.
For banners wider than 48 inches, request that the vendor measure density at three points across the banner width: left edge, center, and right edge. All three measurements should fall within the target range for each channel, and the difference between the highest and lowest reading for any channel across the three positions should not exceed 0.10.
6. Check School Colors Against a Physical Reference After Density Confirmation
After the density check passes:
- Compare the printed school colors on the first production sheet against a physical color reference: a Pantone chip, a previous season’s approved banner swatch, or a printed color reference from the brand standards file
- The color check is a visual evaluation performed in a standard viewing environment (D50 light source or daylight-equivalent conditions) — not a replacement for the density measurement, but a confirmation that the density-confirmed ink output looks correct against the reference
- If the density readings pass but the visual comparison shows a visible color difference from the reference, document the discrepancy and escalate to the vendor for a soft-proof comparison before committing the full run
7. Document the Density Readings and Approval Decision
The density check documentation should include:
- Date and time of the measurement
- Banner job identifier and substrate used
- Instrument model and filter set
- All four CMYK density readings from the control strip
- For wide banners: readings from left, center, and right positions
- Pass or fail decision for each channel
- Any corrective actions taken and the re-measured results after correction
- Name or initials of the person who performed and approved the check
Maintaining a consistent documentation format for density checks supports the approval audit trail for championship banner production — relevant for athletic programs that operate under athletic award reference data management policies that require production decisions to be traceable across multiple seasons.
Planning championship banner graphics with verified school colors?
Rocket Graphics is building an AI-powered platform to help school staff create championship banner artwork and athletic recognition graphics with accurate school colors built in — so the file that goes to the press vendor is already optimized for the production standards a print-density target check will verify.
Get notified when Rocket Graphics opens.Print Density and the Broader Championship Banner Color Workflow
A print-density target check is positioned at the production stage of the championship banner workflow — after the design file has been preflighted, approved, and submitted to the vendor, and at the moment the press run begins. It is the last technical quality gate before banner material is committed to full production. Its relationship to the other preflight and proofing steps is sequential: density checks confirm production execution, not design or file quality.
The density check does not replace the design-stage and file-stage preflight steps that precede it:
- Championship banner dot-gain compensation preflight confirms the file’s ink values account for the substrate’s ink-spread behavior before the file is submitted. A file that passes dot-gain preflight will produce accurate school colors when printed at the correct density. A file that fails dot-gain preflight will produce inaccurate school colors even when density targets are met.
- Championship banner total ink coverage preflight confirms cumulative CMYK ink percentages stay within the substrate’s absorption limit. TAC preflight prevents ink saturation failures; density checks confirm individual channel delivery is correct.
- Championship banner gray balance preflight confirms neutral gray tones are built from balanced CMY values. Gray balance issues produce color casts in the printed banner that density checks can identify only indirectly through channel imbalance.
- Championship banner spectrophotometer calibration check confirms the measuring instrument used for density measurement is accurate before the session begins. A density check performed with an uncalibrated instrument produces unreliable readings regardless of how carefully the check is executed.
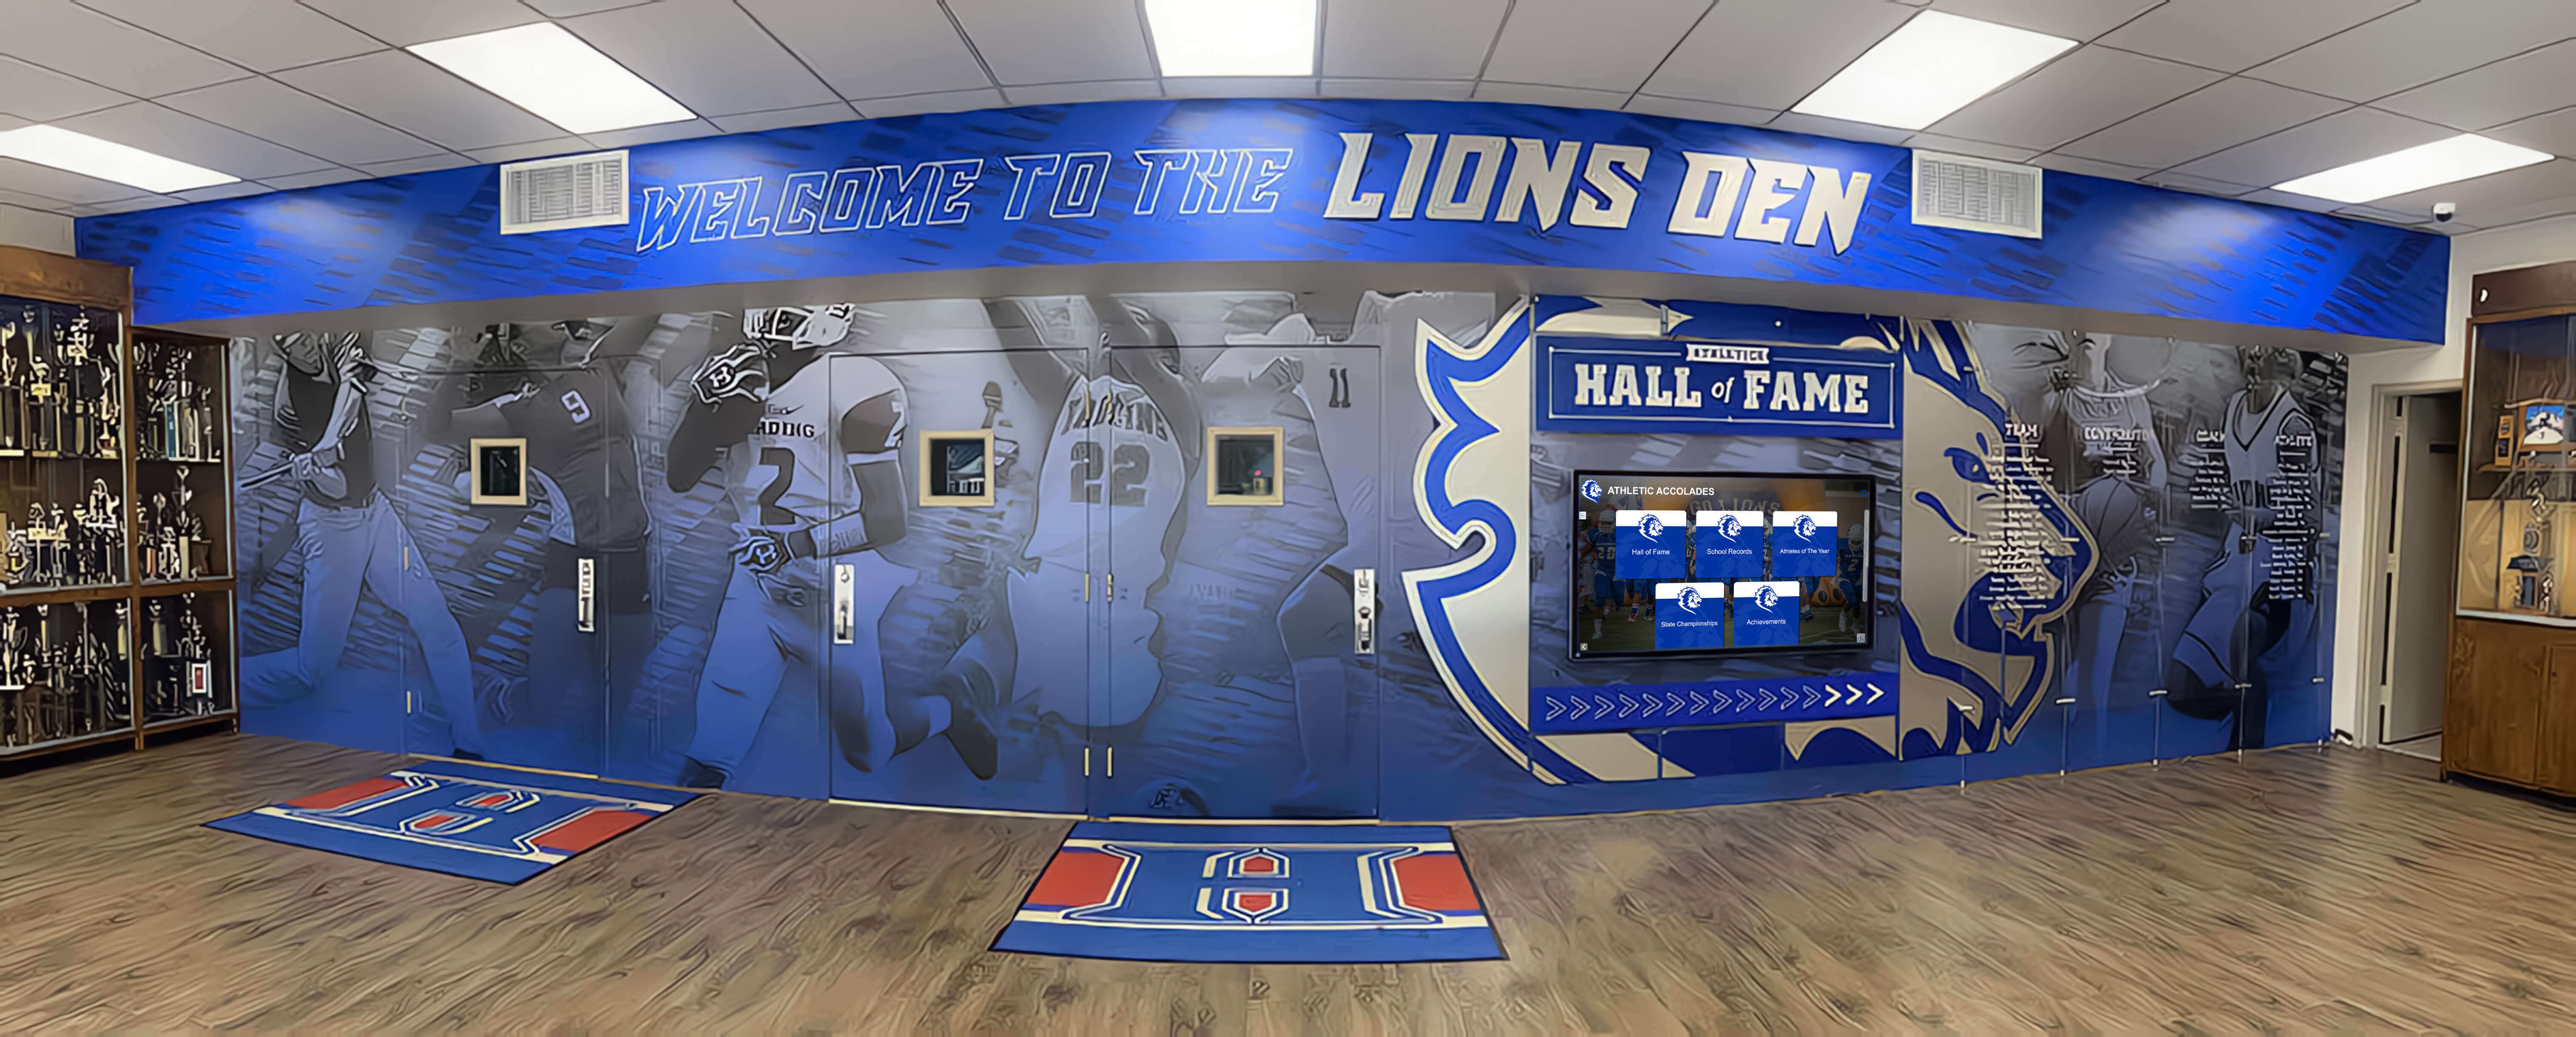
Championship trophy hardware and printed banners share installation space in recognition environments where visitors expect visual consistency — print-density target checks confirm the banner's school colors meet their production specification before the banner is approved for installation alongside physical recognition hardware
Density Measurement Instruments: Densitometer vs. Spectrophotometer
Two instrument types are used to measure print density in banner production environments. Understanding the differences helps when coordinating with a vendor on the density check protocol.
Densitometer: A densitometer is a dedicated device that measures optical density for graphic arts printing. It uses a colored filter (typically Status T in North America) matched to each ink channel’s spectral absorption curve — the filter for cyan is complementary to cyan, passing red light and measuring how much the cyan ink absorbs it. Densitometers are fast, purpose-built for press-side density measurement, and are the standard instrument at production facilities where press checks happen routinely. They are less expensive than spectrophotometers and require only the filter calibration appropriate to the ink type.
Spectrophotometer in density mode: Modern spectrophotometers — including the X-Rite i1Pro family and similar instruments — can calculate density values from spectral measurements. When set to density mode with the appropriate filter standard selected, a spectrophotometer returns density readings equivalent to those from a dedicated densitometer. Spectrophotometers are preferred in workflows where the same instrument performs both density checks and spectral color measurements (L*a*b* or Delta-E comparisons) in the same session, eliminating the need for two separate instruments.
For championship banner productions where proof approval involves both density checks and spectral color comparison against school-color Lab references, a spectrophotometer in density mode is the more efficient instrument choice — one calibration, one device, both measurement types within the same press-approval session.
School Color Scenarios and Density Check Application
School Navy Blue on Vinyl
A school’s official navy blue is specified as C:100 M:72 Y:0 K:18 in the brand standards document, calibrated for coated paper. The vendor’s density target for their vinyl substrate is C: 1.40, M: 1.25, K: 1.60, with ±0.07 tolerance.
The control strip at the start of the run reads C: 1.25, M: 1.22, K: 1.57. Cyan is 0.15 below target — outside the tolerance range. The visible result will be a navy that reads lighter and less saturated than the approved reference, with a noticeable color difference visible alongside prior-season banners already hanging in the gymnasium.
Action: Increase cyan ink delivery per the vendor’s press adjustment procedure. Reprint the control strip. Measure again. Proceed only when cyan reaches 1.33 or above (within the ±0.07 range of 1.40).
Maroon Championship Lettering on White Vinyl
A maroon school color (C:10 M:90 Y:45 K:20) appears in large championship lettering on a white vinyl background. The control strip reads M: 1.55, above the target of 1.40 ± 0.07. Magenta is over-inking.
The visible effect on the finished banner: the maroon lettering reads heavier and darker than the reference, losing the red quality that distinguishes school maroon from a generic dark brown. The excess magenta also increases the risk of ink absorption failure on the white vinyl field adjacent to heavy lettering — the over-inked zone takes longer to dry, and the dried edge may show slight spread into the neighboring white.
Action: Reduce magenta ink delivery. Reprint the control strip. Confirm magenta falls within 1.33–1.47 before proceeding.
Football Trophy Case and Corridor Banner Context
Schools that display championship banners adjacent to football trophy cases and physical hardware — helmets, game balls, and championship memorabilia — produce banners in school colors that must hold their color identity alongside the actual physical objects from the championship season. Football trophy case display environments and ideas illustrate how physical hardware and recognition materials share installation space in a way that demands color coherence between the printed banner and the three-dimensional recognition objects displayed together. Print-density target checks ensure the banner’s school colors are production-accurate enough to read consistently alongside that hardware year after year.
Graduation and Honor Recognition Banners
Schools that produce recognition materials across multiple programs — championship banners for athletics, graduation recognition displays, and honor banners for academic achievement — benefit from applying density target checks consistently across all large-format print productions. Graduation honor stole design and school recognition display materials and championship banners often carry the same school colors, and visual consistency between athletic and academic recognition materials reinforces the school’s brand identity in corridors and gymnasium spaces where both types are displayed together.
Medal Display and Physical Recognition Program Coordination
Schools that combine physical recognition hardware with printed banners — medal display racks and digital recognition systems installed alongside championship banners — need each component to meet its medium-specific quality standard. Physical trophies and plaques carry the school colors in their finishes; printed banners require a density check that confirms ink delivery matches the school color specification for the substrate being used.
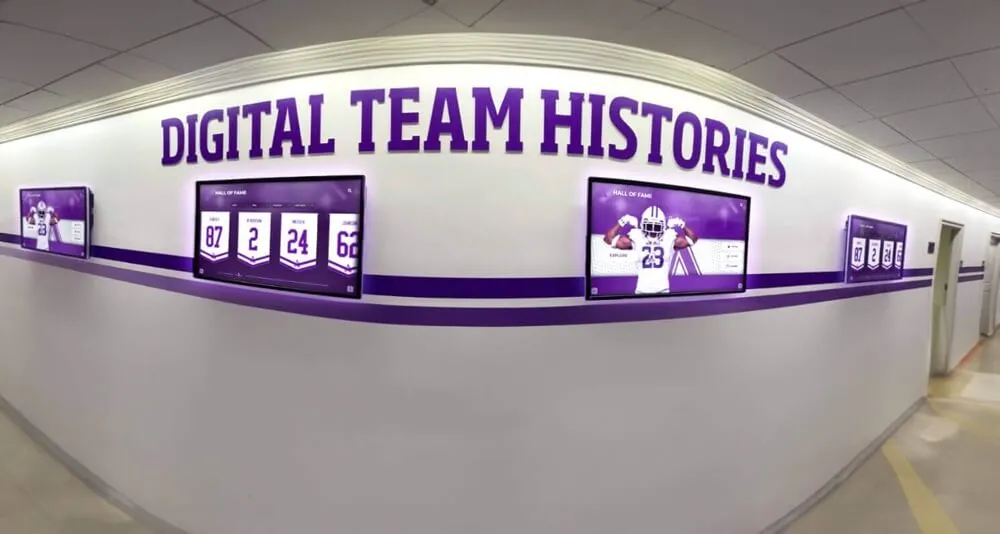
Championship records on digital screens and printed banners installed in the same corridor are compared by students and visitors daily — print-density target checks on the printed banners confirm the school color accuracy that makes those two display formats visually consistent with each other
Density Checks and School Athletic Recognition Program Records
A championship banner is not an isolated print production. For schools with multi-sport, multi-season athletic programs, championship banners are produced regularly — sometimes multiple times in a school year — and each banner must match the color standard established by prior-season banners already hanging in the gymnasium. A densitometer reading from the current production run can be compared against documented readings from prior runs on the same substrate, giving the athletic department a numerical record of whether color consistency was maintained across the program’s history.
Athletics programs that build multi-year recognition records benefit from a consistent production standards file — documenting substrate choice, vendor, density targets, and measured density readings for every banner production run — so future banner orders can confirm they are maintaining the color standard established in earlier seasons. This type of documentation parallels the recognition records schools maintain for academic milestones and senior recognition and celebration programs — a consistent archive that supports program continuity even as staff and vendors change over time.
For cheer programs, color guard, and performance teams that produce championship banners and display them alongside athletic recognition materials, the same density check workflow applies. Recognition programs for coaching staff and athletic teams that include championship banner production as part of season-end recognition should apply the same production quality standards as the athletic department’s varsity sport banners — consistent density targets, documented check results, and a vendor who performs the check as a standard step in their production workflow.
Mottle, Banding, and Uniformity Failures Visible on Control Strips
Density checks catch density-level failures. Uniformity failures — mottle and banding — are visible on the control strip as visual texture within solid patches, not as density readings outside the target range. Both conditions produce a finished banner that fails the visual quality standard even when density numbers pass.
Mottle is a grainy, uneven texture visible in solid color patches on the printed banner. It occurs when ink absorption varies unevenly across the substrate surface — areas of slightly higher and lower absorption produce a stippled appearance in what should be a uniform solid field. Mottle is not captured by a single-point density measurement; it is visible as a quality issue in the control strip solid patches when the strip is examined closely.
Banding is a repeating horizontal stripe pattern in solid fields, caused by print-head inconsistency across the media feed direction. Each band corresponds to a print-head pass width that differs slightly in ink delivery from adjacent passes. Banding is visible across the banner width as parallel stripes in solid school-color fields — particularly in large dark backgrounds like navy or maroon, where the stripe pattern creates a visually distracting texture in what should be a uniform color.
Both mottle and banding failures visible on the control strip warrant a stop-production decision before the full banner run proceeds. If either condition is observed:
- Document the visual condition on the control strip
- Request print-head cleaning or nozzle check from the vendor
- Reprint the control strip after maintenance
- Confirm both density readings and solid-patch uniformity before approving the production run
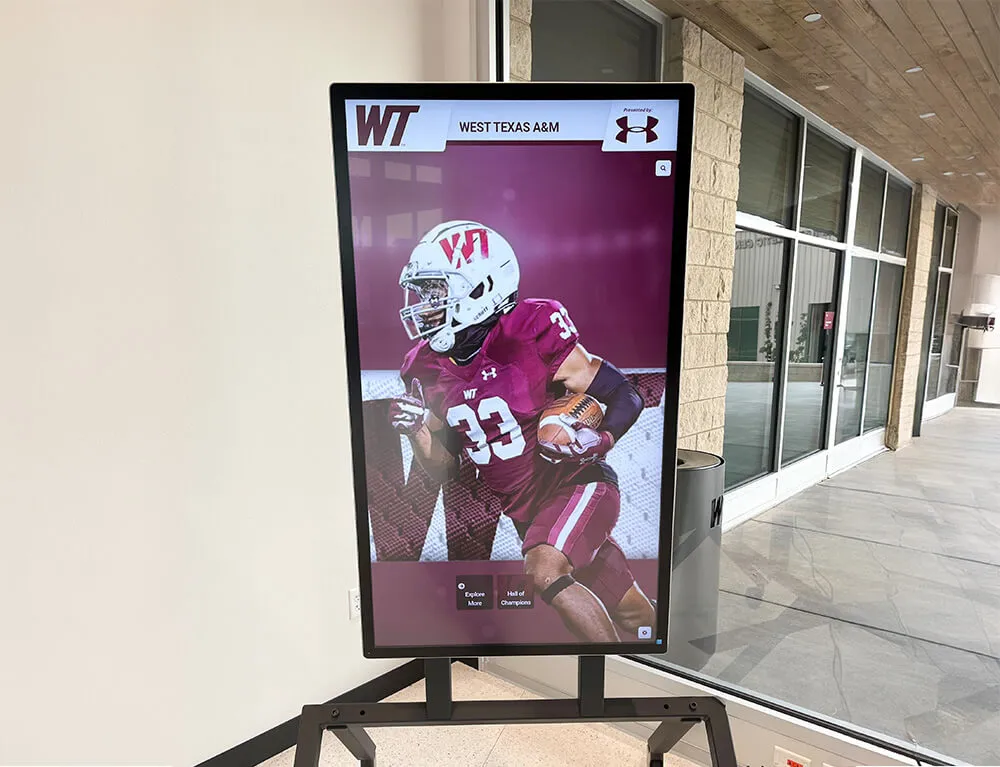
Recognition programs that combine large-format printed banners with digital displays depend on color consistency across both media — print-density target checks on the banner production run confirm the ink delivery accuracy that makes that consistency achievable in the finished installation
Frequently Asked Questions: Championship Banner Print-Density Target Check
What is a print-density target check for a championship banner?
A championship banner print-density target check is a measurement performed at the start of a press run to confirm each CMYK ink channel is depositing at the correct optical density on the production substrate. The check uses a densitometer or spectrophotometer to measure a control strip printed alongside the banner artwork. Each channel reading is compared to the vendor’s substrate-specific density target, and the press run proceeds only if all channels fall within the tolerance range. The check catches weak solids, over-inking, and channel imbalance before those conditions are committed to the full banner production.
What are typical solid ink density targets for championship banner vinyl?
Representative solid ink density targets for solvent or latex inkjet on vinyl are approximately: Cyan 1.20–1.55, Magenta 1.15–1.45, Yellow 0.85–1.10, Black 1.50–1.85, with ±0.05 to ±0.10 tolerance per channel. These ranges are starting points for discussion with the vendor — the authoritative target for any order is established by the specific vendor for their press, ink, and substrate combination. Always request substrate-specific targets before the production run.
What happens if the density check fails on one CMYK channel?
If any channel falls outside the target range, stop the production run before banner material is committed. The vendor adjusts ink delivery for the failing channel, reprints the control strip, and re-measures before production resumes. A channel below target (weak solid) produces school colors that appear faded on the finished banner. A channel above target (over-inking) causes color shifts, extended drying times, and potential bleed into adjacent design elements. Neither condition can be corrected after printing.
Can a visual inspection replace a density measurement for a championship banner?
No. Visual inspection of control strip colors under press-area lighting is not a reliable substitute for instrument measurement. A density deficit of 0.10–0.15 — enough to produce a visible school color difference in the finished banner — may not be detected by visual inspection under press conditions. Density measurements provide a numerical confirmation that is not subject to observer variability, viewing distance, or illuminant differences.
What should be documented after a championship banner print-density target check?
The record should include: date and time, banner job and substrate, instrument model and filter set, all four CMYK density readings (and width-position readings for banners wider than 48 inches), pass or fail decision per channel, corrective actions taken and re-measured results, and the approver’s initials. This documentation supports production quality records for programs that produce banners seasonally and need to confirm density standards were met consistently across production runs.
A Print-Density Target Check Before Production Protects Every Banner It Clears
A championship banner print-density target check is the production-stage quality gate that confirms the press is delivering each school color at the correct ink film density before the full run commits banner material to production. It takes fewer than five minutes, requires only the measuring instrument and a control strip, and prevents the three failure modes — weak solids, over-inking, and channel imbalance — that produce finished banners with inaccurate school colors that cannot be corrected after installation.
The checklist is straightforward: confirm the density targets and filter set in writing, verify the control strip is in the press file, measure all four CMYK channels at the start of the run, compare readings to the target range, check uniformity across the banner width for wide-format jobs, confirm school colors visually against a physical reference after density passes, and document all readings and the approval decision. Apply that workflow consistently to every championship banner production run and the banners installed in the gymnasium will represent the school’s official colors accurately — season after season, for every student, athlete, and family who stands beneath them.
Combined with the championship banner dot-gain compensation preflight, championship banner total ink coverage preflight, and championship banner spectrophotometer calibration check, a documented print-density target check at the start of each production run is the production standard that ensures the school’s championship colors — navy, maroon, gold, or scarlet — print accurately and consistently, banner after banner, across the full history of the athletic program.
Championship Graphics With School Colors Built In
Rocket Alumni Solutions helps school athletic programs build championship recognition systems — from print-quality graphic workflows and digital display networks to interactive hall-of-fame kiosks that connect banner history to the athletes and alumni who earned it.
Get notified when Rocket Graphics opens.