A championship banner crop marks preflight checklist is the fastest way to prevent trim errors on large-format banners — the class of production failure where a vendor cuts through artwork, leaves a white edge along a banner side, or delivers a banner that does not match the approved finished size. The direct answer: before submitting any championship banner file to a commercial print vendor, confirm that crop marks are present in the exported PDF, placed at the correct offset outside the trim edge, free of artwork overlap, set to Registration color, and aligned to a trim box that matches the final banner dimensions. Once those conditions are verified in Adobe Acrobat, check that bleed artwork extends beyond the trim line on all sides — then repeat the review after any re-export.
This checklist is organized by verification step and failure type, with a quick-reference table for ongoing use. It is written for school administrators, athletic directors, facilities managers, and recognition-program coordinators who review banner artwork before production approval — not for professional prepress operators.
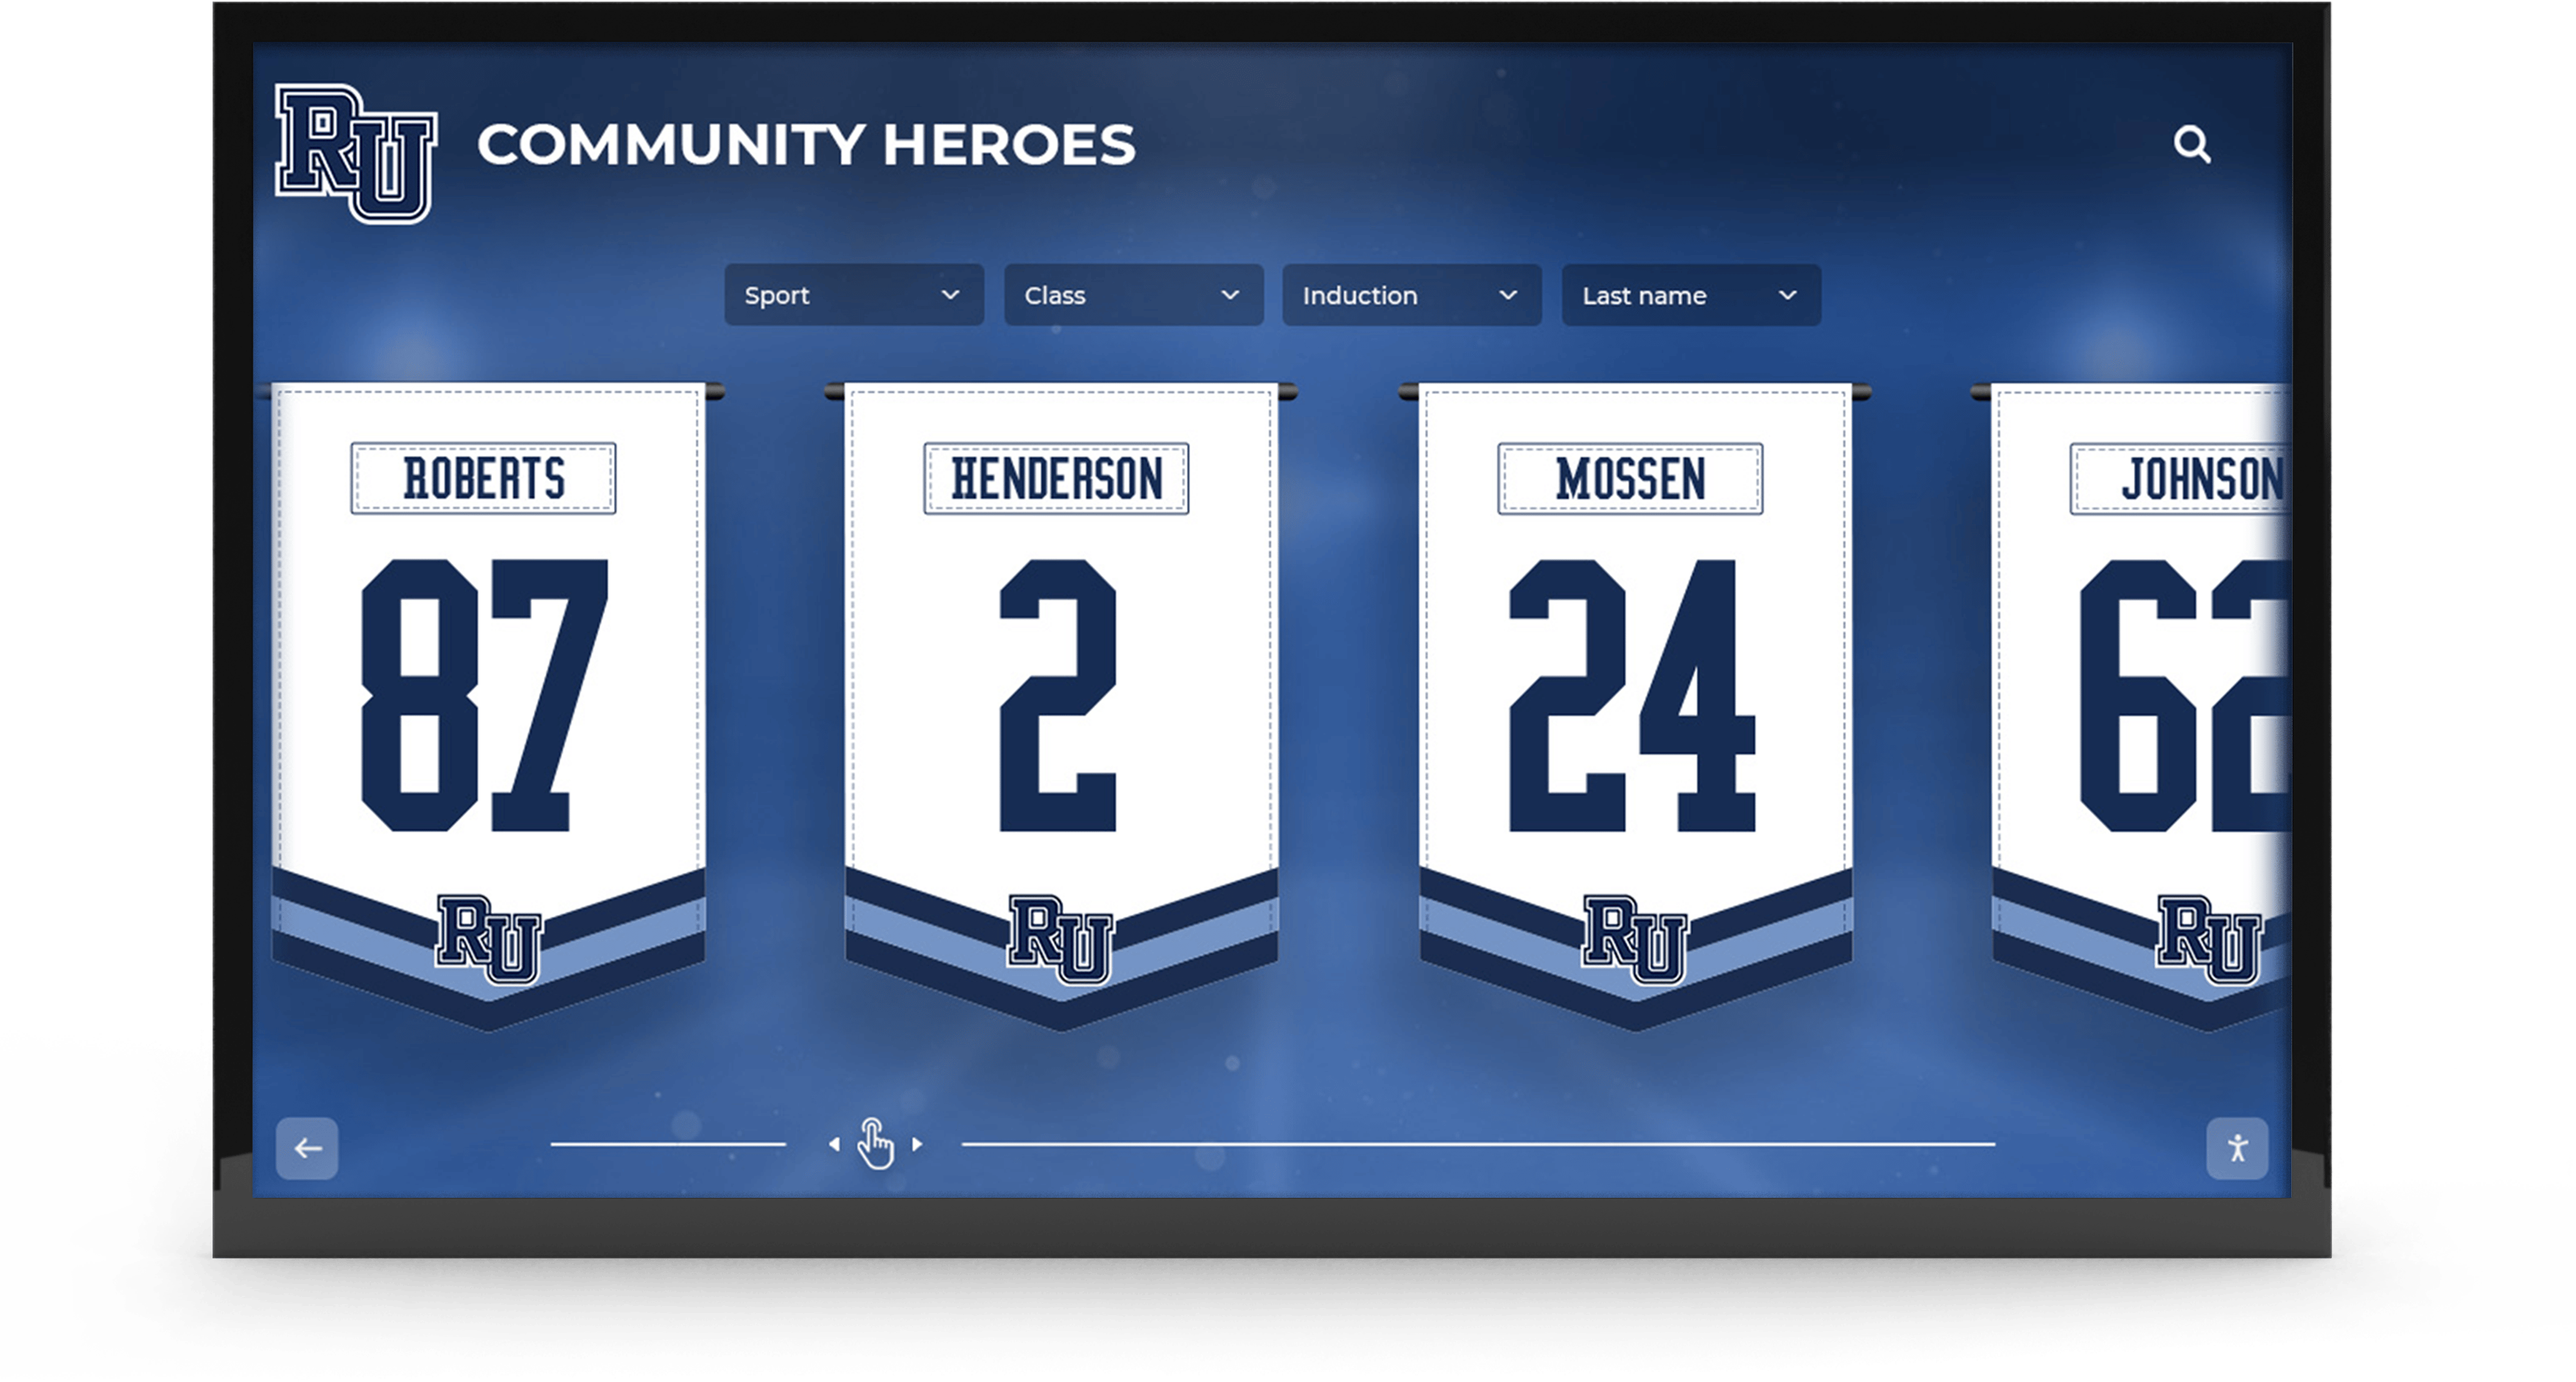
Championship banners installed in school gymnasiums and lobbies represent permanent athletic records — a crop mark error that reaches the vendor produces a banner cut through artwork or trimmed with a white edge that cannot be corrected after production
Why Crop Marks Matter for Championship Banner Production
Crop marks — also called trim marks or cut marks — are the small lines placed outside a print file’s artwork boundaries that tell the vendor’s finishing equipment exactly where to cut the substrate after printing. On a standard letter-size document, a misaligned crop mark is a minor inconvenience. On a championship banner measuring four by eight feet and displaying a school’s athletic history, a misaligned or missing crop mark produces a finished banner that is the wrong size, has a white stripe along one edge where the background color did not extend to the cut line, or has text trimmed partially off by a cutter that followed inaccurate marks.
Championship banners are among the most visible and permanent recognition materials a school produces. They hang in gymnasiums, lobbies, and hallways for decades — read by every athlete, student, and visitor who passes through those spaces. A banner that arrives from the vendor with a white edge along the bottom or a mascot graphic partially cut away represents a production failure that is permanently visible for as long as the banner hangs.
The relationship between crop marks and bleed is the most important technical relationship in banner production. Bleed is the extension of background artwork beyond the trim boundary — typically 0.125 inch (3 mm) for standard commercial print, and up to 0.5 inch or greater for large-format vendors that hem and grommet banners. Crop marks define the trim boundary. If artwork does not extend into the bleed zone, any minor variation in cutting position produces a white gap along the cut edge. If crop marks are offset, the trim itself occurs in the wrong location. Both failures are invisible in standard PDF preview and both produce visible defects on the finished banner.
For school athletic programs that order championship banners on a recurring schedule, adding a crop marks verification step to the pre-submission review prevents vendor correction holds and reprints that delay recognition events.
The Three Crop Mark Errors That Damage Championship Banners
Understanding what goes wrong — and why — makes the checklist steps faster to execute.
Error 1: Missing Crop Marks
A championship banner file exported without crop marks gives the vendor’s finishing equipment no reference for where to cut. The vendor may measure and cut from the edge of the printed sheet, which works correctly only if the artwork was designed with precise knowledge of that equipment’s behavior. More commonly, a vendor will flag the file as incomplete and request a corrected submission, causing a production hold. In some cases, particularly with automated online print vendors, the file processes without correction and the banner is cut at an arbitrary position relative to the artwork.
Missing crop marks are the most straightforward failure to catch: open the PDF in Adobe Acrobat and visually confirm that four pairs of thin lines appear at the corners outside the image area. If they are absent, the file was exported without them.
Error 2: Crop Marks That Overlap Artwork
Crop marks must be placed outside the bleed boundary — past the edge of all background artwork and imagery. A file where crop marks overlap the artwork area produces two problems: the vendor’s RIP may process the marks as part of the print content (adding small corner lines to the finished banner), and the cut position indicated by those marks may fall inside the design’s intended live area rather than at the true trim edge.
This error occurs most often when a designer creates crop marks manually using the drawing tools in Illustrator or InDesign rather than letting the export dialog generate them automatically, or when artwork dimensions were changed after marks were placed.
Error 3: Artwork That Does Not Reach the Bleed Boundary
The reverse problem — crop marks are correctly placed, but the background artwork stops at the trim line rather than extending into the bleed — is invisible in standard PDF preview because the view area corresponds to the trim box, not the sheet. The bleed zone appears to be filled because the viewer clips to the trim edge. On the finished banner, any cutting variation that trims 1 millimeter into the design produces a white gap along that edge.
This error is common when a designer works in a document set to the finished banner size without configuring bleed in the document setup, and adds crop marks without first extending background artwork beyond the trim boundary.
Championship Banner Crop Marks Preflight Checklist
Work through each step below before submitting any championship banner PDF to a commercial print vendor. Items marked (Required) will cause a visible production error or vendor hold if skipped. Items marked (Recommended) prevent less common failure modes.
Step 1: Confirm Crop Marks Are Present in the Exported PDF
- Open the championship banner PDF in Adobe Acrobat (Reader or Pro). (Required)
- Zoom out to view the full page including the area outside the document boundary — Acrobat defaults to showing only the trim box content. Navigate to View > Page Display > Show Art, Trim, Bleed Boxes or use File > Properties > Initial View to confirm page view mode. (Required)
- In the full-page view, confirm that four pairs of thin lines (one horizontal and one vertical at each corner) appear outside the artwork boundary. (Required)
- Confirm that crop marks are visible on all four sides of the document — not just two corners. (Required)
- If no crop marks are visible, the file was exported without trim marks. Return to the source application, enable crop marks in the PDF export dialog, and re-export. (Required)
Step 2: Verify Crop Mark Placement Outside the Bleed Area
Crop marks must be placed in the mark zone outside the bleed boundary — they must not overlap any printed content, including the bleed extension.
| Check | Method | Pass Criteria | Priority |
|---|---|---|---|
| Crop marks in mark zone only | Visual inspection in Acrobat full-page view | All crop mark lines outside the bleed boundary | Required |
| No artwork overlap with crop marks | Zoom to 200% at each corner | No artwork element extends past bleed into the mark zone | Required |
| Crop mark offset matches vendor specification | Compare export settings to vendor requirements | Offset of 0.125 to 0.25 inch (3–6 mm) from trim edge, or as specified | Required |
| Crop mark length is standard | Visual estimation at 100% zoom | Marks approximately 0.25 inch (6 mm) long | Recommended |
The offset distance separates the crop mark from the trim line — a zero-offset crop mark touching the trim boundary is difficult for finishing operators to read accurately. Most large-format vendors specify an offset of at least 0.125 inch. Confirm the vendor’s requirement before finalizing the export.
Step 3: Check the Trim Box Alignment in Adobe Acrobat
- In Acrobat Pro, open Tools > Print Production > Set Page Boxes. (Recommended for Acrobat Pro users)
- Confirm that the Trim Box dimensions match the finished banner size specified in the production order — for example, 48 × 96 inches for a four-by-eight-foot banner. (Required)
- Confirm that the Media Box (the full sheet size) is larger than the Trim Box on all sides, with the difference representing the bleed extension plus the mark zone. (Required)
- Confirm that the Bleed Box falls between the Trim Box and the Media Box — bleed extension of 0.125 to 0.5 inch on each side, consistent with the vendor’s specification. (Required)
- If the Trim Box matches the Media Box (same dimensions), the file has no bleed and no mark area — crop marks placed in this configuration will overlap artwork. Return to the source application and rebuild the document with correct bleed and media dimensions. (Required)
In Adobe Acrobat Reader (free), the Set Page Boxes tool is not available. Verify trim box alignment using the Document Properties dialog (File > Properties > Description) which reports page dimensions, or request an Acrobat Pro review from a colleague or the designer.
Step 4: Confirm Bleed Extension Beyond the Trim Line
Bleed verification confirms that background artwork, color fills, and imagery extend to the Bleed Box boundary on all sides — so that minor cutting variation does not produce a white edge on the finished banner.
- In Acrobat, navigate to View > Page Display > Show Art, Trim, Bleed Boxes to display the bleed boundary as a visible overlay. (Recommended)
- Confirm that all background artwork — color fills, gradient fields, photographic backgrounds, mascot color zones — extends visually to or past the Bleed Box line. (Required)
- Inspect all four sides independently. A design that has correct bleed on three sides and stops at the trim line on the fourth will show a white edge on that side after cutting. (Required)
- Verify that no critical content — school name, championship year, mascot graphic center — falls inside the bleed zone. Content in the bleed zone is at risk of being cut away. (Required)
| Element Type | Should Extend to Bleed Box? | Pass Criteria | Priority |
|---|---|---|---|
| Background color fill | Yes | Color extends to all four bleed boundaries | Required |
| Background photograph or gradient | Yes | Image extends to bleed boundary on all sides | Required |
| School name and sport text | No — must stay inside safe zone | All critical text inside safe zone margin | Required |
| Decorative border elements | Depends — confirm with designer | Border extends to trim or bleed as designed | Recommended |
| White or light-colored background | Yes | Light background extends to bleed; no white edge after cutting | Required |
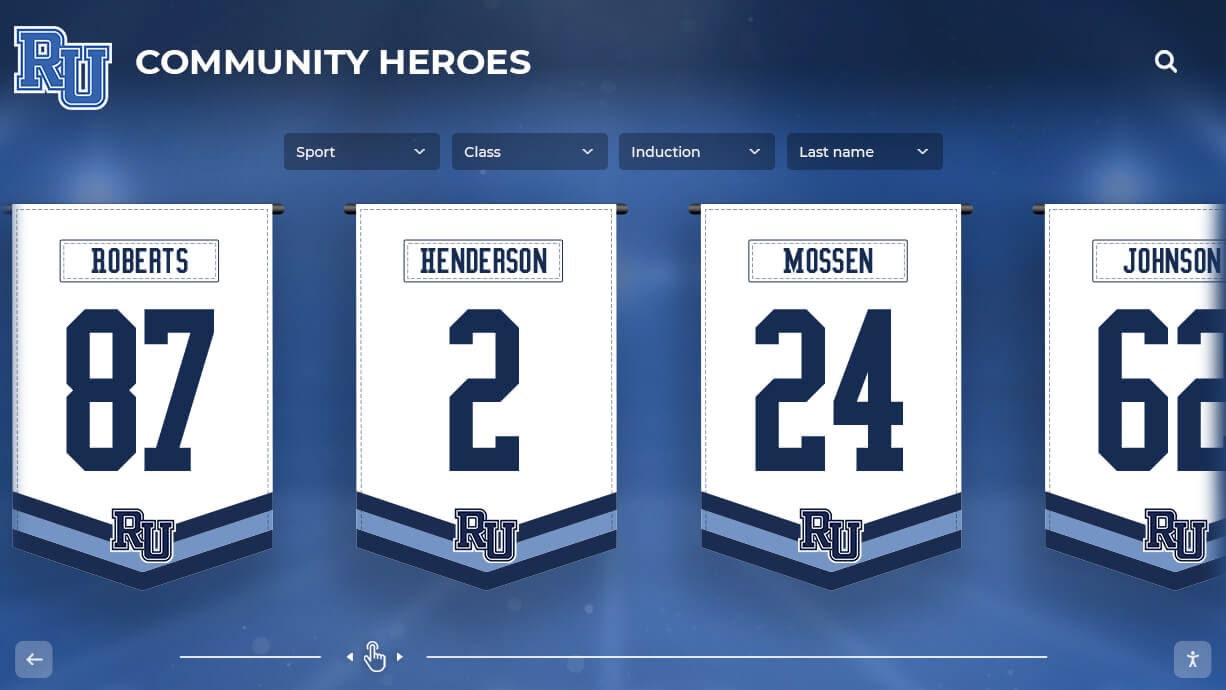
Hanging championship banners are viewed at close range in high-traffic spaces — a white edge from missing bleed or misaligned crop marks is immediately visible and cannot be corrected once the banner is trimmed
Step 5: Verify Crop Mark Color Is Registration
- In Acrobat Pro, navigate to Tools > Print Production > Output Preview. (Recommended)
- In Separations mode, toggle the CMYK color plates on and off. Crop marks should appear on all four plates simultaneously — confirming they are set to Registration color (100% of all inks), not to black only. (Recommended)
- If crop marks appear on only the black plate, they are set to 100% K rather than Registration. On a multi-ink banner, 100% K crop marks may not be visible on color separations other than black — which can cause alignment issues at some vendors. Return to the source application and set crop marks to Registration before re-exporting. (Recommended)
- For PDF files exported from Illustrator or InDesign with the application’s built-in crop mark export option, Registration color is applied automatically — manual review is a confirmation step, not a correction step for correctly exported files. (Recommended)
Step 6: Inspect the Safe Zone for Critical Text
The safe zone is the inset from the trim edge within which all critical text and graphic elements must sit. Content outside the safe zone may be cut during production even when crop marks are correctly placed — because cutting equipment calibration, material stretch on large-format substrates, and hem-and-grommet finishing all introduce minor variation at the trim edge.
Standard safe zone inset is 0.25 inch from the trim edge on all sides. Large-format vendors producing grommet-and-hem banners may require a safe zone inset of 0.5 to 1 inch on banner sides where hems are applied — confirm with the vendor.
| Content Category | Safe Zone Required? | Pass Criteria | Priority |
|---|---|---|---|
| School name (primary text) | Yes | Entirely within safe zone inset | Required |
| Championship year and sport designation | Yes | Entirely within safe zone inset | Required |
| Coach name and record notation | Yes | Entirely within safe zone inset | Required |
| Mascot graphic center element | Yes | Center of graphic within safe zone | Required |
| Decorative border lines | Recommended | Border elements inside trim boundary | Recommended |
| Background color and imagery | No | Extends to bleed boundary | Required |
Step 7: Re-export and Verify After Any Correction
After correcting crop mark settings, bleed configuration, or safe zone content in the source application:
- Re-export the championship banner to PDF using the same export preset used for the original file. (Required)
- Open the new PDF in Acrobat and repeat Steps 1 through 6 above. (Required)
- Confirm that all previously identified crop mark errors are resolved. (Required)
- Run the complete PDF/X preflight check on the re-exported file — any re-export may introduce new preflight failures in color space, font embedding, or transparency. The championship banner PDF/X preflight checklist covers the full seven-category verification in detail. (Required)
How to Generate Crop Marks During PDF Export
Crop marks are generated at export time in most design applications. The correct setting varies by application.
Adobe Illustrator: In the File > Save As > Adobe PDF dialog, go to the Marks and Bleeds panel. Check Trim Marks under Printer’s Marks, confirm the offset (default 0.0833 inch, which is approximately 0.125 inch — adjust to vendor specification), and confirm that Use Document Bleed Settings is checked under Bleeds. Do not use the Illustrator Effect > Crop Marks command for PDF export — that effect creates crop marks as visible artwork objects within the live area rather than outside it.
Adobe InDesign: In the File > Export > Adobe PDF (Print) dialog, go to the Marks and Bleeds panel. Check Crop Marks and confirm Use Document Bleed Settings. InDesign sets Registration color automatically.
CorelDRAW: In the File > Print dialog, go to the Prepress tab and check Crop Marks. For PDF export, use File > Publish to PDF, open the PDF Settings, and enable crop marks in the Prepress tab.
Canva and PowerPoint: Neither application generates production-standard crop marks on PDF export. Files designed in Canva or PowerPoint for commercial banner production require manual addition of crop marks by the vendor or a print-services partner — or must be rebuilt in a professional design application before vendor submission. See the championship banner font embedding checklist for a full discussion of export limitations in consumer applications.
Affinity Designer and Affinity Publisher: In the File > Export > PDF dialog, enable Crop Marks under the Bleed and Marks section. Affinity’s PDF export generates Registration-color marks at the standard offset automatically.
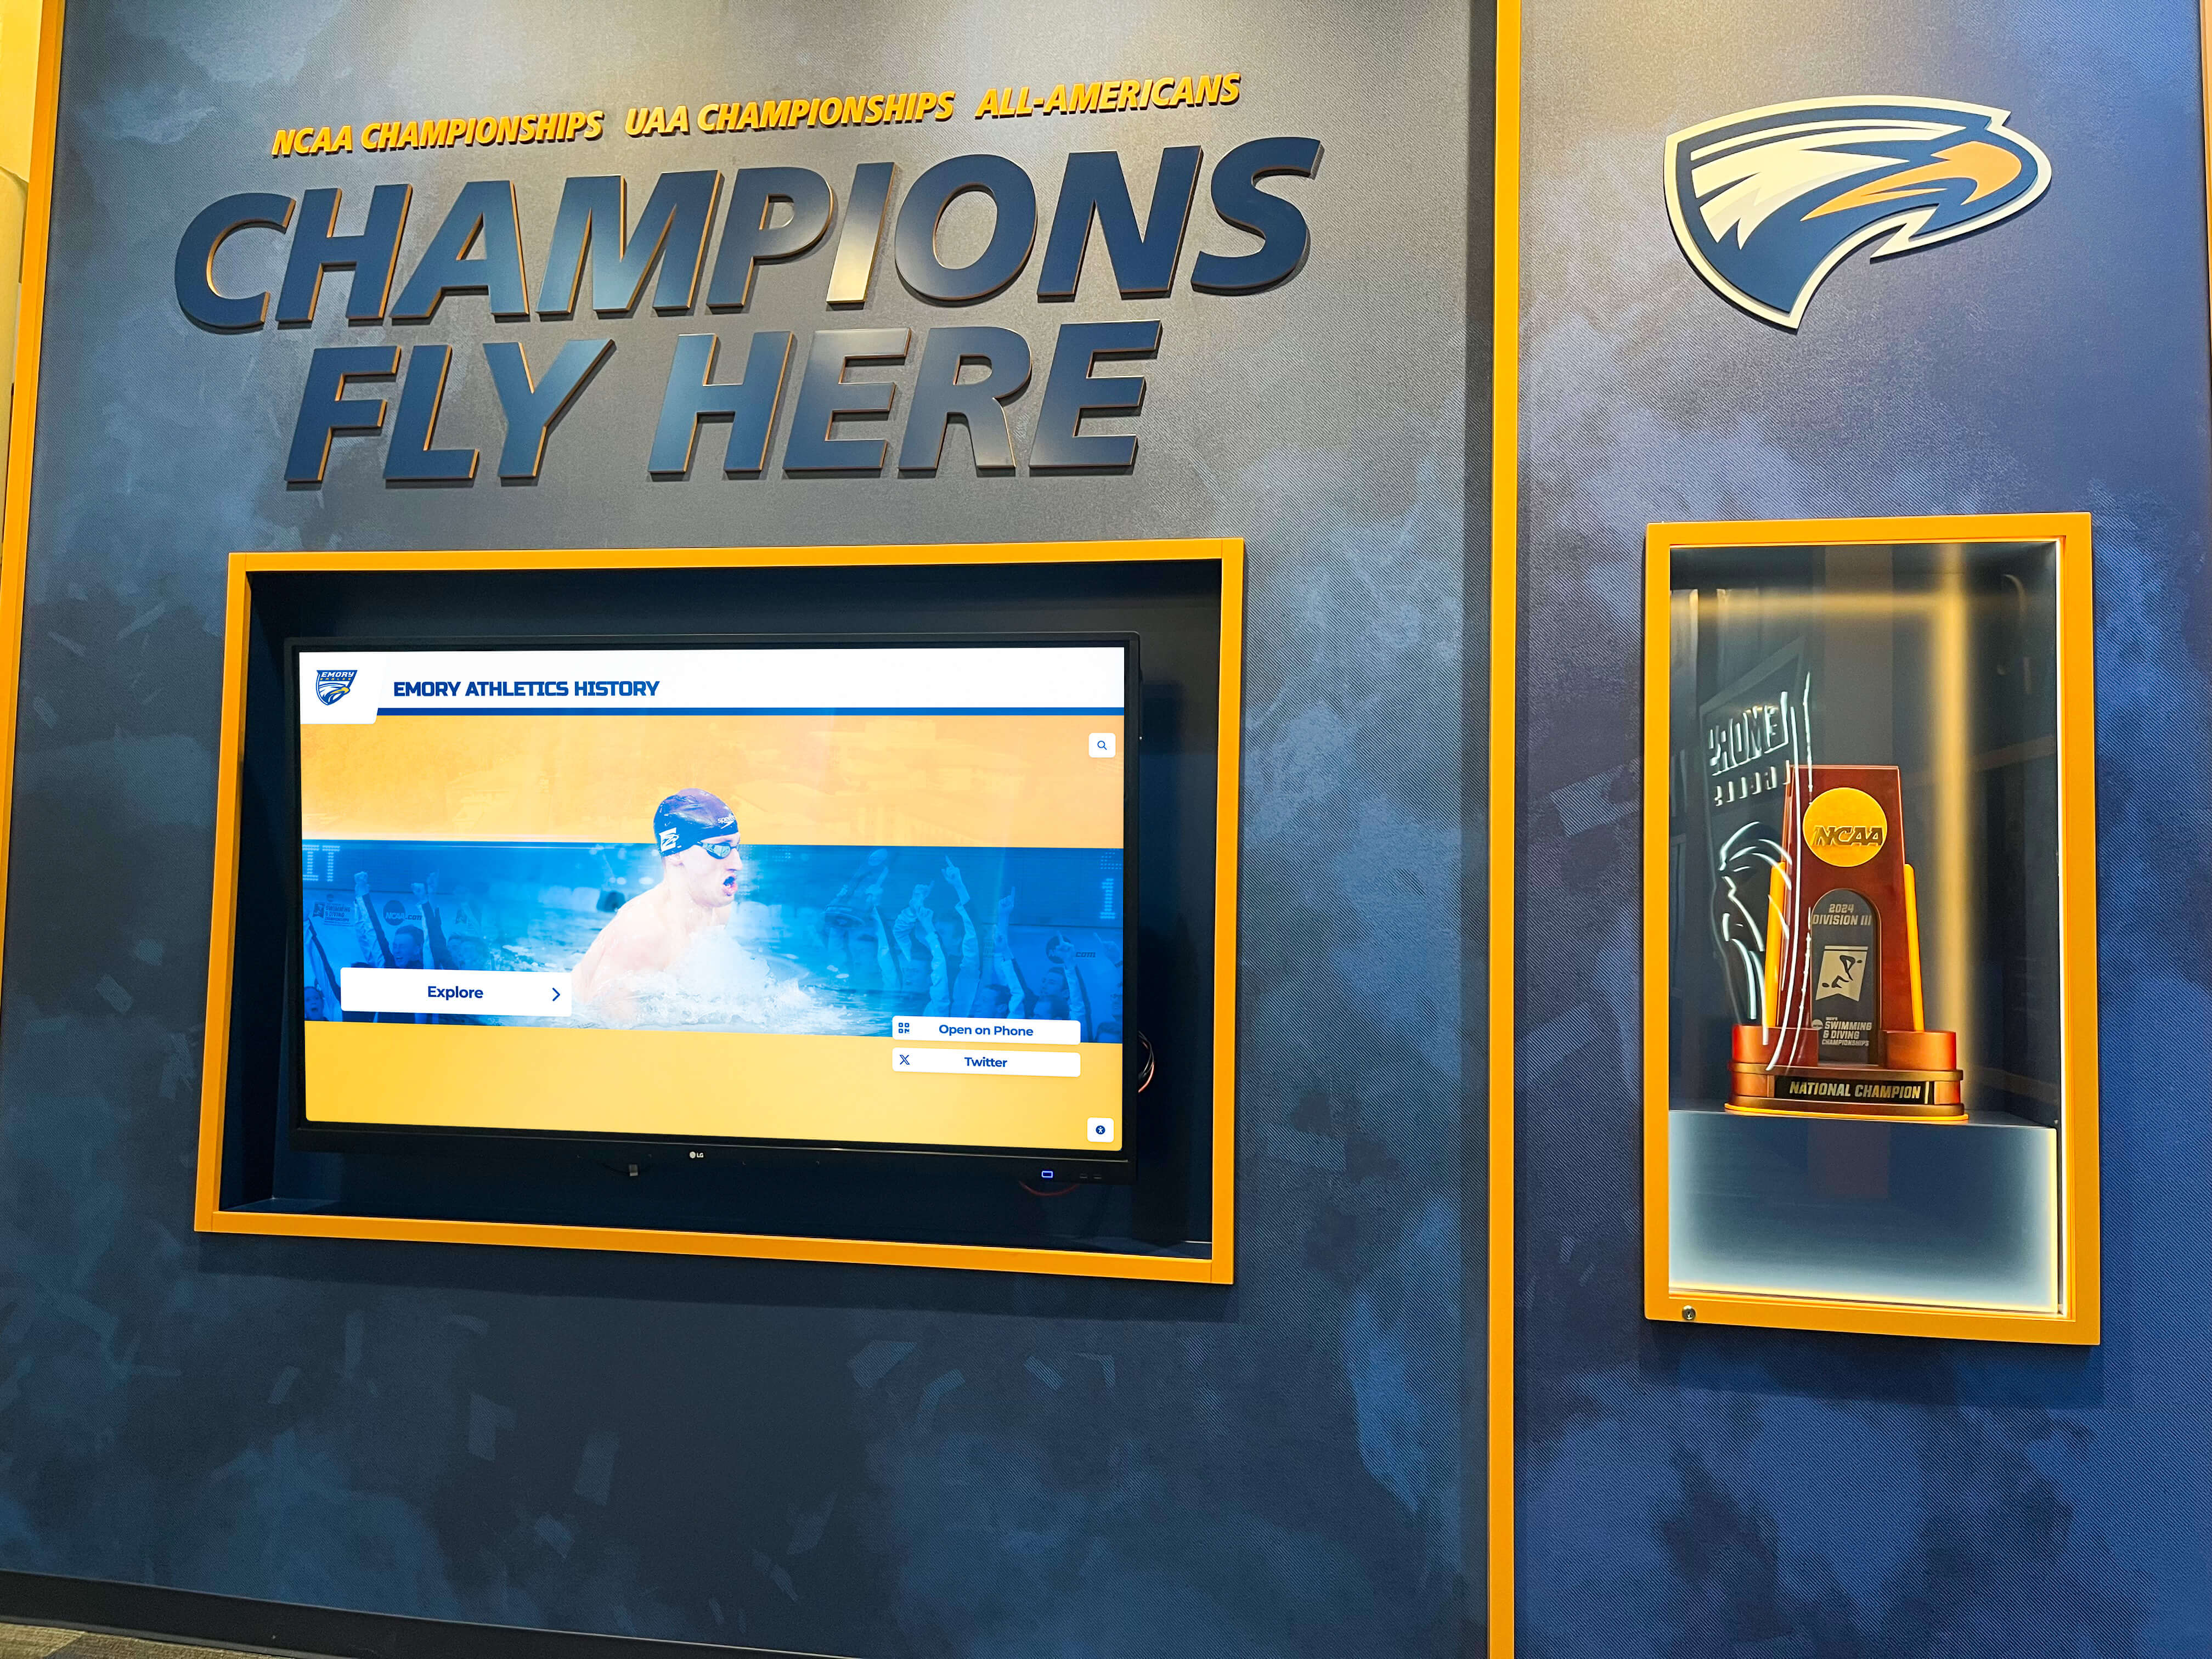
Championship recognition programs accumulate banners from multiple sports and seasons — a written crop marks verification standard applied to every submission ensures the newest banner matches the print quality of those hung a decade earlier
Crop Mark Requirements for Grommet-and-Hem Championship Banners
Most championship banners produced for gymnasium and lobby display use a grommet-and-hem finish — the edges of the vinyl or fabric substrate are folded back and sewn or heat-welded to create a reinforced hem, and metal grommets are installed through the hem for hanging. This finish changes the effective bleed and safe zone requirements significantly.
When a banner has a finished hem, the trim line visible in the print file represents the folded edge, not the visible face of the banner. The hem allowance — typically 0.5 to 1 inch of substrate folded to the back — means the vendor needs artwork to extend significantly further into the bleed zone than the standard 0.125-inch offset used for flat-cut materials. If artwork stops at the standard bleed boundary and the hem consumes an additional 0.75 inch, the finished banner will show a color-faded or bare substrate zone along the hem edge when the banner hangs.
Confirm the following hem and grommet dimensions with the vendor before finalizing the championship banner artwork:
- Hem allowance per side — the amount of substrate folded back, which must be covered by bleed artwork in the print file.
- Grommet placement — grommets positioned too close to the artwork edge may punch through design content; the safe zone inset should account for the grommet hardware.
- Whether the vendor’s crop marks in the delivered file represent the finished cut-before-hem size or the finished visible-face size — these differ by the hem allowance, and the wrong interpretation produces a banner hung at the wrong visual proportion.
For the full crop marks and bleed verification workflow in the context of a grommet-and-hem banner, request a production specification sheet from the vendor — most large-format banner vendors provide a template file with the correct document size, bleed, and safe zone configured for their finishing process. Building the championship banner artwork in the vendor’s template eliminates the crop mark and bleed verification steps that require corrections, because the template is configured to pass preflight for that specific vendor’s equipment.
Quick-Reference Crop Marks Preflight Checklist Table
Use this table as a one-page reference during banner file review. Work through every row before approving any championship banner file for vendor submission.
| Check Item | Application | Method | Pass Criteria | Priority |
|---|---|---|---|---|
| Crop marks present in PDF | Acrobat | Zoom out to show full page including mark zone | Four pairs of corner lines visible outside artwork | Required |
| Marks appear on all four sides | Acrobat | Visual inspection all corners | Horizontal and vertical marks at every corner | Required |
| Marks outside bleed boundary | Acrobat | Zoom to 200% at corners | No artwork overlap with any crop mark line | Required |
| Trim box matches finished banner size | Acrobat Pro Set Page Boxes | Compare Trim Box dimensions to production order | Trim Box equals ordered finished dimensions | Required |
| Bleed Box larger than Trim Box | Acrobat Pro Set Page Boxes | Check dimensions difference | Bleed Box adds 0.125–1 inch per side per vendor spec | Required |
| Background art reaches Bleed Box | Acrobat with bleed overlay | Visual inspection all sides | No white gap between artwork and bleed boundary | Required |
| Critical text inside safe zone | Acrobat | Compare text position to trim edge | All text minimum 0.25 inch inside trim boundary | Required |
| Crop marks set to Registration color | Acrobat Pro Output Preview | Toggle plates in Separations view | Marks appear on all four CMYK plates | Recommended |
| Hem allowance covered by artwork | Compare file to vendor spec sheet | Bleed extends past standard offset by hem allowance | Artwork covers full hem fold area | Required for hem banners |
| PDF/X preflight passed after correction | Acrobat Preflight | Run PDF/X-1a or X-4 profile | No preflight errors in final corrected file | Required |
Crop Marks in the Context of School Athletic Recognition Programs
Championship banner artwork is a print production document, but it also carries institutional significance that extends well beyond the vendor submission. The physical banner hung in a gymnasium connects the school’s athletic history to every athlete, student, and visitor who walks through that space — making a production failure at the trim step as much a recognition failure as a print failure.
Schools building comprehensive athletic recognition programs coordinate championship banner production alongside other recognition materials and displays. Athletic programs that document their history comprehensively — tracking retired jersey numbers, championship seasons, and individual athlete achievements — benefit from resources like those on retired jersey numbers for high school programs that reflect the same commitment to recognition accuracy that a crop marks preflight checklist enforces at the production level. Getting the physical artifact right is part of getting the recognition right.
Booster clubs and parent organizations that coordinate championship banner orders as part of broader fundraising and recognition programs often manage donor acknowledgment alongside production logistics. Resources on donor stewardship frameworks for school recognition programs reflect how recognition-program coordinators approach multi-tier acknowledgment — a framework that applies equally to championship banner programs where community donations fund recognition materials that must meet production standards the community expects.
Schools producing championship banners for end-of-season banquets and athletic award nights operate on compressed timelines that make first-submission accuracy essential. Day-in-the-life event documentation for school recognition programs reflects how athletic programs capture and preserve the recognition events surrounding championship achievements — events where the banner itself must arrive on time and production-correct for the ceremony to proceed as planned.
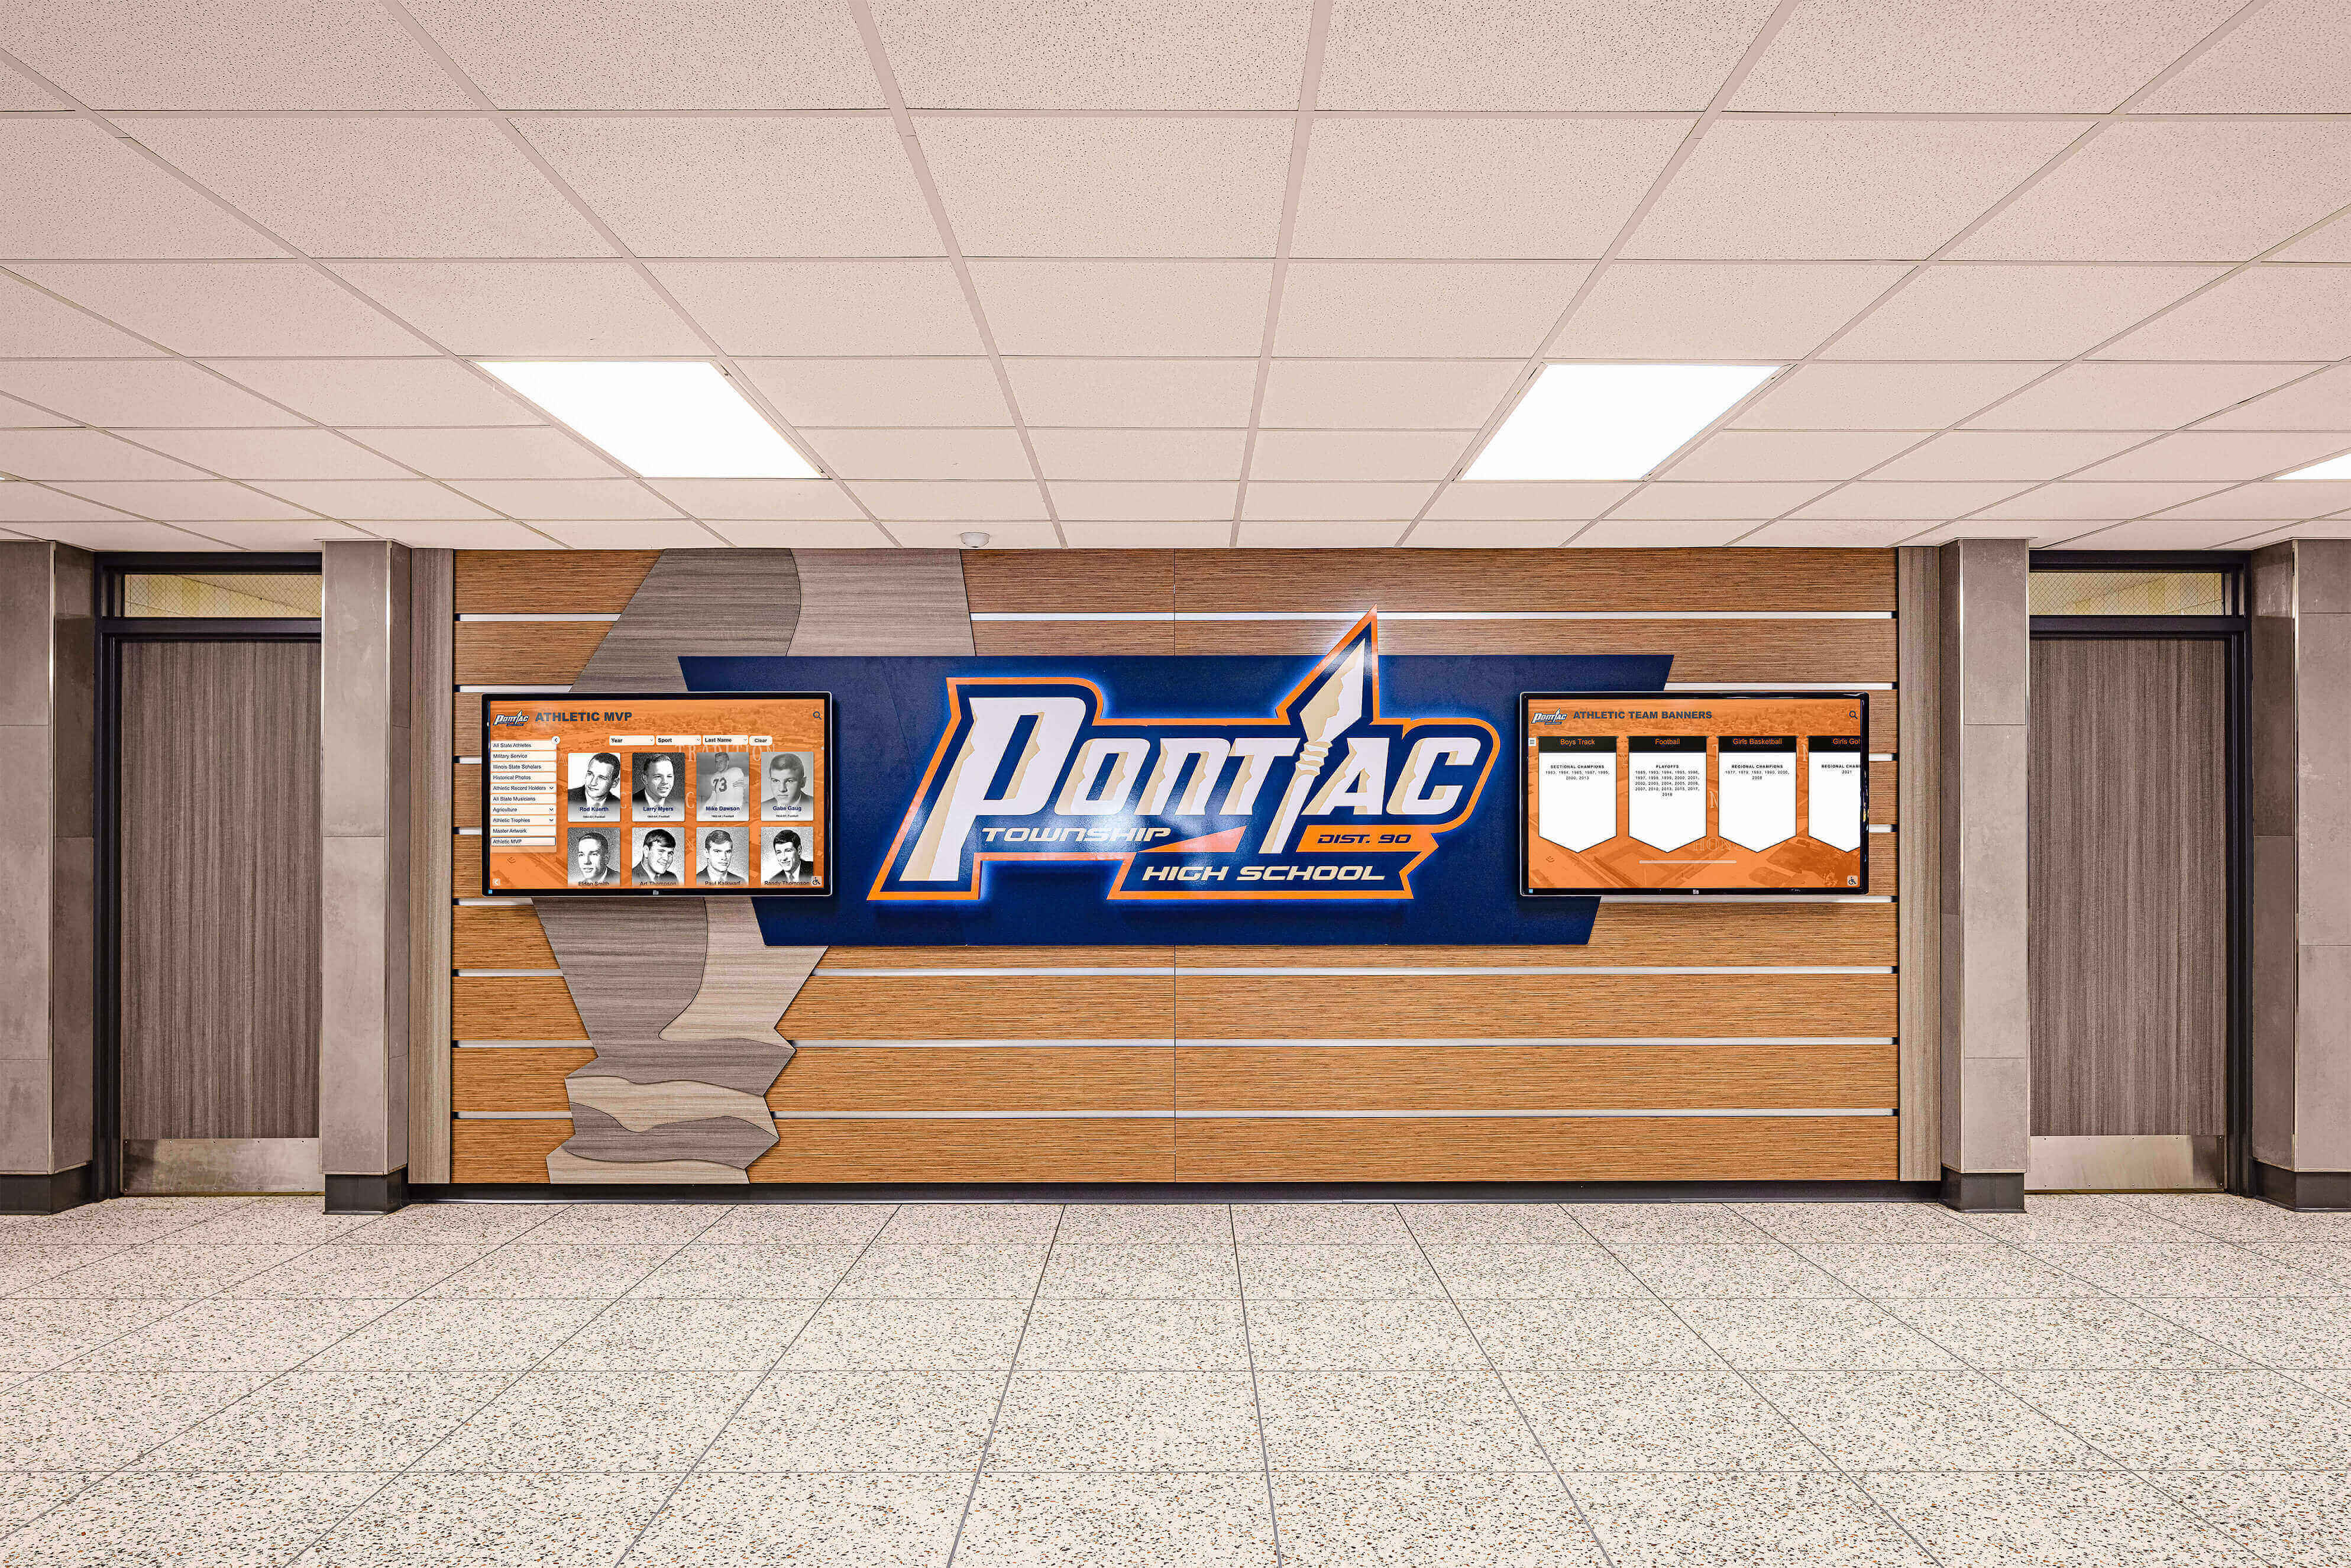
Athletic recognition programs display championship history in high-traffic corridors — preflight-verified print files produce banners that read as clearly on the wall as they appeared in the approved design proof
For school recognition programs that extend beyond athletics to academic honors and student leadership, the same print file standards that protect championship banner artwork apply to recognition materials of all kinds. Athletic departments coordinating banner production alongside other recognition award programs benefit from understanding the full recognition context described in resources on booster club in-kind donation tracking — where community contributions fund physical recognition assets that must be produced to professional standards.
Schools developing commemorative recognition pieces alongside championship banners — plaques, display cases, and donor walls — benefit from understanding material and production specifications at every level. The commemorative plaque design and ordering guide for school recognition programs parallels the crop marks preflight workflow in one important way: production specifications must be confirmed with the vendor before the artwork is finalized, not after. For plaques, that means material dimensions and mounting hardware. For championship banners, it means bleed, hem allowance, and trim mark offset. The principle is the same.
Digital recognition systems that display championship records alongside physical banners benefit from the same source artwork that passes crop marks and bleed verification. Schools building digital flip-through composite displays for athletic recognition can use the print-ready championship banner source file — with correctly specified school colors, embedded fonts, and high-resolution imagery — as the foundation for digital display content, avoiding artwork recreation by adapting the verified print file for screen dimensions.
Athletic programs that use AI-powered graphics tools to produce supporting recognition content — social media graphics, event promotions, and digital signage — alongside championship banner production benefit from platforms built specifically for school recognition workflows. AI-powered graphics platforms for schools provide a complementary workflow to the print production standards covered in this checklist: where print files require vendor-grade preflight verification, digital recognition graphics require consistent school branding applied across social and display formats quickly. Both workflows serve the same goal — producing recognition content that represents the school’s athletic achievement accurately.
For elementary schools and programs that introduce younger students to school traditions and recognition events, connecting championship banner production to broader school culture helps administrators understand why print standards matter to the audience that will view those banners. Resources on elementary school assembly ideas for recognition and community-building reflect how schools create recognition experiences that give physical championship banners meaning for every student — reinforcing why a banner produced to incorrect dimensions or with a trimmed school name is a recognition failure, not just a print error.
Frequently Asked Questions: Championship Banner Crop Marks
What are crop marks on a championship banner print file?
Crop marks — also called trim marks or cut marks — are thin lines placed outside the artwork boundary of a print file that tell the vendor’s finishing equipment exactly where to cut the banner substrate after printing. They appear as four pairs of short lines at each corner of the document, positioned outside the bleed boundary. A championship banner file without correct crop marks may be cut at the wrong position, producing a banner that is not the ordered size or that has artwork trimmed off at the cut edge.
What is the correct bleed for a championship banner print file?
Standard commercial print bleed is 0.125 inch (3 mm) on all sides beyond the trim mark. Large-format banner vendors that produce grommet-and-hem banners often require 0.5 to 1 inch of bleed to cover the hem fold area. Confirm bleed requirements with the specific vendor before finalizing artwork dimensions — building a banner layout to the wrong bleed specification requires rebuilding the document, which takes significantly more time than setting the correct bleed in the original file.
How do I add crop marks to a championship banner PDF in Illustrator?
In Adobe Illustrator, add crop marks during PDF export through File > Save As > Adobe PDF. In the Marks and Bleeds panel, check Trim Marks under Printer’s Marks and confirm the offset value (typically 0.0833 to 0.125 inch). Enable Use Document Bleed Settings to include the bleed area in the exported file. Do not use the Effect > Crop Marks command for production files — that command adds crop marks as visible artwork objects inside the live area rather than as marks outside the bleed boundary.
Can I verify crop marks in Adobe Acrobat Reader without Acrobat Pro?
Acrobat Reader (free) allows visual inspection of crop marks by zooming out to show the full page including the mark zone. Navigate to View > Page Display and confirm the page view includes the full sheet with marks. You can visually confirm that crop marks appear at all four corners. Trim box and bleed box dimension verification requires Acrobat Pro’s Set Page Boxes tool. For a complete preflight check including box dimension verification, Acrobat Pro or a professional prepress tool is required.
What color should crop marks be on a championship banner file?
Crop marks should be set to Registration color — a special color that prints at 100% on every color plate (Cyan, Magenta, Yellow, and Black for CMYK files, plus any spot color plates). Registration color ensures crop marks are visible on every plate when the file is color-separated, allowing the vendor to align plates accurately. Most design applications (Illustrator, InDesign, Affinity) apply Registration color to automatically generated crop marks. If crop marks were drawn manually using the black color swatch rather than the Registration swatch, they will appear only on the black plate and may cause alignment issues at some vendors.
Print It Right the First Time
A championship banner crop marks preflight checklist addresses one of the most practical pre-submission checks in banner production: verifying that the vendor’s cutting equipment has accurate position information and that background artwork extends to the bleed boundary on all sides. A file with correctly placed crop marks, proper bleed, and a trim box that matches the ordered banner dimensions will be cut to the correct size with no white edges, no artwork trimmed away, and no production hold waiting for a corrected file. Running through the seven steps above before every banner submission takes fewer than ten minutes on a correctly configured file — and catches the errors that would otherwise produce a visible, permanent defect on a banner that hangs in a school gymnasium for decades.
For athletic departments adding a new banner each season, a consistent crop marks verification standard compounds its value with every order. The same checklist that caught a missing bleed on the first banner submission prevents the same class of error on the tenth — building a production quality standard that protects the school’s recognition investment across every championship documented.
Build a Championship Recognition Program That Lasts
Rocket Alumni Solutions helps school athletic programs build championship recognition systems — from print-ready graphic standards and digital display networks to interactive hall-of-fame kiosks that connect banner history to the athletes and alumni who earned it. See how your school's recognition program fits together.
Get notified when Rocket Graphics opens