A championship banner black-point compensation preflight check belongs in the production workflow any time the artwork contains team photos with shadow detail in dark uniforms, dark school-color background fields, or interior gymnasium photography — the three source categories most likely to produce blocked-up shadows and flat-looking dark zones when the file is converted to a commercial CMYK output profile without black-point compensation enabled. The direct answer: black-point compensation must be enabled before every RGB-to-CMYK profile conversion in the championship banner production workflow, confirmed with a before-and-after soft proof comparison in Adobe Photoshop or Acrobat before file submission, and verified by a physical press proof for any banner design where dark school colors occupy more than a third of the total artwork area.
This guide is written for school administrators, athletic directors, facilities managers, and recognition-program coordinators who review and approve championship banner artwork before commercial print production — not for professional prepress operators who manage color conversions daily.
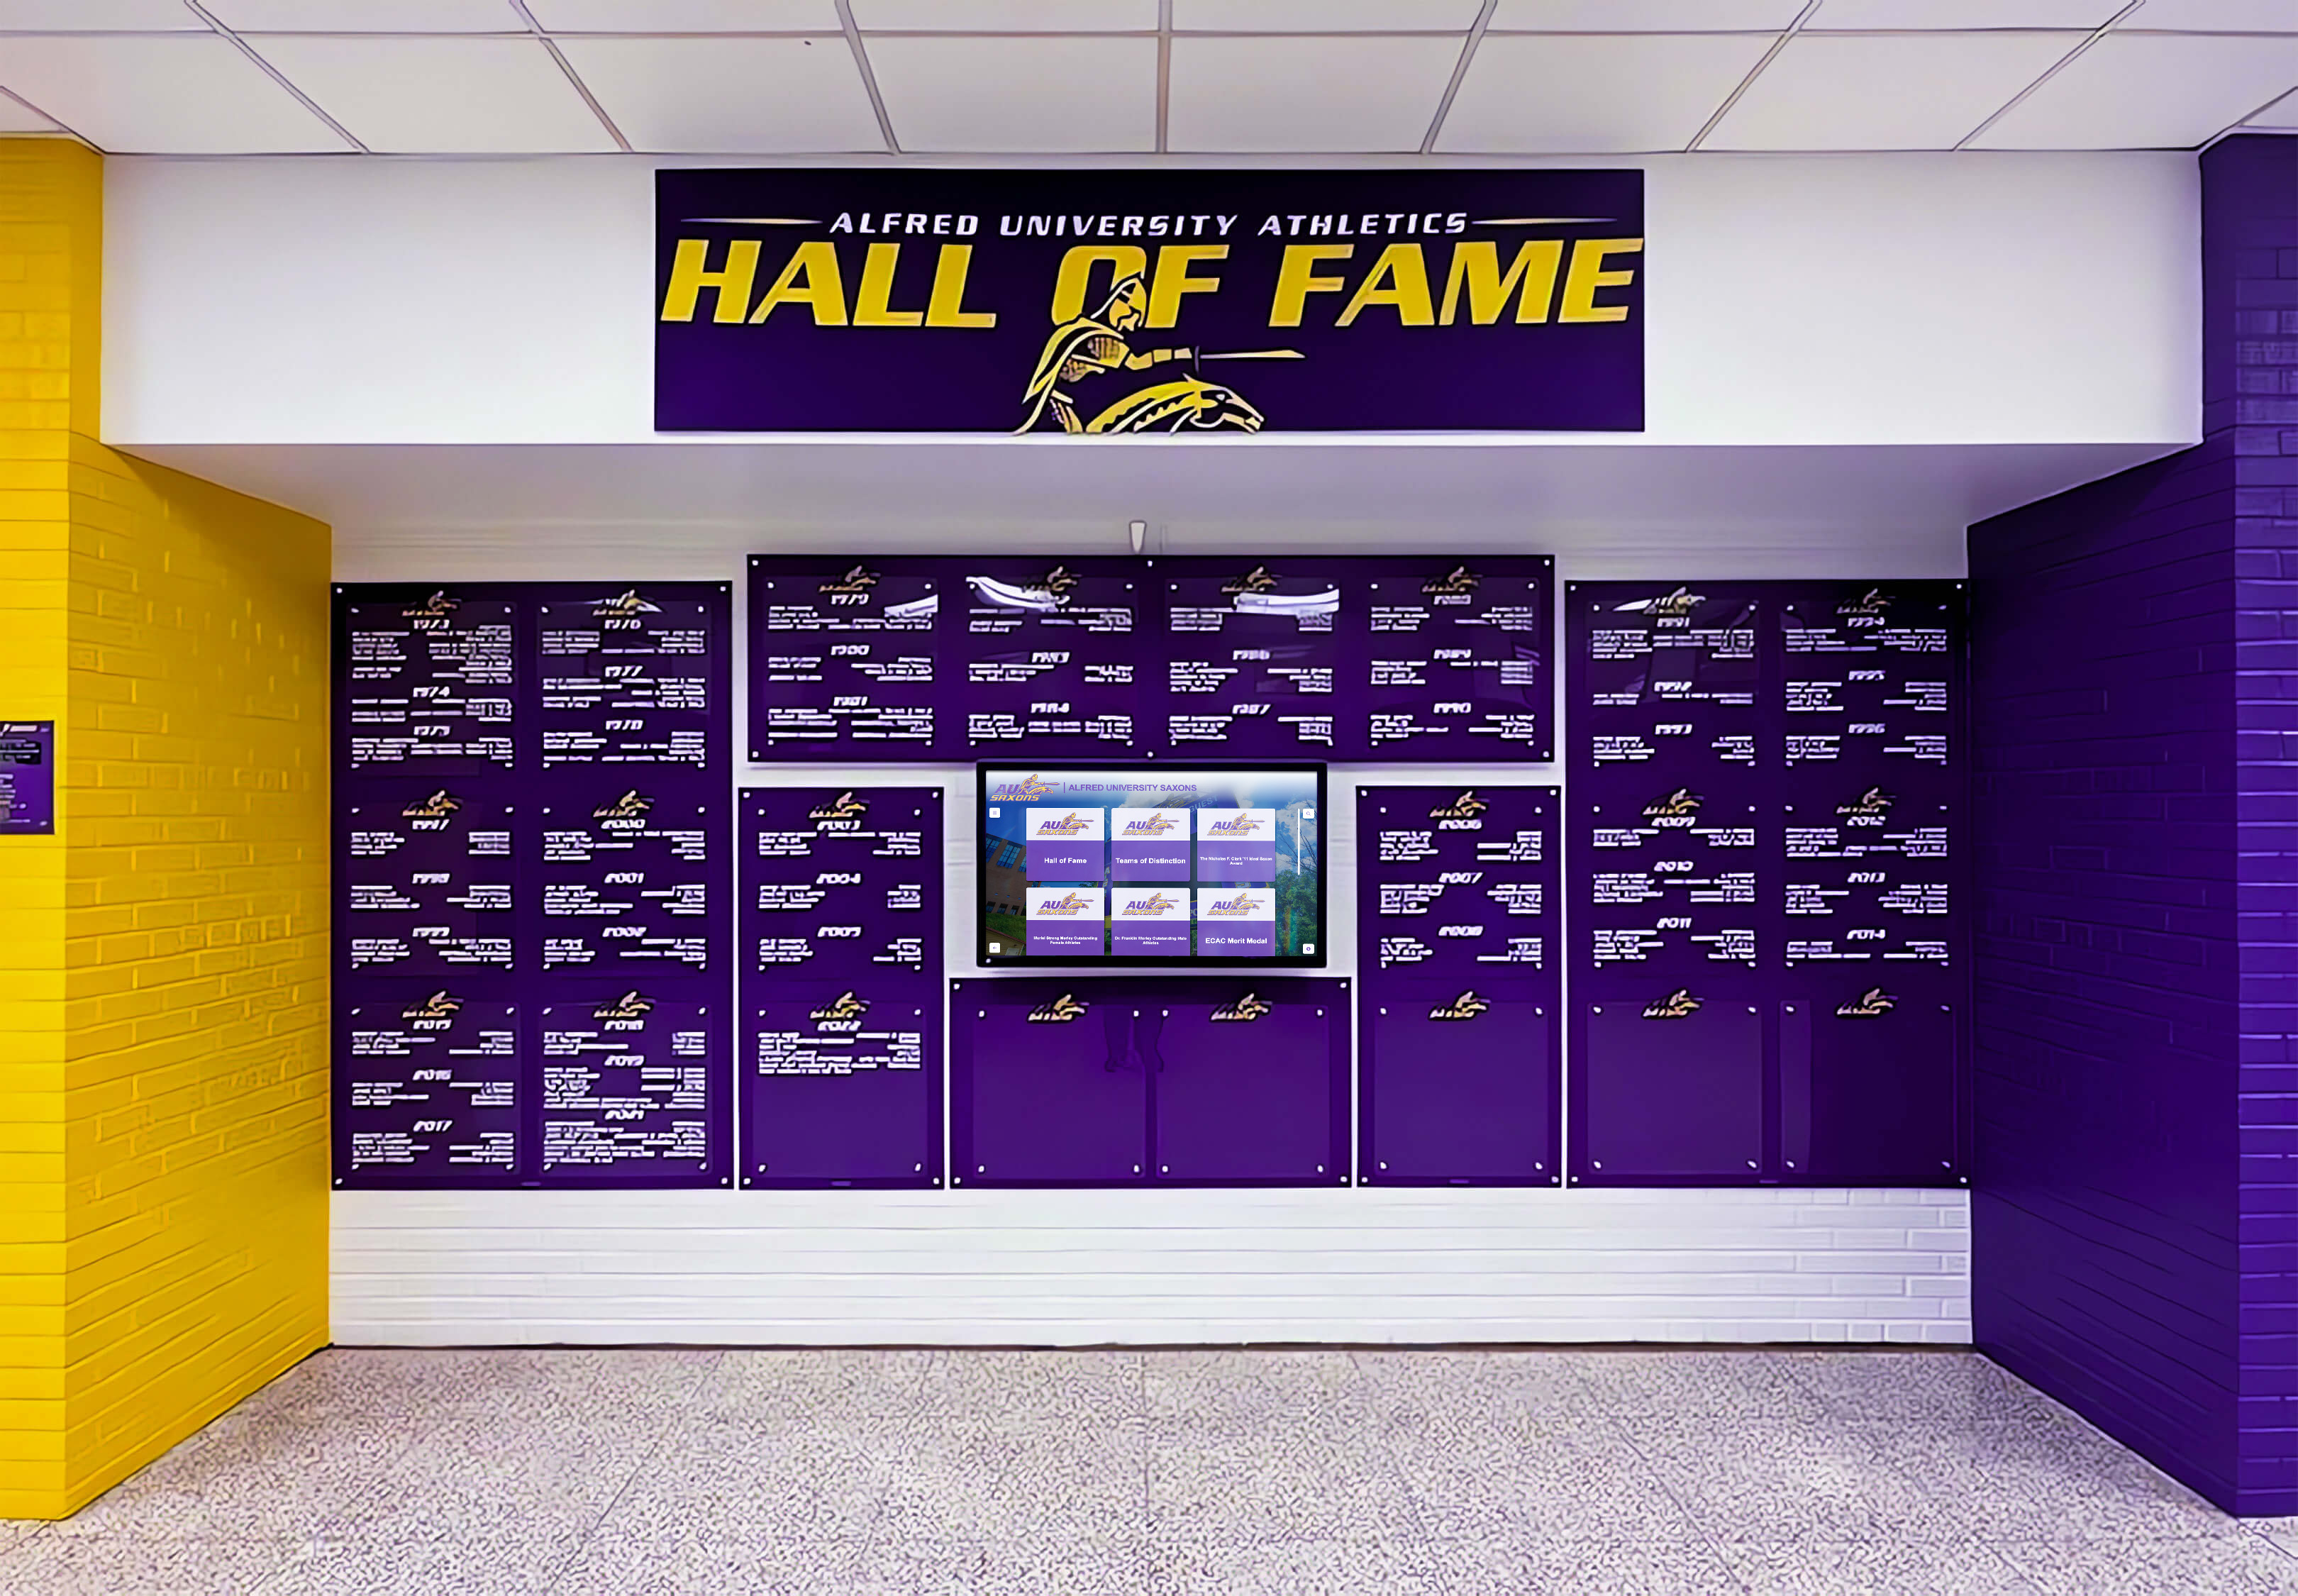
Deep purple school colors in a championship banner file occupy shadow zones in the CMYK gamut where black-point compensation determines whether subtle tonal variation survives the color profile conversion intact or collapses into flat, detail-free darkness
When Black-Point Compensation Should Be Tested
Black-point compensation testing is required before any RGB-to-CMYK profile conversion in championship banner production. The following conditions make that test critical — run a before-and-after soft proof comparison whenever any of them apply.
Test black-point compensation when the banner file includes any of these:
- Dark school colors as background fields. Navy blue, dark maroon, forest green, charcoal, and true black backgrounds converted to CMYK without BPC lose shadow gradation. Subtle tonal variation that distinguishes a rich navy field from flat black collapses into undifferentiated ink coverage.
- Team photos with athletes in dark uniforms. A high-resolution photograph of athletes wearing dark jerseys contains real shadow detail in fabric creases, folds, and equipment shadows. Without BPC, that detail converts to uniform maximum ink coverage with no tonal separation.
- Interior gymnasium, arena, or stadium photography. Ambient-light interior photographs contain low-level shadow gradients that give dark backgrounds natural depth. BPC-disabled conversion compresses those gradients into solid blocking.
- Mascot artwork with dimensional shading in dark fill colors. A school mascot with highlight, midtone, and shadow zones depends on shadow gradation for its three-dimensional quality. Flat-converted dark fills reduce a shaded mascot to a silhouette.
- Source files edited in Adobe RGB or ProPhoto RGB. Wider-gamut RGB spaces have a lower effective black point than sRGB. Converting from these spaces to CMYK without BPC compresses more of the shadow range than an sRGB conversion does, making the test more consequential for files from professional photography workflows.
- Destination profile is GRACoL, Fogra39, SWOP, or a vendor-specific narrow-gamut CMYK. Narrower destination profiles have a lighter minimum reproducible black (higher Lab L*) than the sRGB source space. BPC maps the full source shadow range to the destination’s available range; without it, source values darker than the destination’s black point all convert to maximum ink coverage with no tonal variation between them.
Test the conversion with BPC both on and off using the soft proof workflow described later in this guide. The comparison reveals immediately whether BPC is affecting shadow detail in the specific artwork — before any ink is committed to large-format substrate.
What Black-Point Compensation Is and Why It Matters for Championship Banners
Black-point compensation is an ICC color management setting that adjusts the shadow range during a color space conversion so that the darkest color in the source profile maps to the darkest color the destination print profile can reproduce, preserving shadow gradation proportionally throughout the destination’s available tonal range.
Every ICC profile has a black point: the darkest color that profile can represent. An RGB working space like sRGB defines its black point as L*=0 — absolute black, with no light reflected or emitted. A CMYK print profile for large-format banner output — typically GRACoL 2013 Coated 1, SWOP, Fogra39, or a vendor-specific custom profile — defines its black point as the darkest combination of CMYK inks that can be printed on the specific substrate. That CMYK black point is measurably lighter than sRGB’s L*=0 black point, because ink on banner vinyl or fabric cannot absorb 100% of incident light the way an absolute L*=0 value implies.
The tonal range between the source black point and the destination black point is the shadow compression zone — the region where BPC determines whether gradations are preserved or lost.
Without BPC: The color management engine maps source neutral values to destination neutral values and clips any source color darker than the destination’s black point to maximum ink coverage. Every source value in that compressed zone prints as the same maximum CMYK density. Shadow gradations in dark school colors, jersey fold detail in team photos, and ambient light gradients in gymnasium backgrounds all print at identical maximum ink — that detail is permanently absent from the finished banner.
With BPC: The color management engine scales the source shadow range linearly so the source black point maps to the destination black point. Shadow gradations between those two points distribute proportionally across the destination’s available CMYK tonal range. The visual result is shadow gradation that survives the conversion — the difference between a navy background that reads as rich dark navy and one that reads as undifferentiated flat black.
For a championship banner that will hang permanently in a gymnasium — examined at close range by athletes, families, students, and visitors for years or decades — the difference between preserved shadow detail and blocked-up shadow is visible at normal viewing distance and represents the permanent quality level of the athletic program’s recognition materials.
Proof Outcomes: BPC Enabled vs. Disabled
The following table compares the expected soft proof outcome for each major dark-element scenario in championship banner artwork. Use this comparison during soft proof review to confirm whether the specific banner file requires BPC correction before submission.
| Artwork Element | BPC Disabled | BPC Enabled |
|---|---|---|
| Dark navy background field | Compresses to flat K+CMY block; subtle navy texture and tonal depth disappear | Tonal variation preserved; dark field reads as rich navy, distinct from flat black |
| Team photo with dark uniforms | Shadow zones in jersey creases, equipment, and fabric clip to maximum ink density; fabric texture lost | Shadow gradation maps proportionally across CMYK range; fabric texture, equipment edges, and fold detail visible |
| Dark mascot with dimensional shading | Dimensional shading collapses to flat silhouette; midtone-to-shadow transitions lost | Shadow-to-midtone transitions preserved; mascot retains three-dimensional form |
| Interior gymnasium background photo | Low-level ambient gradients blocked to solid dark mass; background loses depth | Ambient tonal variation survives; background recedes naturally at viewing distance |
| Near-black text on dark background | Text contrast reduced against blocked-up background; legibility reduced at banner display size | Text maintains tonal separation from background; contrast and legibility preserved |
| Dark maroon or forest green field | Color identity lost in blocked shadow zone; field reads as generic dark rather than school color | Color retains identity within CMYK gamut; maroon and green are distinguishable from black |
| Multisport collage with mixed dark elements | Inconsistent blocking across different images in the same layout | Consistent shadow mapping across all converted elements |
Review each row against the dark elements present in the specific championship banner artwork. If the BPC-disabled description matches what the current soft proof shows, enabling BPC is required before vendor submission.
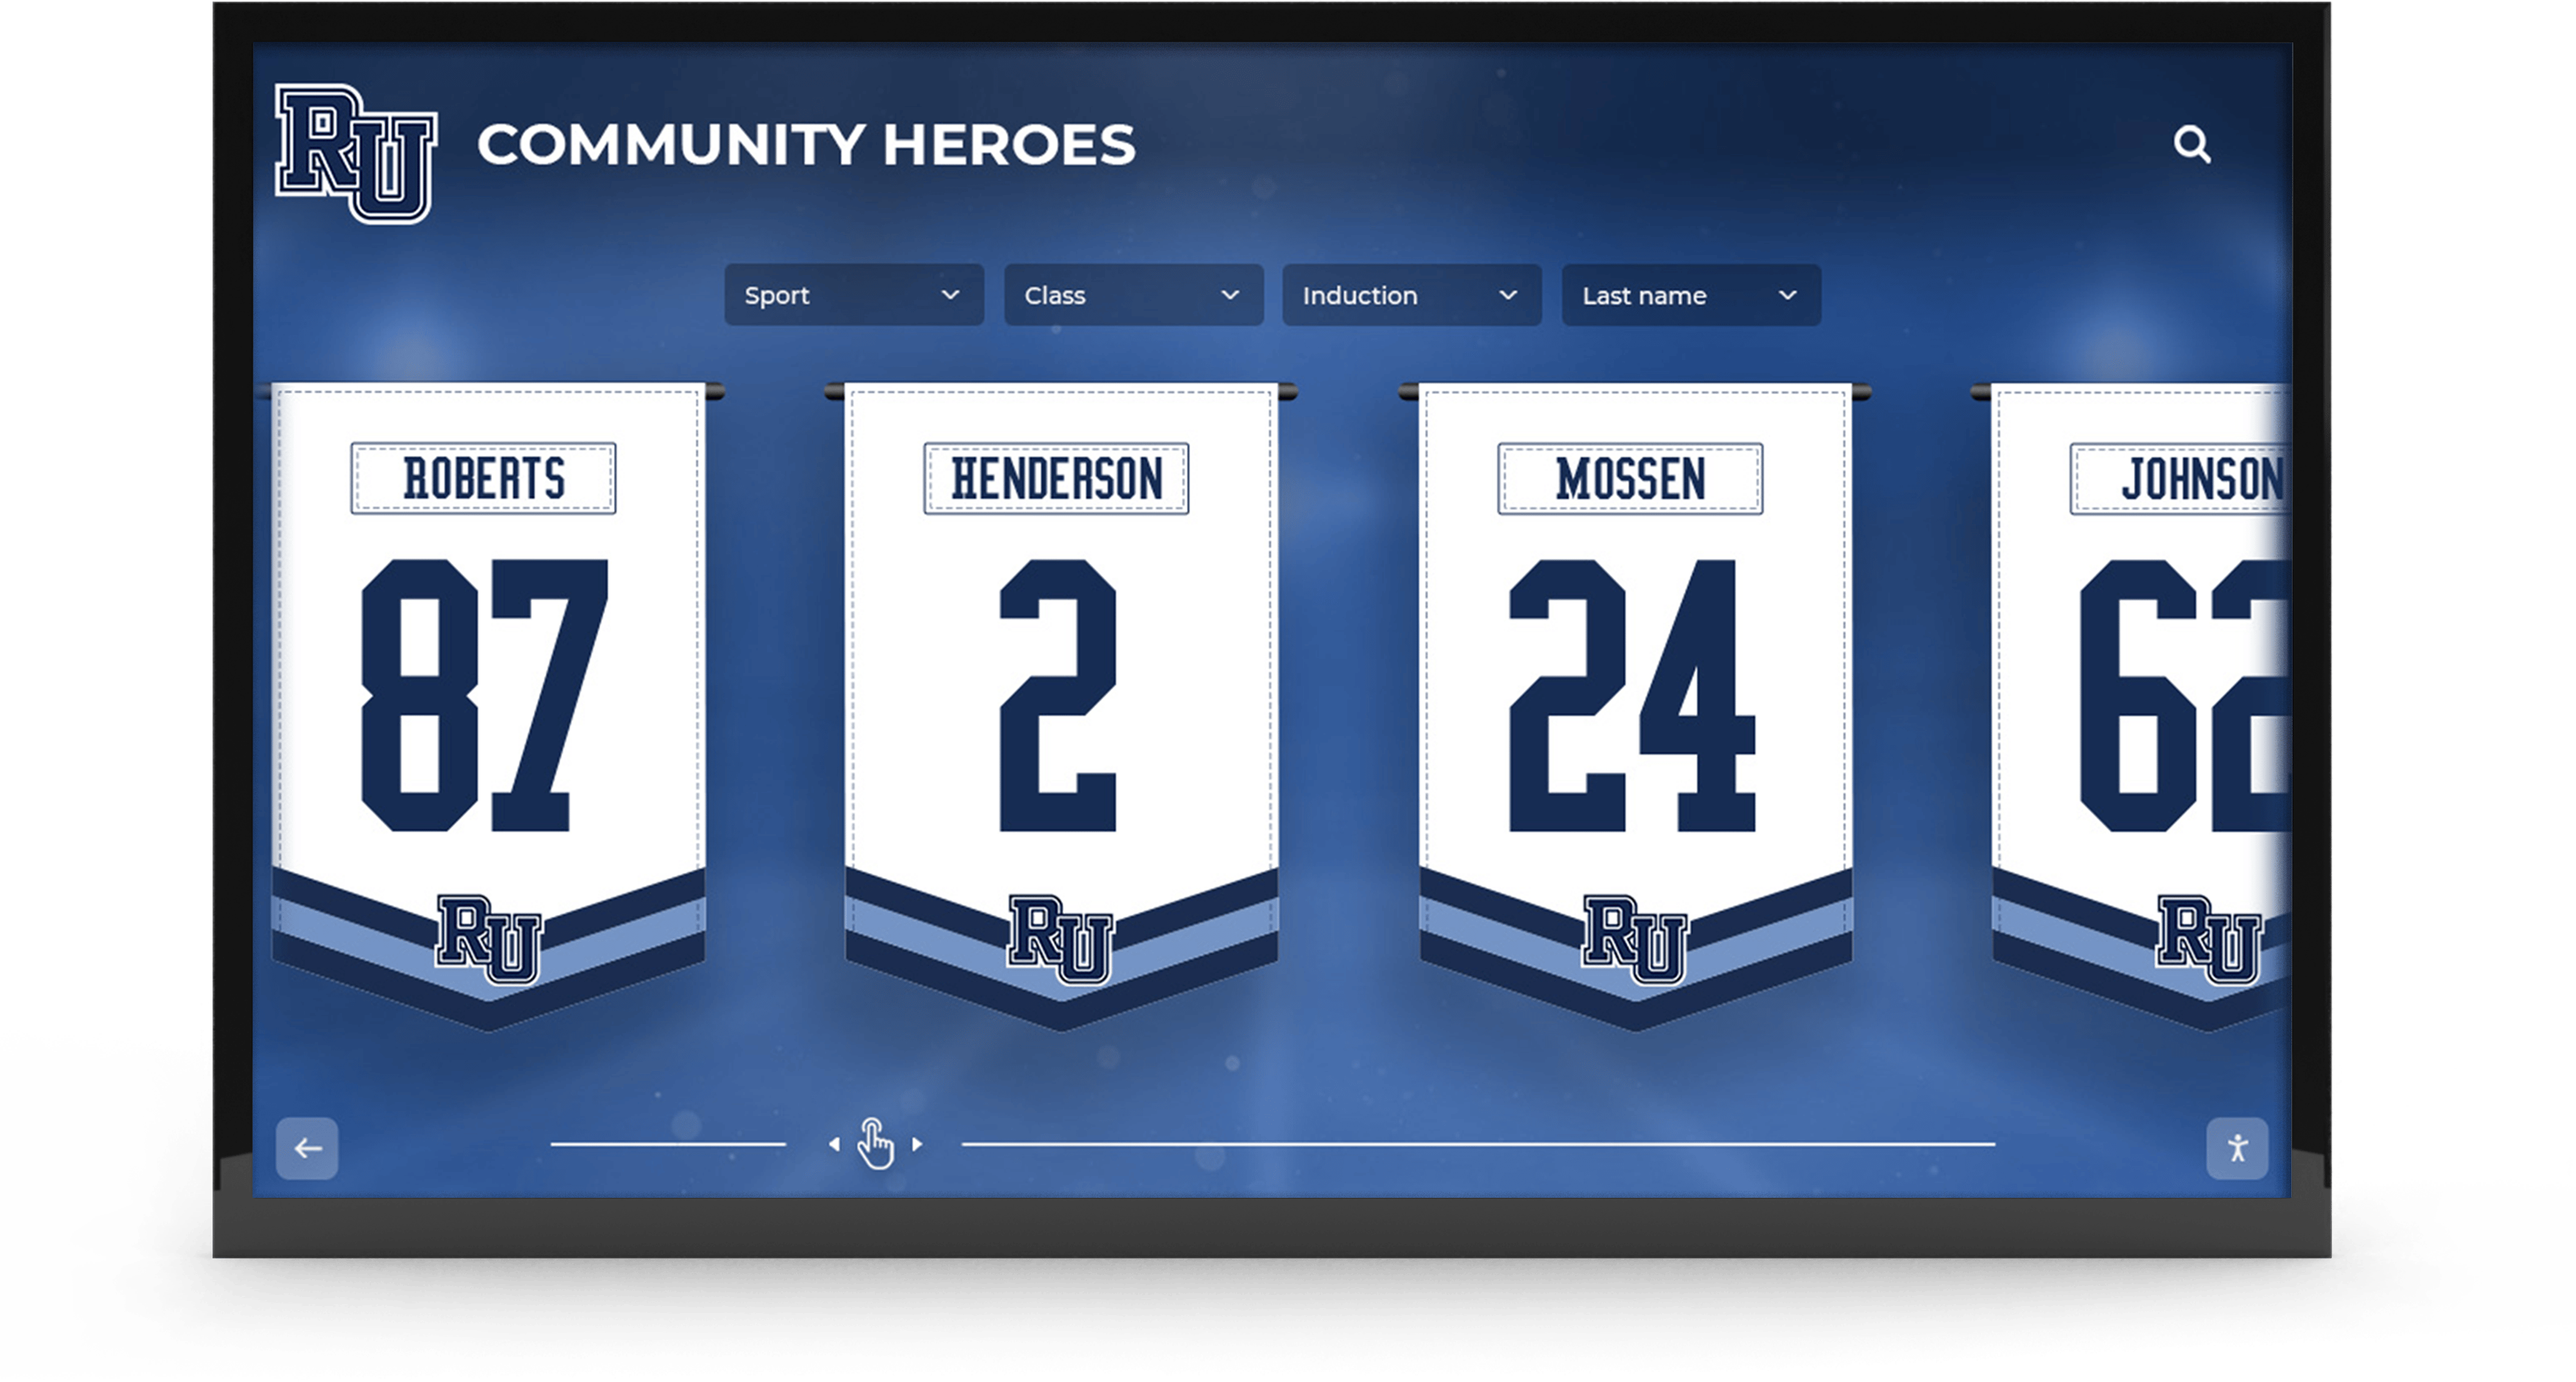
Banner installations in high-traffic school lobbies are viewed at close range — a shadow compression failure that produces flat, blocked-up dark areas in school colors or team photos is visible to every student and visitor who walks past throughout the banner's display lifespan
How to Enable and Verify Black-Point Compensation
Black-point compensation is a setting in each Adobe application’s color conversion workflow. It must be verified individually in every application that handles a color conversion step in the banner production process.
Adobe Photoshop
BPC is controlled both globally in Color Settings and per-conversion in the Convert to Profile dialog.
Global setting:
- Go to Edit > Color Settings (Ctrl+K / Command+K).
- Click More Options.
- Under the conversion options section, locate Use Black Point Compensation — confirm the checkbox is checked. (Required)
- Click OK to save.
Per-conversion verification:
- Go to Edit > Convert to Profile.
- In the Conversion Options section of the dialog, confirm Use Black Point Compensation is checked.
- Toggle the Preview checkbox to compare the document with BPC on and off at the current zoom level. Shadow areas in dark elements should show visible tonal change when BPC is toggled.
- Set Intent to Relative Colorimetric — BPC has the most visible effect with this rendering intent, which is standard for photographic content in championship banner production. (Required)
Soft proof comparison:
- Go to View > Proof Setup > Custom.
- Select the destination CMYK profile (vendor’s profile, GRACoL 2013 Coated 1, or SWOP).
- Check Black Point Compensation in Proof Conditions. Examine shadow areas in dark elements.
- Return to View > Proof Setup > Custom, uncheck Black Point Compensation, and observe the shadow zones in the same areas. Document any visible difference.
- Restore BPC to checked before proceeding to export.
Adobe Acrobat Pro
For PDF files submitted for press proof review or vendor conversion:
- Open the championship banner PDF in Acrobat Pro.
- Go to Tools > Print Production > Convert Colors.
- Configure the conversion to the destination CMYK profile.
- Confirm the Black Point Compensation checkbox is checked in the Convert Colors dialog. (Required)
- Run the conversion and use Output Preview to inspect shadow-zone pixel values in dark areas.
Adobe InDesign
For banner layouts assembled in InDesign:
- Open File > Export and choose Adobe PDF (Print).
- In the Output panel, under Color Conversion, set the destination profile.
- Confirm Use Black Point Compensation is checked. (Required)
- For soft proofing during layout review: View > Proof Setup > Document CMYK or Custom — the Proof Options dialog includes a Black Point Compensation checkbox under the rendering intent selector.
Adobe Illustrator
For banner artwork built or finalized in Illustrator:
- Confirm Use Black Point Compensation is checked in Edit > Color Settings > More Options — this global setting applies to all conversions in Illustrator. (Required)
- When using Edit > Convert to Profile, check Use Black Point Compensation in the conversion options. (Required)
- Enable View > Overprint Preview alongside BPC verification — the two checks address different production accuracy categories and should both be confirmed before export. The championship banner overprint preview checklist covers overprint verification in full detail.
Confirming Vendor RIP Behavior
After confirming BPC settings in the design application, verify with the print vendor how their raster image processor handles black-point compensation at the production stage.
Some vendors apply a global BPC setting at the RIP regardless of the submitted file’s color management state. If the vendor’s RIP applies BPC at output and the submitted file has already been converted with BPC, the correction is applied twice — in some cases producing shadow values lighter than intended. Request written confirmation from the vendor about whether BPC is applied at their RIP and whether submitted files should be pre-converted or delivered in the source profile for conversion at the RIP stage.
Step-by-Step Championship Banner Black-Point Compensation Preflight
Follow this workflow for every championship banner file that contains dark-element artwork before submitting to a commercial large-format vendor.
Step 1: Identify the Dark-Element Inventory
- Open the banner artwork source file.
- List every element that occupies a shadow-zone color: dark background fields, team photographs, mascot artwork with dark fills, typographic elements set in dark school colors, and photographs used as background layers.
- For each dark element, note whether it originated as an RGB source — camera files, web graphics, design-software exports. These elements are affected by BPC settings during profile conversion; native CMYK elements are not.
Step 2: Confirm Source Profile Assignments
- For each RGB image in the layout, confirm the embedded source profile (File > File Info in Photoshop, or the InDesign Links panel expanded to show Embedded Profile).
- Flag any images with no embedded profile — untagged files are treated as the application’s default RGB working space and may produce unpredictable conversion results. (Requires correction before proceeding)
- Flag any images in ProPhoto RGB or wide-gamut RGB source spaces — these have the widest shadow range discrepancy relative to standard CMYK destinations and will show the largest BPC impact on shadow zones.
Step 3: Verify BPC Is Enabled in the Application
- In Photoshop or Illustrator: Edit > Color Settings > More Options > Use Black Point Compensation — confirm checked. (Required)
- In InDesign PDF export: Output panel > Use Black Point Compensation — confirm checked. (Required)
- In Acrobat Pro Convert Colors: Black Point Compensation checkbox — confirm checked before running any conversion. (Required)
Step 4: Run a Soft Proof Comparison on Critical Dark Elements
For each identified dark element:
- Open the element in Photoshop.
- Enable soft proof: View > Proof Setup > Custom. Select the destination CMYK profile. Set rendering intent to Relative Colorimetric. Enable Black Point Compensation.
- Examine shadow areas in team photos, dark mascot shading, and dark background fields at 100% zoom.
- Return to View > Proof Setup > Custom and uncheck Black Point Compensation. Observe the same shadow areas.
- If shadow areas visibly flatten, block up, or lose tonal separation when BPC is disabled, BPC is confirmed as material for this artwork — its absence at export will produce a visible quality failure on the finished banner.
- Re-enable BPC before exporting.
Step 5: Convert and Inspect CMYK Shadow Values
- Perform the final RGB-to-CMYK profile conversion with BPC enabled in the Convert to Profile dialog.
- Zoom to shadow-heavy areas at 100% display zoom.
- Use Photoshop’s Info panel (Window > Info) to sample CMYK ink values at multiple adjacent dark pixels in a region that should show gradation — a navy background, a jersey shadow zone, or a mascot shadow fill.
- Confirm that adjacent pixels have different CMYK ink-percentage values — any variation, even small, confirms shadow gradation survived the conversion.
- Pixels that all share identical CMYK percentages in a region expected to show gradation indicate shadow compression. If this occurs, evaluate whether a Perceptual rendering intent or a Curves adjustment to the source file’s shadow range before conversion produces a better result.
Step 6: Export and Verify at the PDF Stage
- Export the completed banner artwork to PDF using the vendor’s specification.
- In Acrobat Pro, run Tools > Print Production > Output Preview. Select the CMYK working space and inspect ink percentage values in dark areas by hovering over shadow regions — the Output Preview panel shows ink percentages for the cursor position.
- Confirm that dark background fields show ink-percentage variation between adjacent pixels — not identical maximum CMYK values across the full region.
- Run the full championship banner effective PPI preflight and championship banner font embedding checklist in the same session — all preflight categories should be confirmed before final vendor submission.
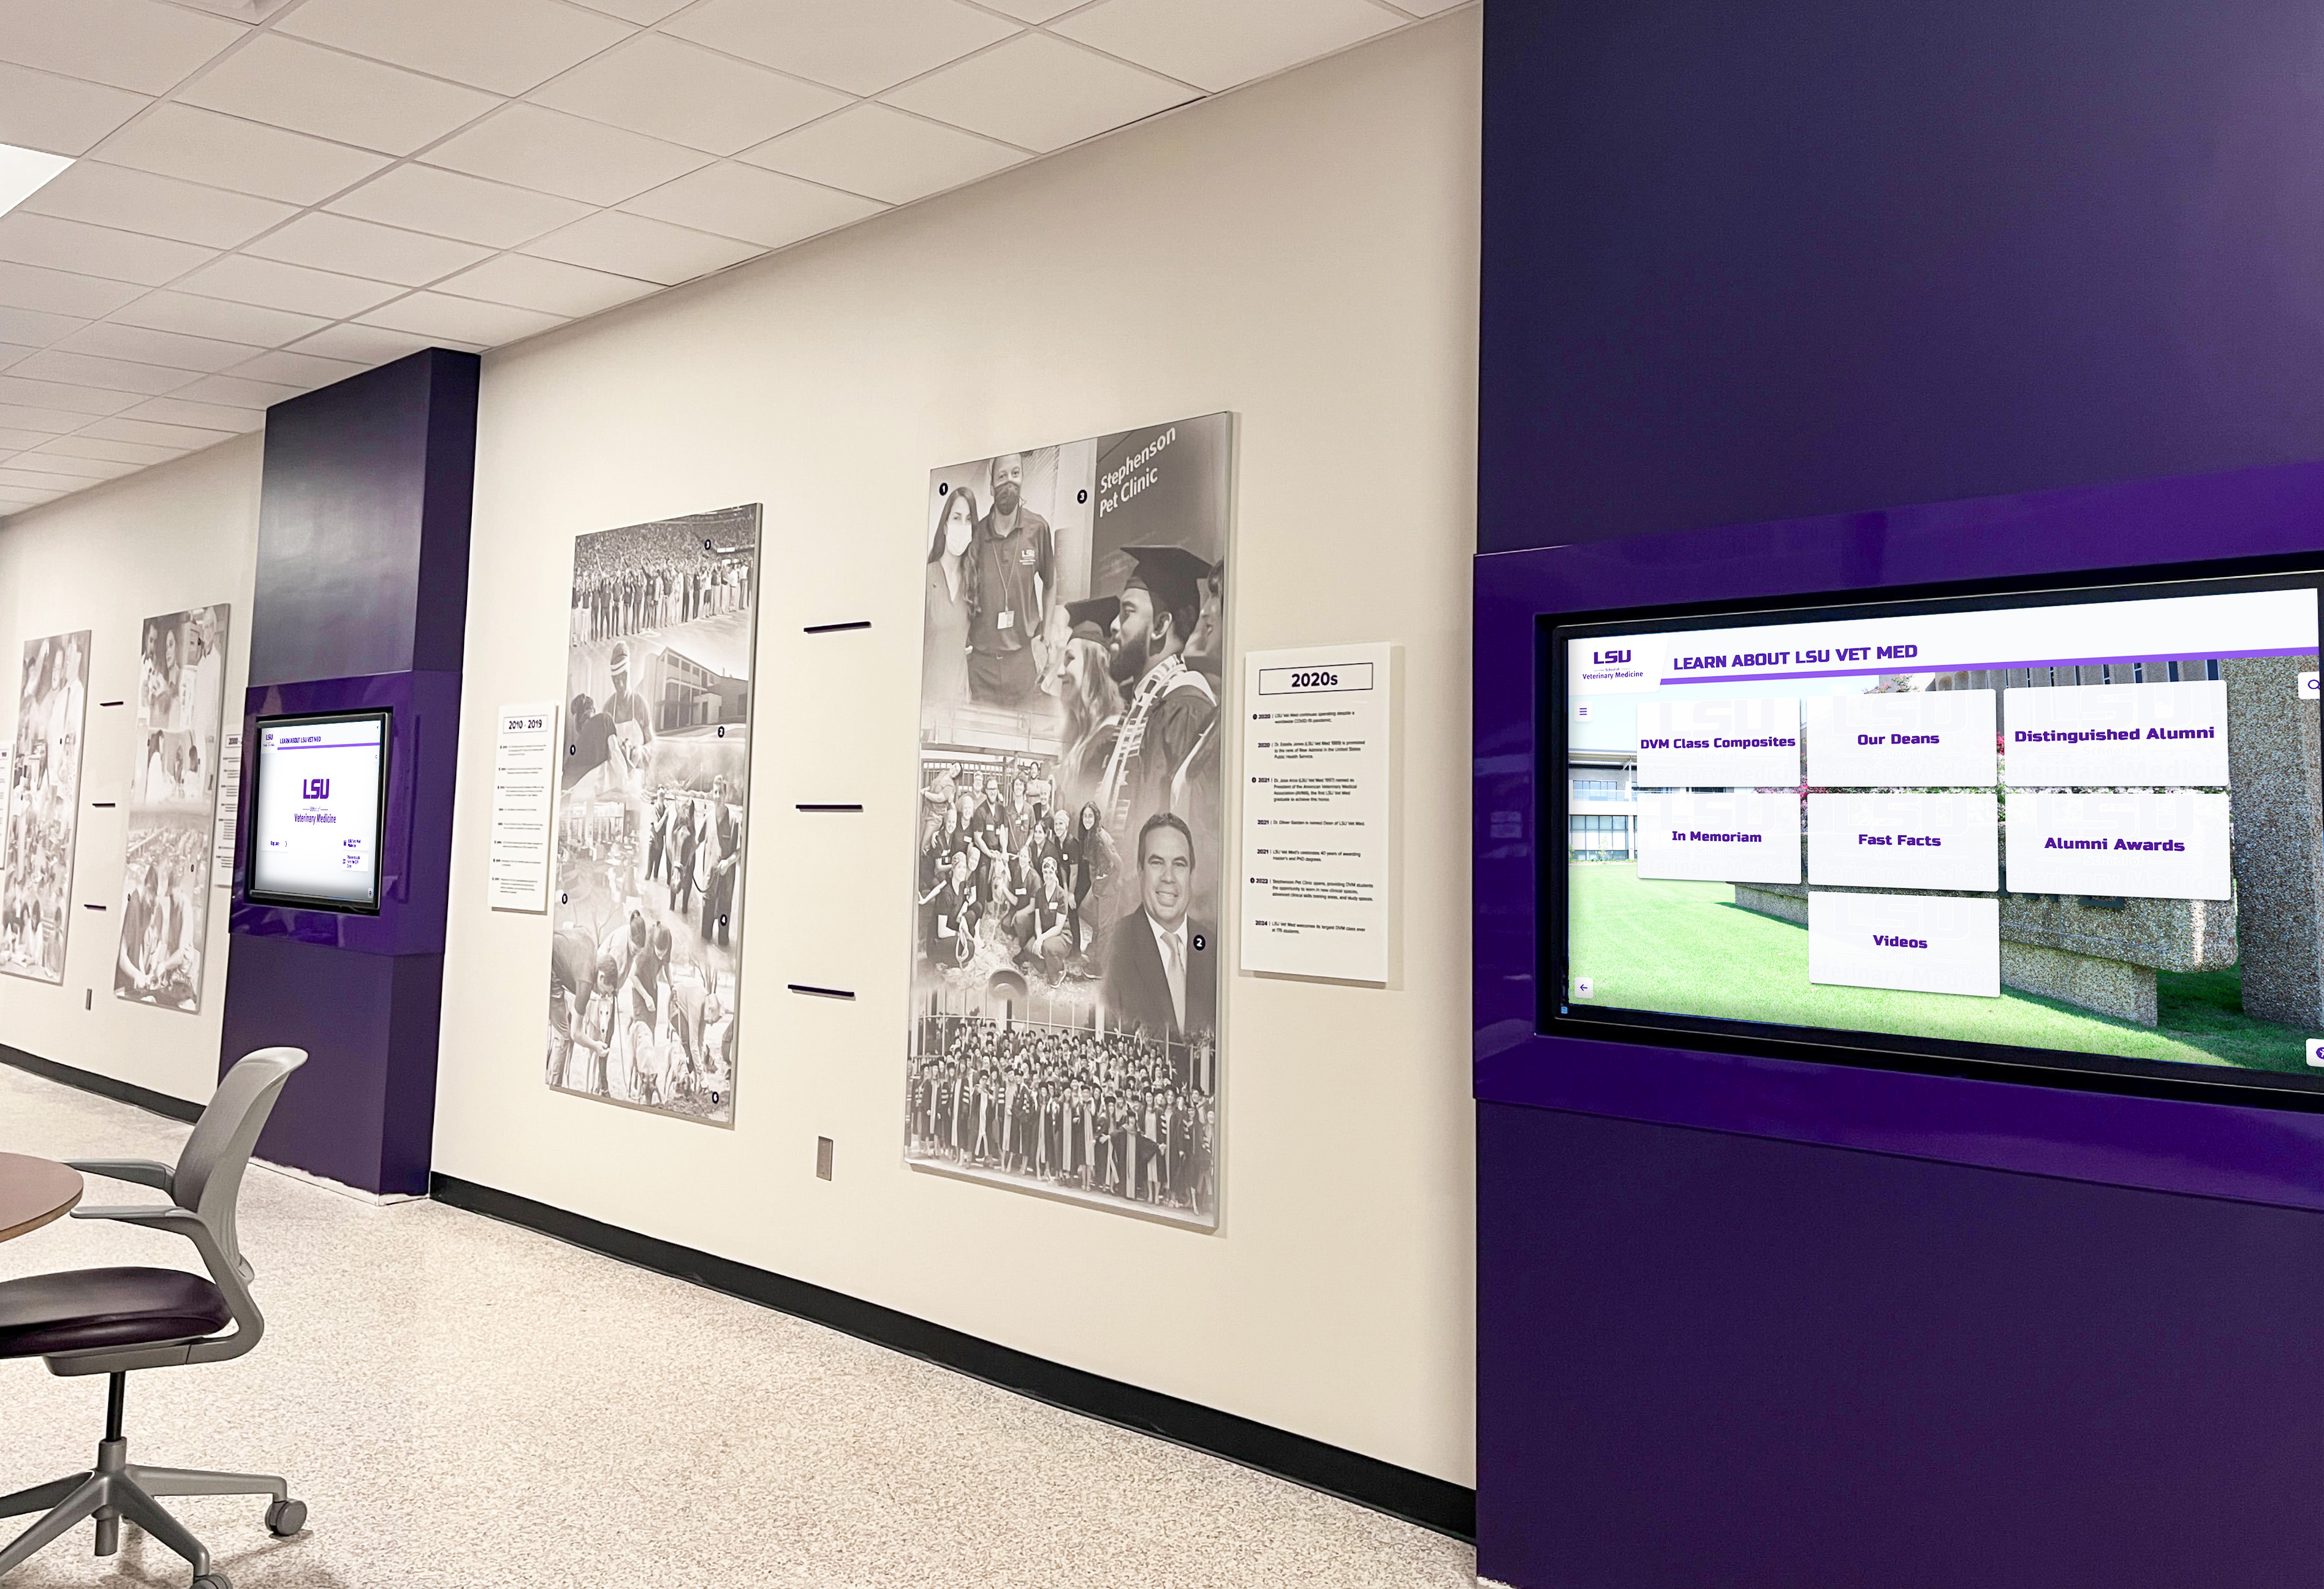
Deep purple and navy school colors occupy shadow zones in the CMYK gamut — without black-point compensation enabled during conversion, these school colors can print indistinguishably from flat black at the viewing distance of a gymnasium banner installation
Common Dark-Element Scenarios and BPC Resolution
Dark Navy or Dark Maroon School Colors as Background Fields
The scenario: The championship banner background field uses the school’s official navy or maroon, reproduced in CMYK using the ink-build defined in the school’s brand standards. The background should read clearly as navy or maroon — distinctly different from flat black — across the full banner surface.
Why BPC matters: The CMYK ink builds for deep navy and deep maroon fall in a shadow zone where the ICC destination profile’s available tonal range is narrow. Without BPC, subtle tonal variation across the background field — lighter near a logo edge, slightly saturated toward the center — compresses into a single ink value. With BPC, that variation distributes proportionally across the destination’s available range and the background reads as a rich, dimensional color rather than flat blackness.
Resolution: Enable BPC in the Convert to Profile dialog. After conversion, use the Info panel to sample ink values at multiple points across the background field and confirm they differ slightly rather than sharing identical percentages throughout. Verify with the vendor that their substrate and ink combination will reproduce the subtle tonal variation in a dark-color field; on some substrates, very small ink percentage differences in shadow zones are below the device’s visual discrimination threshold and may not be visible regardless of BPC settings.
Team Photos with Athletes in Dark Uniforms
The scenario: The championship banner includes a team photograph in which athletes wear the school’s dark jerseys. The photograph was provided by the team photographer as a full-resolution original file in Adobe RGB.
Why BPC matters: Adobe RGB has a significantly lower effective black point than standard CMYK destination profiles. The shadow detail in dark jersey folds, under-arm areas, equipment shadows, and dark field surfaces falls entirely in the compression zone between the Adobe RGB black point and the GRACoL black point. Without BPC, all of that detail converts to maximum CMYK coverage — the jersey becomes a solid dark field with no fabric texture visible. With BPC, shadow gradation distributes across the available CMYK range, preserving the folds, numbers, and texture detail that distinguish a high-quality championship banner photograph from a flat cutout.
Resolution: Confirm BPC is enabled before converting from Adobe RGB to CMYK. Use soft proof comparison in Photoshop to verify that shadow areas in the jerseys and dark equipment retain visible tonal variation after conversion. If shadow detail remains marginal after BPC is enabled, consider applying a Levels or Curves adjustment in the source file to pull the darkest shadow tones slightly lighter before conversion — but only after verifying the resulting appearance against a physical press proof with the vendor.
Dark Mascot Artwork with Dimensional Shading
The scenario: The school mascot illustration used in the banner was created with dimensional shading — highlight, midtone, and shadow zones that give the character three-dimensional form. The darkest shadow fills are in the school’s dark mascot color.
Why BPC matters: Without BPC, the darkest shadow fills convert at identical CMYK percentages to the adjacent midtone fills — the gradation that separates a three-dimensional mascot form from a flat silhouette disappears. With BPC, the darkest shadow retains ink-percentage separation from the midtone, and the mascot’s dimensional quality is preserved at output.
Resolution: Enable BPC and soft-proof with the destination CMYK profile before converting the mascot artwork. Use the Info panel at both the shadow fills and adjacent midtone fills to confirm they convert to different ink percentages with BPC enabled. If the difference is very small — less than 3–4 ink percentage points — discuss with the vendor whether that variation falls within their RIP’s discriminable tonal range for the specific substrate.
Black-Point Compensation in the School Recognition Ecosystem
A championship banner black-point compensation preflight check is one step in the complete print-production standard governing championship recognition materials. Shadow-detail accuracy across dark school-color elements is directly visible to the athletes, families, and students who stand beneath a gymnasium banner — it is not a technical refinement invisible at display scale.
Schools coordinating recognition programs that include both physical championship banners and digital display systems need consistent artwork quality standards across both formats. The digital recognition boards installed in middle and high school hallways draw on the same source artwork produced for championship banners — high-resolution files with accurate color conversions that adapt to screen display profiles as cleanly as they adapt to CMYK print profiles. Source files produced with BPC-enabled conversions and retained in the original RGB editing space are easier to adapt for screen display than flat-converted CMYK files.
For athletic departments managing comprehensive recognition programs — banners, trophy displays, and award materials across multiple sports and seasons — print quality standards across all physical materials share a foundation. Programs that display trophy cases and recognition hardware alongside printed banners benefit from understanding how physical recognition spaces accommodate different materials; resources on trophy display shelves and athletic department recognition hardware configurations reflect the physical display context in which championship banners live — a context that makes shadow-detail quality visible to visitors who examine banners at close range alongside adjacent recognition materials.
Schools managing digital yearbook programs alongside athletic recognition often share championship photography between both uses. The source-file quality requirements for print-accurate championship banners — original-resolution camera files with accurate color profiles preserved — are identical to the requirements for high-quality yearbook layouts. Resources on selecting yearbook publishers and digital recognition partners reflect how schools evaluate consistency across printed materials that include championship athletic recognition and academic recognition side by side.
Build Championship Graphics With Accurate Shadow Detail
Rocket Alumni Solutions helps school athletic programs produce championship recognition materials that represent program history accurately — from print-quality graphic standards and digital display systems to interactive hall-of-fame kiosks that connect banner history to athletes, families, and alumni.
Get notified when Rocket Graphics opensRecognition programs that extend to spirit merchandise and promotional materials depend on the same shadow-detail accuracy standards applied to championship banner production. School spirit stores that produce branded merchandise alongside athletic recognition programs need consistent dark-color rendering across all printed items; resources on school spirit store setup and branded merchandise production reflect how schools coordinate color standards across recognition merchandise and banner programs that share the same dark school color palette.
Staff appreciation programs that include printed recognition materials — banners, certificates, and hallway signage — benefit from the same shadow-detail standards applied to championship banners. Resources on school staff appreciation calendar events and recognition opportunities reflect how recognition programs span athletics and staff acknowledgment, with print materials in both tracks subject to the same CMYK production standards.
For smaller schools evaluating whether comprehensive digital recognition investments complement their existing physical recognition programs, the quality-standard relationship between print and digital materials is instructive; resources on touchscreen recognition displays in small school contexts address how schools weigh recognition display systems alongside the physical championship programs that already serve their athletic history.
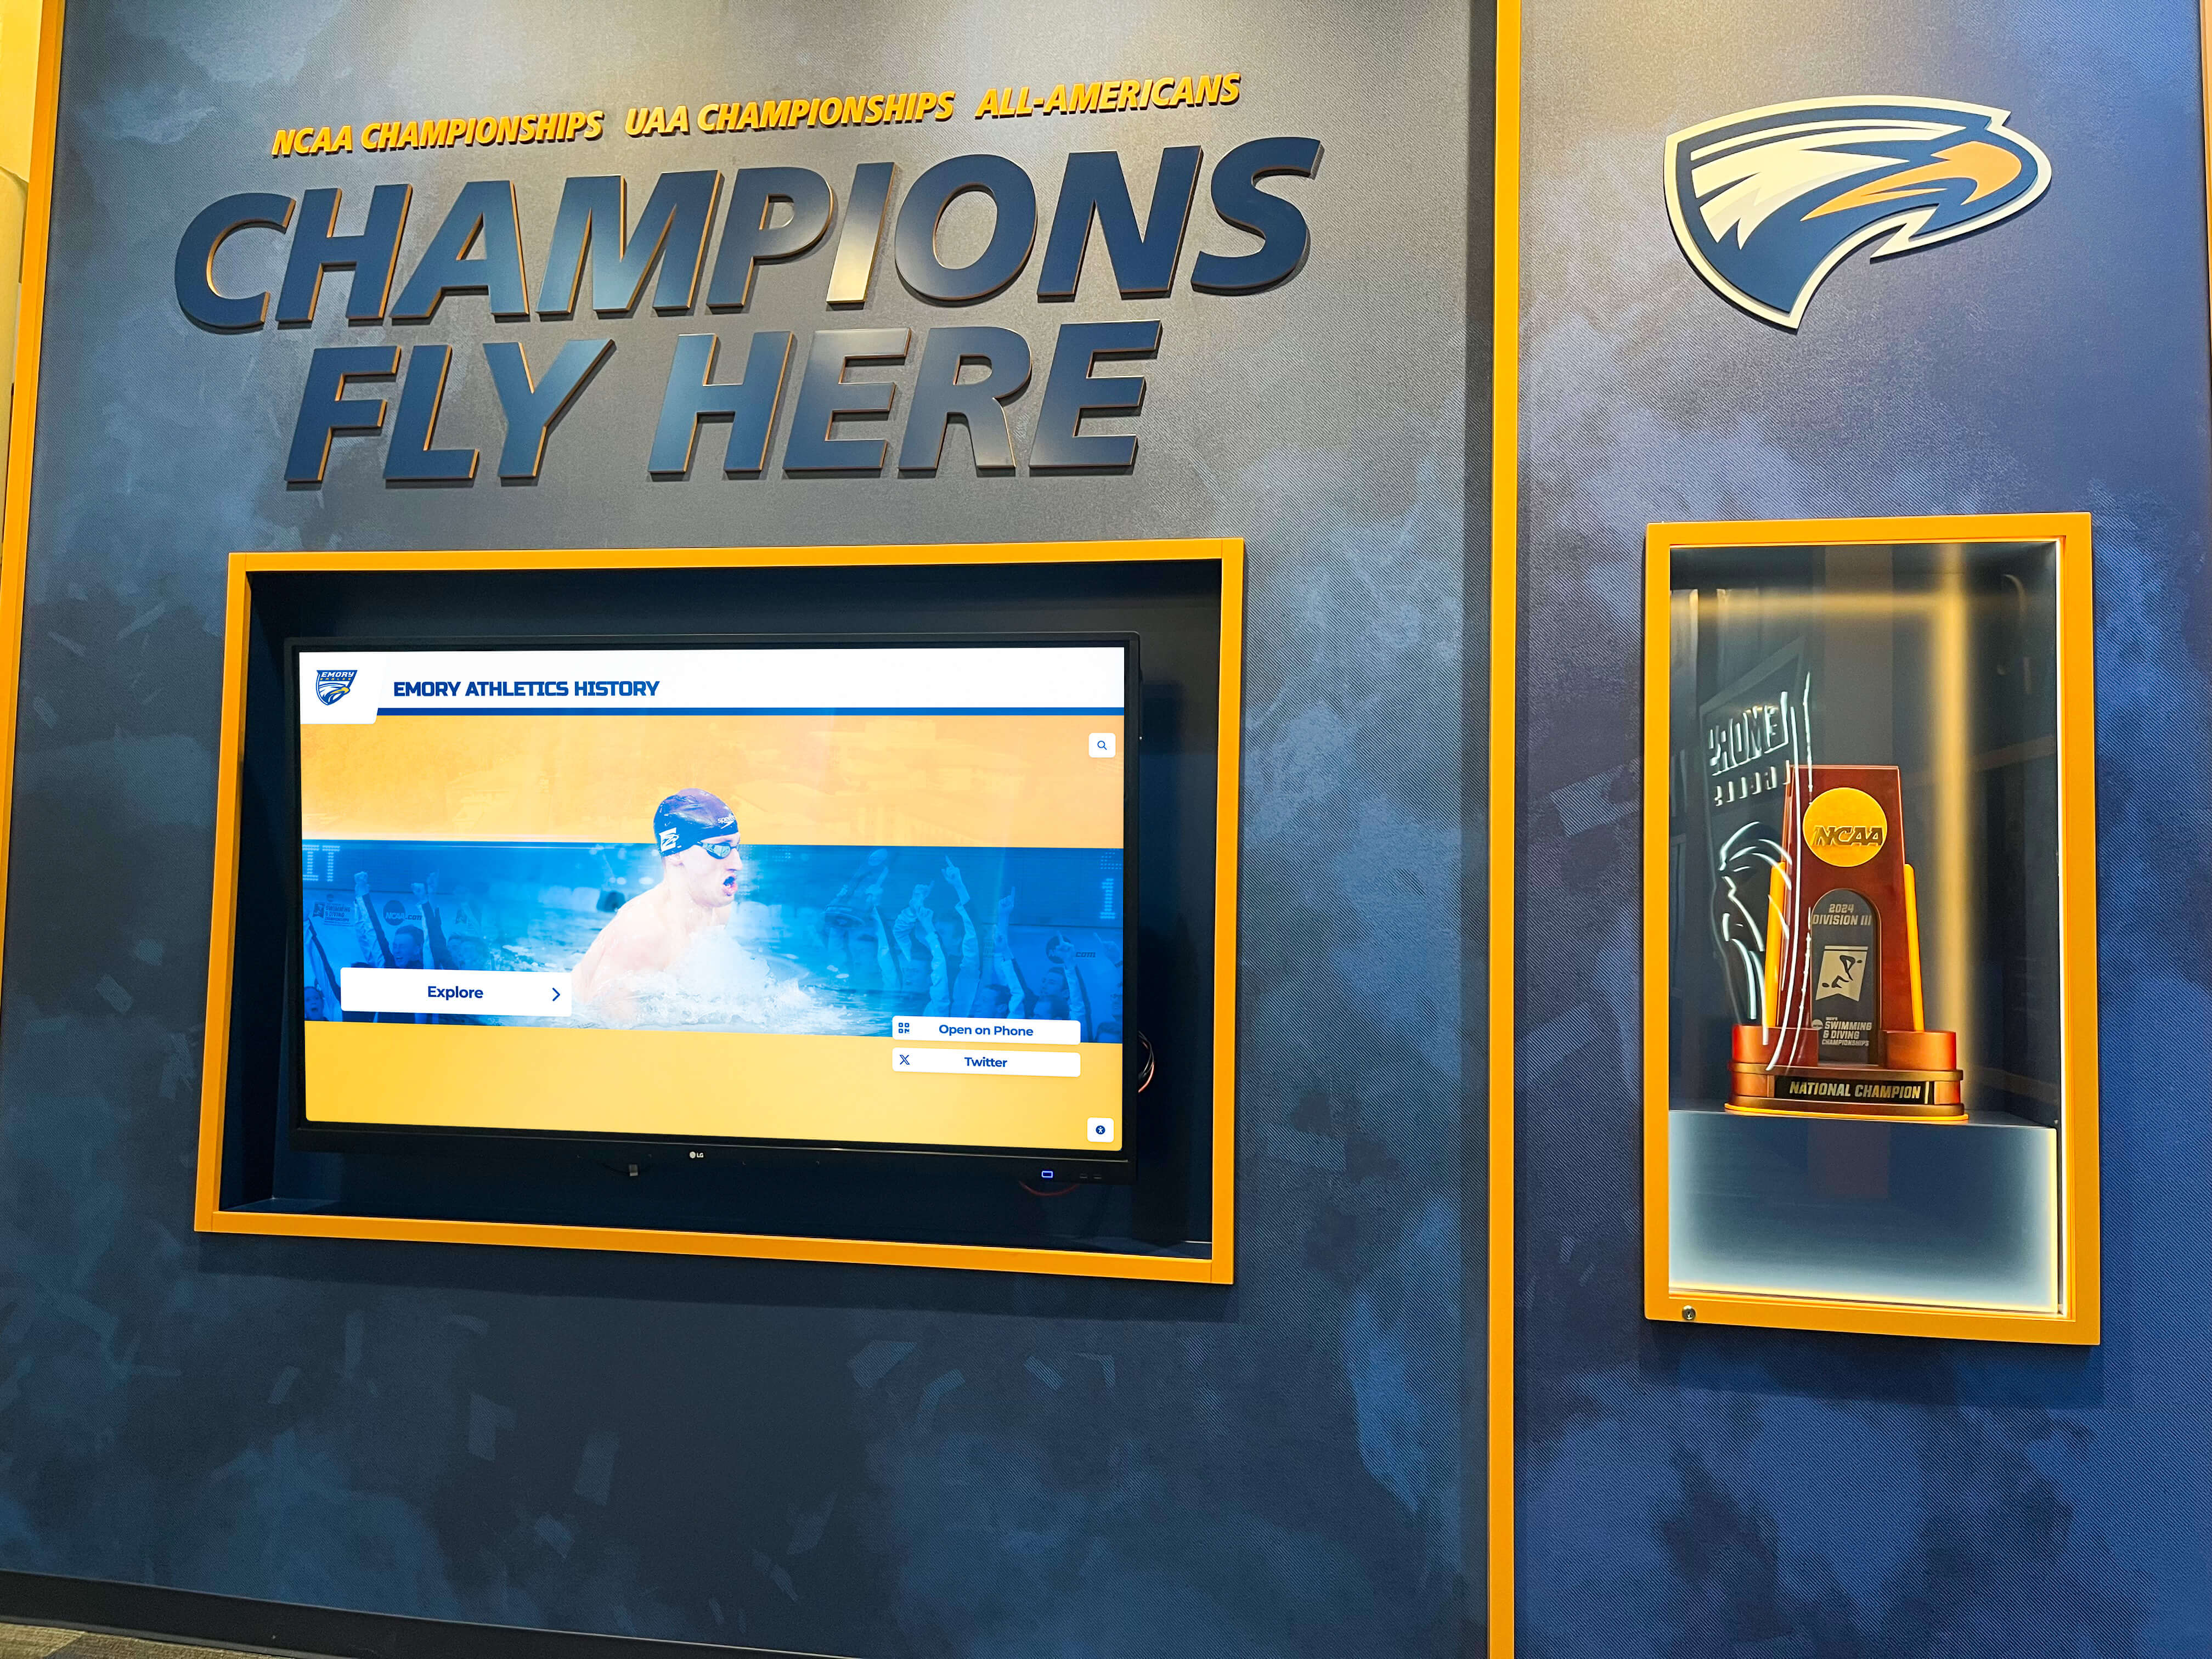
Championship recognition walls accumulate banners and displays across decades — applying a consistent black-point compensation standard to every new banner submission ensures shadow quality matches across the full collection regardless of when each piece was produced
Quick-Reference Black-Point Compensation Preflight Table
Use this table as a single-pass reference before approving any championship banner file containing dark elements for vendor submission.
| Check Item | Application or Method | Pass Criteria | Priority |
|---|---|---|---|
| Dark-element inventory completed | Source file visual review | All dark elements identified: backgrounds, team photos, mascots, dark-color type | Required |
| Source profiles confirmed on all RGB images | Photoshop File Info or InDesign Links panel | All images have embedded profiles; no untagged files | Required |
| BPC enabled in global Color Settings | Edit > Color Settings > More Options | Use Black Point Compensation checkbox is checked | Required |
| BPC enabled in Convert to Profile dialog | Photoshop or Illustrator conversion dialog | Use Black Point Compensation checkbox checked in Conversion Options | Required |
| Soft proof comparison performed on critical dark elements | Photoshop View > Proof Setup > Custom | Shadow areas confirmed to retain tonal variation with BPC enabled; no blocking visible | Required |
| BPC enabled in PDF export settings | InDesign Output panel | Use Black Point Compensation is checked in PDF export | Required |
| CMYK shadow values inspected with Info panel | Photoshop Info panel at shadow pixel locations | Adjacent dark pixels have differing CMYK percentages; no flat maximum-coverage zones | Required |
| Vendor RIP BPC policy confirmed in writing | Written vendor specification | Written confirmation of how vendor handles BPC at RIP stage | Required |
| Output Preview shadow check in Acrobat | Acrobat Pro Tools > Print Production > Output Preview | Dark fields show ink variation across the region; no uniform maximum-coverage areas | Required |
| Full PDF/X preflight passed on exported file | Acrobat Pro Preflight | No preflight errors in final exported file | Required |
Frequently Asked Questions: Championship Banner Black-Point Compensation Preflight
What is black-point compensation and when does it matter for championship banners?
Black-point compensation (BPC) is an ICC color management setting that maps the darkest color in the source profile to the darkest color the destination CMYK print profile can reproduce, scaling the shadow tonal range proportionally between the two black points. Without BPC, source shadow values darker than the CMYK destination’s black point clip to maximum ink coverage — shadow detail in dark school colors, dark-uniform team photos, and interior photography collapses into flat, undifferentiated darkness. BPC matters for championship banners whenever the artwork contains dark backgrounds, dark-uniform team photography, mascot art with dimensional shadow shading, or source files in Adobe RGB or wider-gamut spaces.
How do I enable black-point compensation in Adobe Photoshop for championship banner color conversion?
Enable BPC globally at Edit > Color Settings > More Options > Use Black Point Compensation — confirm the checkbox is checked. For a specific conversion, use Edit > Convert to Profile and check Use Black Point Compensation in Conversion Options. For soft proof verification before export, check it in View > Proof Setup > Custom. Confirm the same setting in InDesign’s PDF export Output panel and in Acrobat Pro’s Convert Colors dialog for any post-export conversions.
What does blocked-up shadow look like on a championship banner and how does BPC prevent it?
Blocked-up shadow appears as uniform flat dark areas where tonal variation should exist — jersey fold and equipment shadows at identical ink density, a navy background that reads as flat black, or a mascot with dimensional shading that prints as a flat silhouette. BPC prevents this by scaling the source shadow range so the source black point maps to the destination profile’s darkest reproducible value, distributing shadow gradations proportionally across the available CMYK tonal range rather than clipping them.
Should black-point compensation be applied before or after other preflight steps?
BPC must be confirmed before the RGB-to-CMYK profile conversion — it governs the conversion, not a post-conversion correction. The recommended order is: confirm effective PPI on rasterized elements, verify BPC is enabled, perform the conversion, inspect CMYK shadow values with the Info panel, run overprint preview inspection, export to PDF, and run the full PDF/X preflight in Acrobat Pro.
What rendering intent should be used alongside BPC for championship banner conversions?
Relative Colorimetric is standard for photographic content and pairs correctly with BPC. It maps in-gamut source colors to the nearest destination equivalent and clips out-of-gamut colors to the gamut boundary — BPC then ensures shadow clipping at the black-point boundary is scaled proportionally rather than hard-clipped. For banner artwork primarily in-gamut with isolated shadow-zone concerns, Relative Colorimetric plus BPC is the appropriate combination.
Test Shadow Detail Before the Proof Arrives
A championship banner black-point compensation preflight performed at the layout stage — before the file is exported and converted — gives the athletic department time to verify that dark school colors, dark-uniform photography, and shadowed mascot artwork all survive the CMYK profile conversion with their intended tonal gradation intact. The soft proof comparison described in this guide takes fewer than five minutes per image element and reveals immediately whether shadow detail will survive press. A blocked-up shadow discovered after a vendor delivers a physical proof, or after a banner is installed in a gymnasium, cannot be corrected without a complete reprint.
Black-point compensation preflight belongs to a complete pre-submission standard applied consistently to every championship banner order. Combined with the championship banner effective PPI preflight, the championship banner overprint preview checklist, the championship banner font embedding checklist, and the championship banner minimum line weight preflight, the BPC check is one step in a complete production workflow that protects every banner in an athletic program’s recognition collection — from the earliest championship banner on the gymnasium wall to the one representing this season’s title.
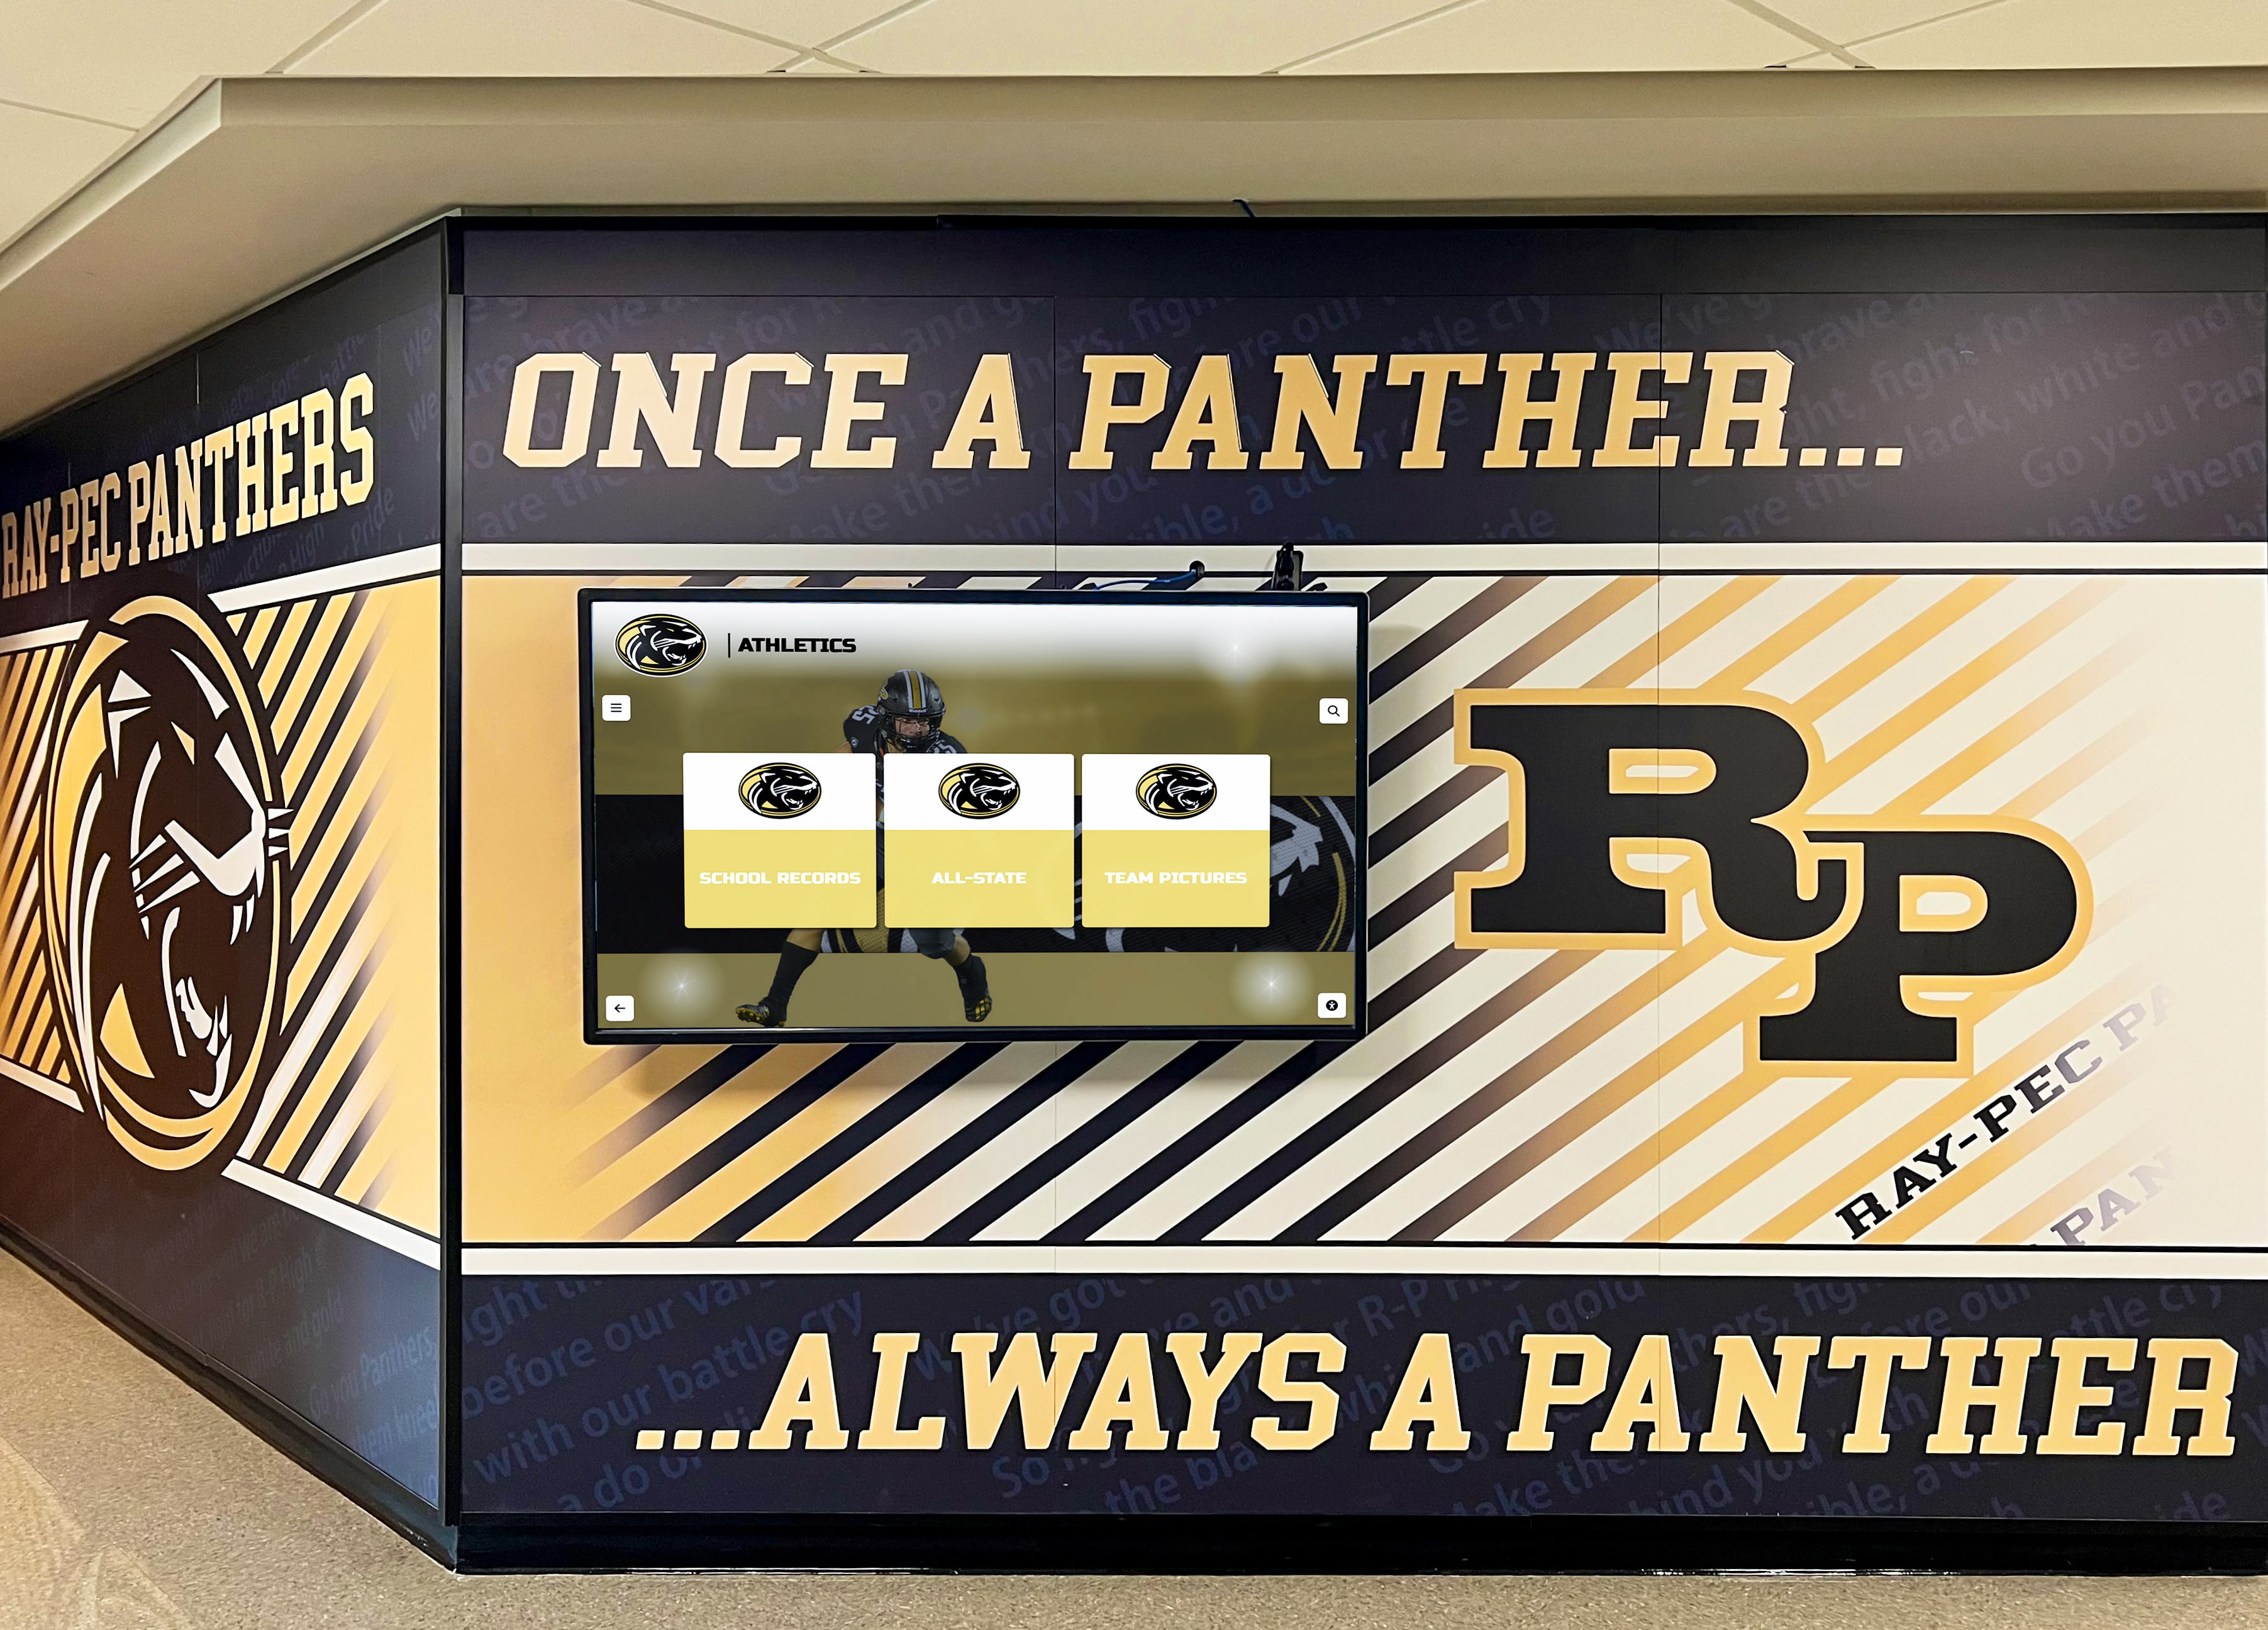
When championship banner artwork is produced with accurate black-point compensation and archived in the high-resolution source format, that same file adapts to digital recognition displays, lobby screens, and hallway kiosks without requiring recreation from scratch
Championship Recognition That Honors Every Detail
Rocket Alumni Solutions helps school athletic programs build championship recognition systems — from print-quality graphic standards and digital display networks to interactive hall-of-fame kiosks that connect banner history to the athletes and alumni who earned it. When your recognition program needs both print and digital to meet the same quality standard, we help ensure they do.
Get notified when Rocket Graphics opens