An athletic recognition photo dynamic range checklist is a structured set of steps content teams use to verify that every photo destined for a hall of fame display, digital trophy case, or athletic records board preserves enough highlight and shadow detail to look accurate under real display conditions. Schools preparing recognition graphics face a consistent challenge: their libraries combine low-contrast scans from the 1970s, well-exposed modern DSLR portraits, and high-key outdoor action shots from bright game days — and a display optimized for one category can wash out another or crush it into unreadable shadow.
This checklist is written for athletic directors, communications staff, and facilities teams who manage photo preparation for recognition programs. Nothing in this guide constitutes professional photography certification advice; use it alongside the specific recommendations from your display vendor and photo editing platform.
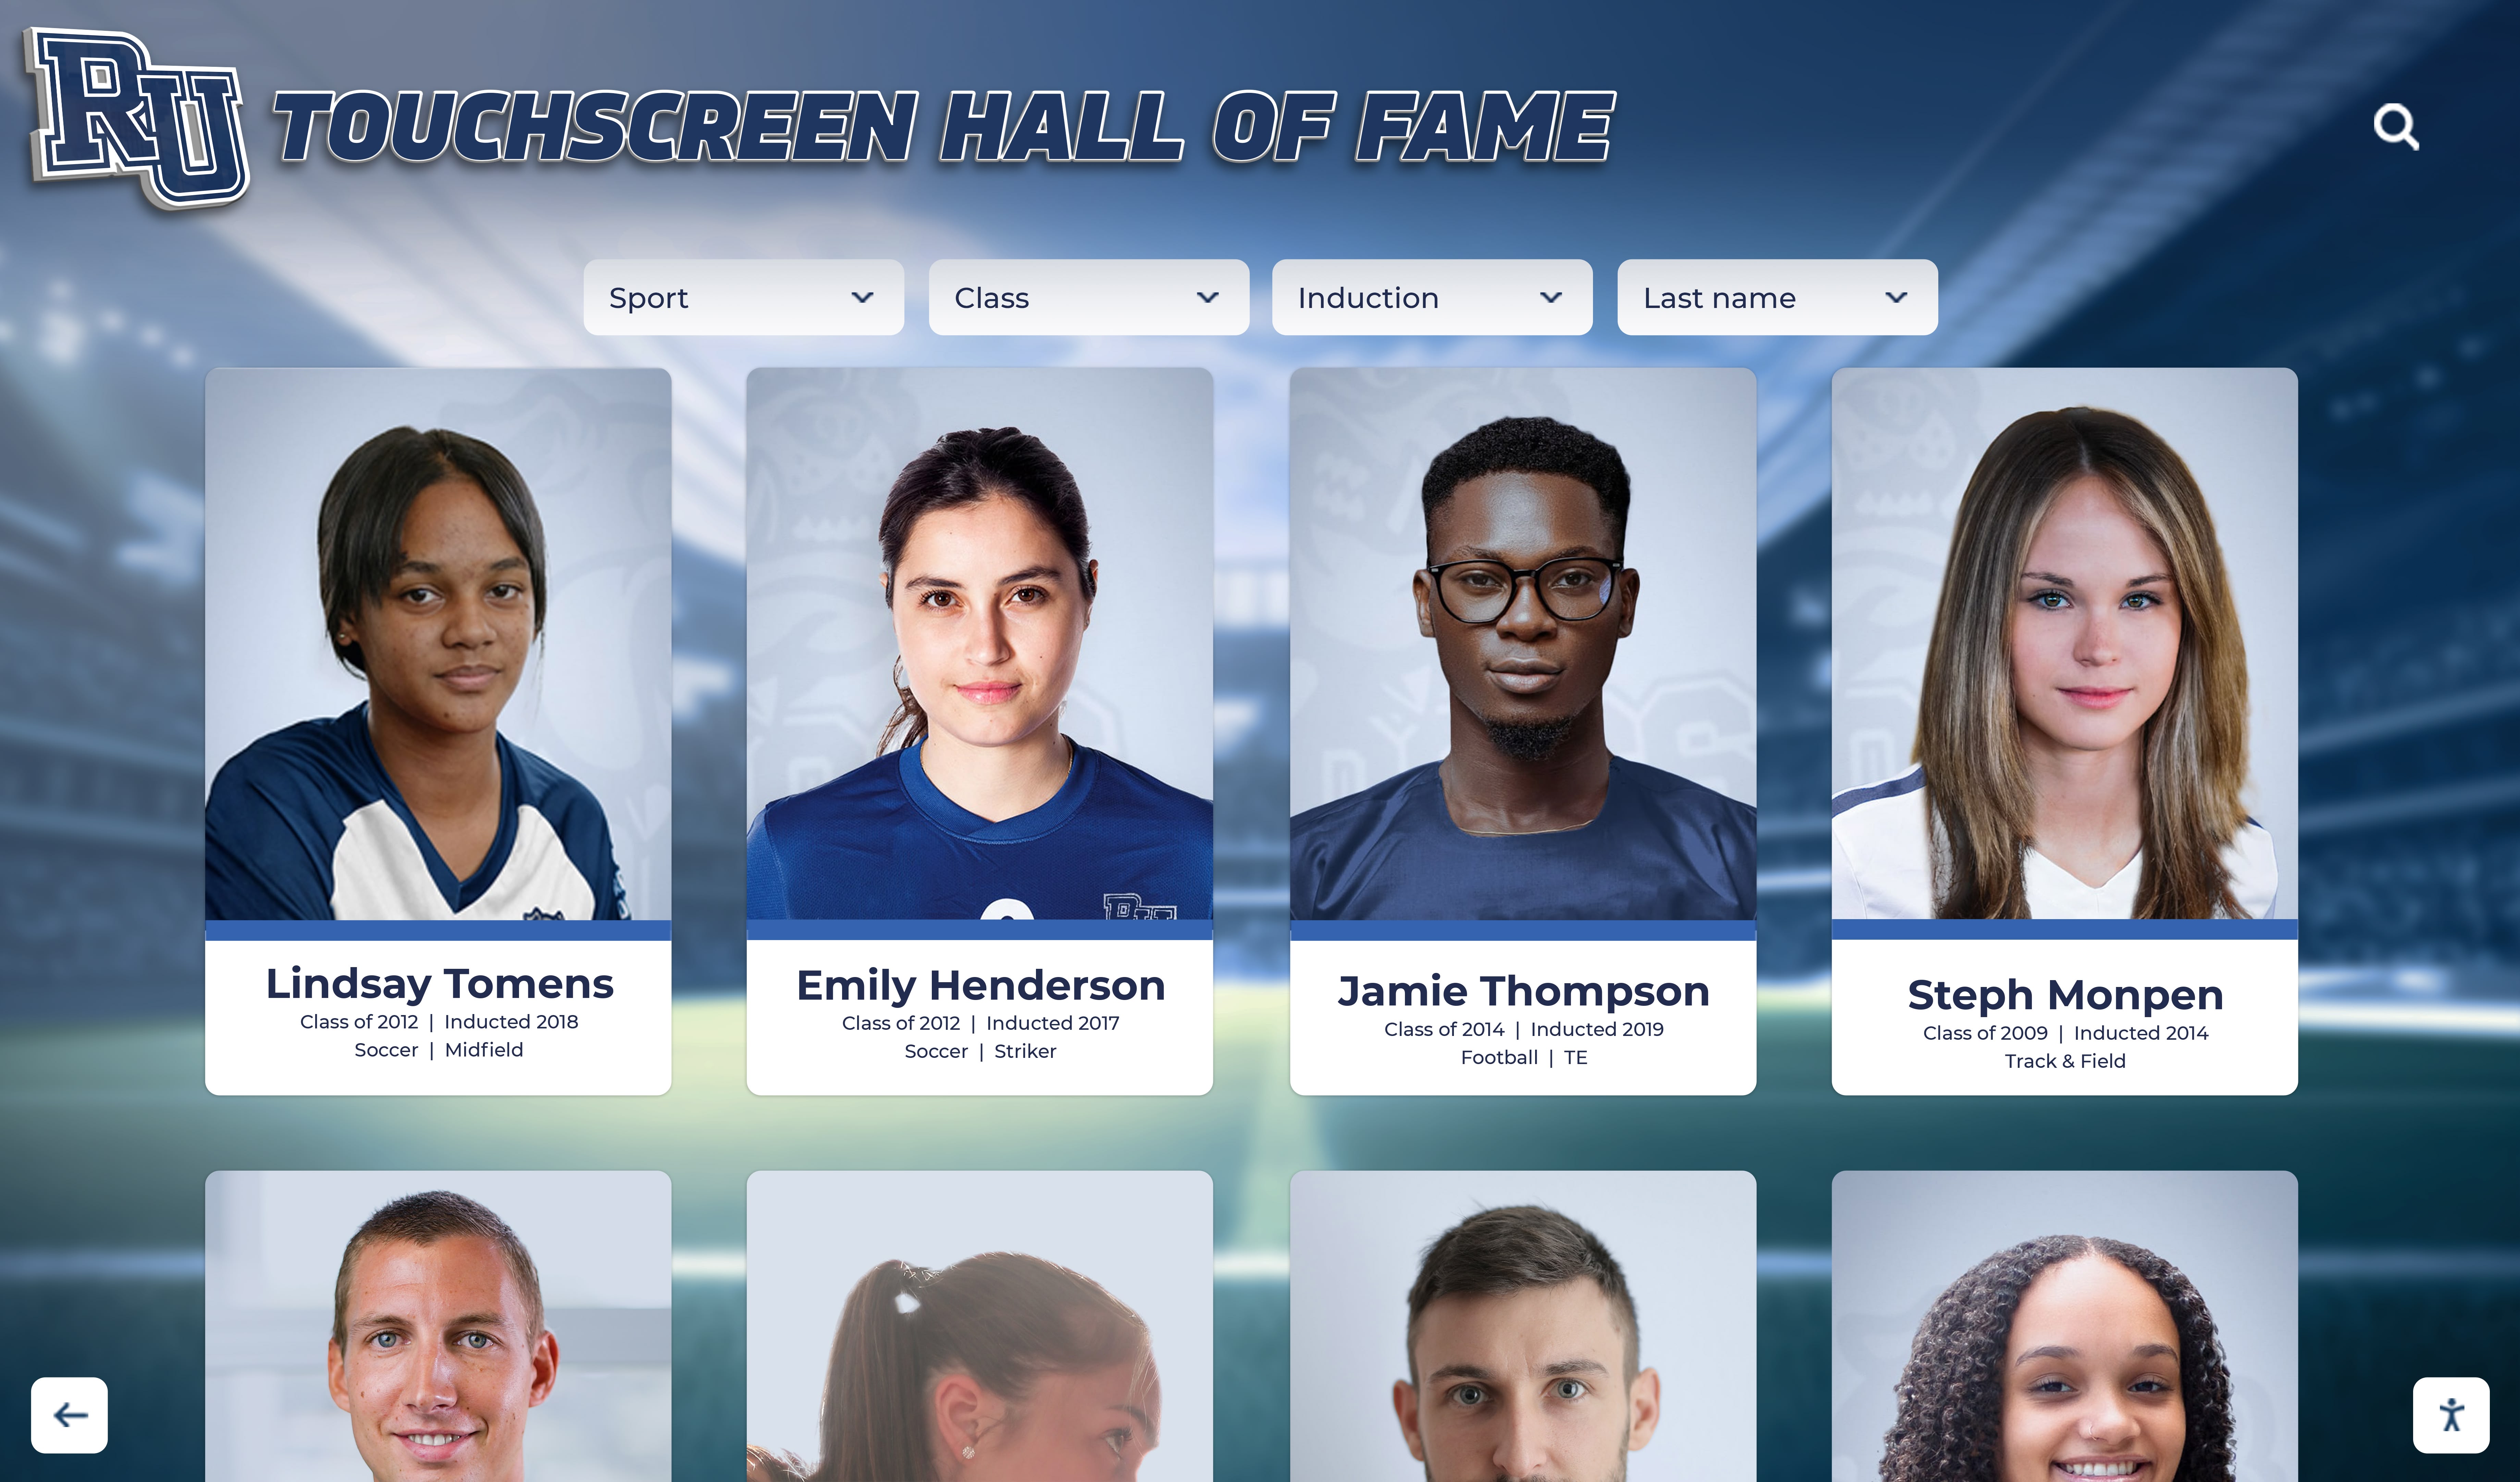
Hall of fame displays present photos from multiple decades side by side — each image needs to meet the same dynamic range standard to look consistent across all inductees
What Is Dynamic Range in Athletic Recognition Photography?
Dynamic range is the span between the darkest shadow and the brightest highlight a photo contains. In athletic recognition photography, it determines whether a white jersey against a bright gym background retains fabric detail, whether a face in a shadowed locker-room portrait shows skin texture, and whether a trophy’s chrome surface reflects accurately without washing out to solid white.
Recognition programs draw from photos that span dramatically different dynamic ranges:
- High dynamic range situations: Outdoor game-day photography (bright sky, shaded bleachers), stadium flash photography (dark background, bright face), and vintage team photos taken on high-contrast film.
- Low dynamic range situations: Overcast outdoor portraits, indoor studio headshots with controlled lighting, and scanned color prints where aging has compressed tonal range.
- Mixed-source collections: A hall of fame spanning fifty years will contain all of the above in the same display.
The International Color Consortium (ICC) defines the color gamut and tonal standards that calibrated displays reproduce. Most commercial-grade school recognition displays reproduce a standard dynamic range (SDR) signal — the Society of Motion Picture and Television Engineers (SMPTE) defines SDR as a system with a peak brightness of 100 nits and a gamma curve of 2.4 — which is adequate for most prepared recognition photos but can clip highlights or crush shadows if source images are not evaluated before upload.
Why Digital Displays Create Unique Dynamic Range Challenges
Digital hall of fame and recognition displays intensify dynamic range problems that would be minor on a printed plaque or a website. A photo that looks acceptable on a calibrated editing monitor at moderate brightness can blow out its highlights or lose shadow detail when displayed on a lobby screen running at 350 nits in a brightly lit hallway.
Three display-specific factors increase the risk:
Brightness settings for ambient environments. Recognition displays in lobbies, gym entrances, and trophy cases are often set to high brightness to compete with ambient light from windows and overhead fixtures. That extra brightness amplifies the effective dynamic range the display renders — photos with already-clipped highlights display those areas as pure white with no recoverable detail.
Gamma curve differences between monitors and displays. An editing workstation typically runs at gamma 2.2, while commercial digital signage displays may apply different gamma curves depending on their picture mode. A photo adjusted to look correct on the editing monitor may appear darker or lighter on the recognition display without a preview test.
Viewing distance and image size. A photo displayed at 30 inches across on a 55-inch lobby screen is examined at distances where viewers see detail in faces and uniforms. Highlight clipping and crushed shadow areas that blend in at thumbnail sizes become visible flaws at recognition-display scale.
Evaluating photos against an athletic recognition photo dynamic range checklist before uploading ensures they hold their tonal detail across the display environment your school actually uses.
The Athletic Recognition Photo Dynamic Range Checklist
Use this checklist for each photo batch prepared for a recognition display, hall of fame upload, or graphics export. Work in a photo editing application that shows a histogram — Adobe Lightroom Classic, RawTherapee, darktable, or similar — so you can verify tonal distribution visually, not just by eye.
Pre-Editing Checks
- Identify the source type. Note whether each photo is a raw digital capture, a scanned print, a JPEG from a smartphone, or a compressed image from a social media download. Source type determines what tonal problems to expect and how much recovery headroom is available.
- Confirm the working color space. Open the file in a color-managed editing environment. Verify the working color space is sRGB for display-destined derivatives or ProPhoto RGB for print-destined derivatives. Mismatched color spaces cause unexpected tonal shifts independent of exposure adjustments.
- Check file bit depth. A 16-bit TIFF or raw file supports more tonal adjustment headroom than an 8-bit JPEG. Note if a photo is 8-bit before applying heavy recovery adjustments — pushing shadows or recovering highlights aggressively in 8-bit files can introduce posterization artifacts.
- Review the full-size histogram before making any adjustments. Look for spikes touching the left edge (crushed shadows) or the right edge (clipped highlights). A spike touching either edge means tonal information is already lost and cannot be recovered through editing — the best outcome is minimizing the visual impact of the clip.
- Compare against neighboring photos in the same display layout. Evaluate tonal consistency across the set, not each photo in isolation. Two inductee headshots with significantly different brightness levels create visual inconsistency on the display even if each is technically acceptable on its own.
Adjustment Checks
- Set exposure to target display brightness. For a lobby recognition display at standard brightness, a typical target is a midtone exposure that places the histogram peak in the center of the tonal scale. Photos significantly darker or brighter than this will look inconsistent next to inductees processed to a different exposure standard.
- Check for highlight clipping in key areas. Zoom to 100% and examine: white uniforms, chrome trophies, bright backgrounds behind athletes, and skin highlights on light-toned faces in outdoor photos. In Lightroom, enable the highlight clipping warning (press J) to display blown-out areas in red. If clipping is present in jersey or skin areas, apply highlight recovery before reducing overall exposure.
- Check for shadow clipping in key areas. Examine: dark gymnasium backgrounds, black uniform areas, faces in low-key portraits, and shadow areas in older prints. Enable the shadow clipping warning in your editing software (also J in Lightroom). If black-point clipping removes texture in uniform fabric or obscures identifying features in older inductee photos, lift the shadow slider until texture is visible.
- Verify midtone contrast is appropriate. A photo with no clipping at the extremes but flat, low-contrast midtones will look washed out on a recognition display. Apply a gentle S-curve to the midtone region — increasing contrast slightly between the 25% and 75% tonal range — to restore visual punch without introducing new clipping.
- Evaluate skin tone accuracy after adjustments. After exposure and contrast changes, use the color picker to sample a midtone area of an athlete’s face. Skin tones should read as warm neutral — RGB values where the red channel is highest, green is close behind, and blue is notably lower. An adjustment that has shifted skin toward green or magenta indicates a color cast that needs correction.
- Correct for scanner-introduced tonal compression in vintage photos. Scanned prints often show a compressed tonal range — their darkest darks and lightest lights both sit in the middle of the histogram, producing a flat appearance. Apply a levels adjustment to stretch the histogram by setting the white point to the brightest actual pixel and the black point to the darkest actual pixel. This restores the tonal range the original photograph intended.
Export and Display Checks
- Export at the target display resolution. Size display-destined derivatives to the actual pixel dimensions of the display layout slot, not the maximum source file size. Exporting a 24-megapixel portrait for a 400×500 pixel portrait card wastes storage and processing time without adding visible quality.
- Export JPEGs at 90–95 quality for recognition display use. Lower quality settings introduce compression artifacts that are particularly visible in smooth gradient areas — faces, sky backgrounds, and studio backdrops — at the large sizes used in hall of fame systems.
- Embed the sRGB color profile in all display-destined exports. Recognition display systems expect sRGB. An untagged or wide-gamut file (Adobe RGB or ProPhoto RGB) may display with incorrect saturation or color shifts on a system that defaults to sRGB rendering for untagged content.
- Preview the exported file on the target display hardware before committing to a full batch upload. Load one corrected photo into the recognition display system and view it at the actual installation location under normal ambient lighting. What looked correct on the editing workstation may need brightness or contrast adjustment when seen on the real display.
- Log the adjustment settings applied to each photo. Record the exposure value, highlight and shadow adjustments, and any local corrections in a simple spreadsheet. If display hardware is recalibrated later or the display software changes its rendering, having a record of photo-level adjustments makes batch re-exporting straightforward.
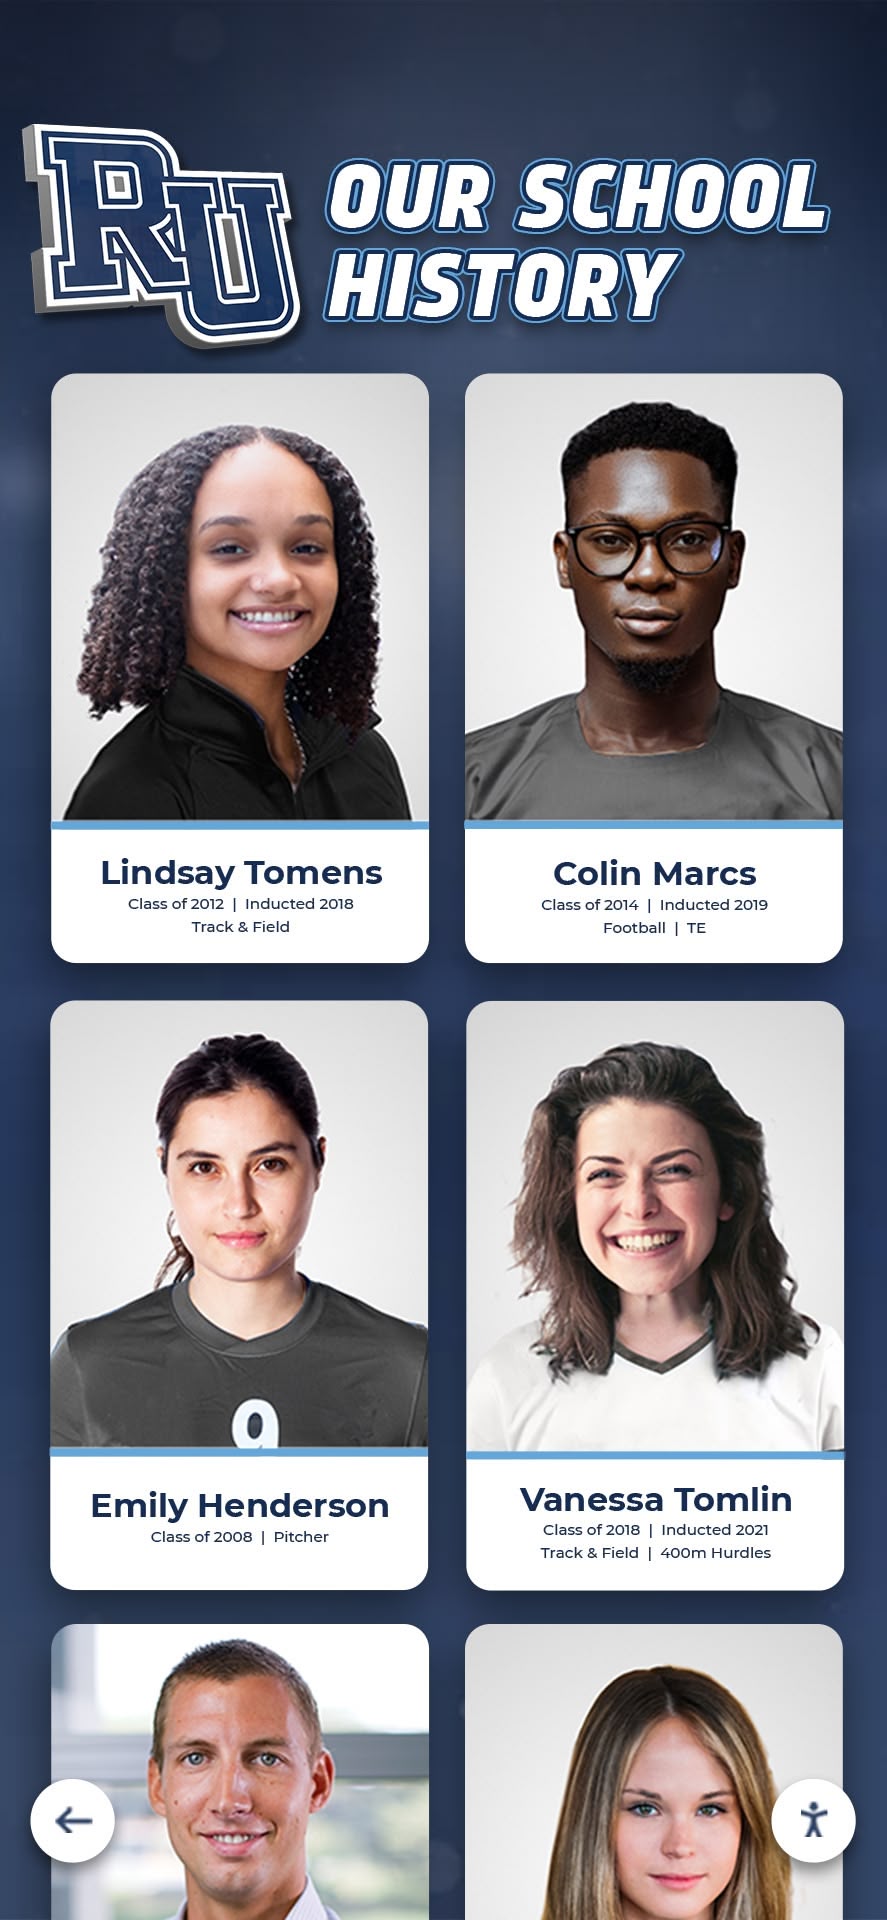
Portrait archives spanning multiple decades contain photos processed under entirely different lighting conditions — a dynamic range checklist brings them to a consistent visual standard for display
Reading Histograms for Athletic Recognition Photos
A histogram is the most useful diagnostic tool in the athletic recognition photo dynamic range checklist process. It displays the tonal distribution of a photo as a graph — shadows on the left, highlights on the right, midtones in the center — so you can evaluate tonal range without relying solely on how a photo looks on your monitor, which may be brighter or darker than the recognition display.
What a well-prepared recognition photo histogram looks like:
An ideal histogram for a recognition display photo shows a distribution that starts just above zero on the left (no shadow clipping), rises through the midtones, and ends just before the right edge (no highlight clipping). The peak of the distribution typically falls in the midtone range. If the photo is a portrait with a white studio background, a secondary peak toward the right side of the histogram represents the background — this is expected and acceptable as long as that peak does not touch the right edge.
Warning signs in a histogram:
| Histogram Pattern | What It Indicates | Action |
|---|---|---|
| Spike touching the left edge | Shadow clipping — black areas have lost texture | Lift shadows; check if recoverable from source |
| Spike touching the right edge | Highlight clipping — white areas have lost detail | Apply highlight recovery; inspect critical areas at 100% |
| Distribution entirely in the left third | Significant underexposure | Increase exposure; check for noise when pushed |
| Distribution entirely in the right third | Significant overexposure | Reduce exposure; verify highlights are recoverable |
| Narrow spike in the center | Flat, low-contrast image | Apply levels or S-curve to stretch tonal range |
| Spiky, jagged pattern across full width | Posterization from over-editing in 8-bit | Re-process from original source if available |
Specific histogram considerations for common athletic recognition content:
- Indoor gym portraits: Expect a bimodal histogram — one peak for the athlete, one for the background. The background peak should not touch the right edge unless the background is intentionally overexposed.
- Outdoor action shots: Expect a wide distribution. Check whether bright sky areas are clipped; if so, apply highlight recovery using local adjustment brushes rather than globally dimming the entire image.
- Vintage scanned prints: Expect a compressed histogram with gaps — white vertical lines that indicate tonal values absent in the scan. Apply levels to stretch the histogram; the gaps will not disappear but the effective tonal range will improve.
- Trophy and award photos: Chrome surfaces clip easily. Reflections clipping to white may be acceptable since chrome highlights are expected to be bright. Evaluate whether clipping extends into areas that should retain detail — etching, medallion text, or engraved name plates.
Common Dynamic Range Problems and How to Address Them
Clipped highlights in white uniforms. White jerseys are the most common source of highlight clipping in athletic photos. Where the uniform loses all texture and reads as pure white, reduce the Highlights slider in Lightroom or your editor’s equivalent until fabric texture becomes visible. If clipping persists, use a local adjustment brush to apply highlight recovery only to the uniform area, preserving the face exposure. If the file is an 8-bit JPEG from a compressed source and the highlights are fully clipped, the tonal information is permanently lost — note this in the correction log and accept the limitation.
Crushed shadows in dark gym backgrounds. Photos taken in low-light gymnasium conditions frequently clip their shadow areas. Lift the Shadows slider or the Black Point control to bring shadow detail above the clipping threshold. Lifting shadows too aggressively introduces visible noise, particularly in JPEGs. A black level set to 10–15 rather than 0 is often a reasonable target for gym-background photos — it reveals texture without adding objectionable noise.
Flat vintage prints. Scanned color prints from the 1970s through the early 1990s often produce flat histograms because film and print materials aged, and scanning software may apply its own tonal compression. The fix is a levels adjustment: in Lightroom, set the white point by dragging the right Levels slider left until it touches the point where the histogram begins, and set the black point by dragging the left slider right to the histogram’s left edge. This stretches the available tonal range to fill the full scale. Follow with a gentle midtone S-curve to add contrast within the stretched range.
Mixed-source collections. When a single display panel shows inductees from 1978 and 2024, the risk is visible inconsistency — one photo brightly lit and sharp, the next flat and slightly yellow. Apply a target-brightness standard that defines a midtone exposure level, a minimum contrast floor, and a maximum brightness ceiling (no highlights above the clipping threshold). Process each photo toward that standard independently before placing it in the display layout.
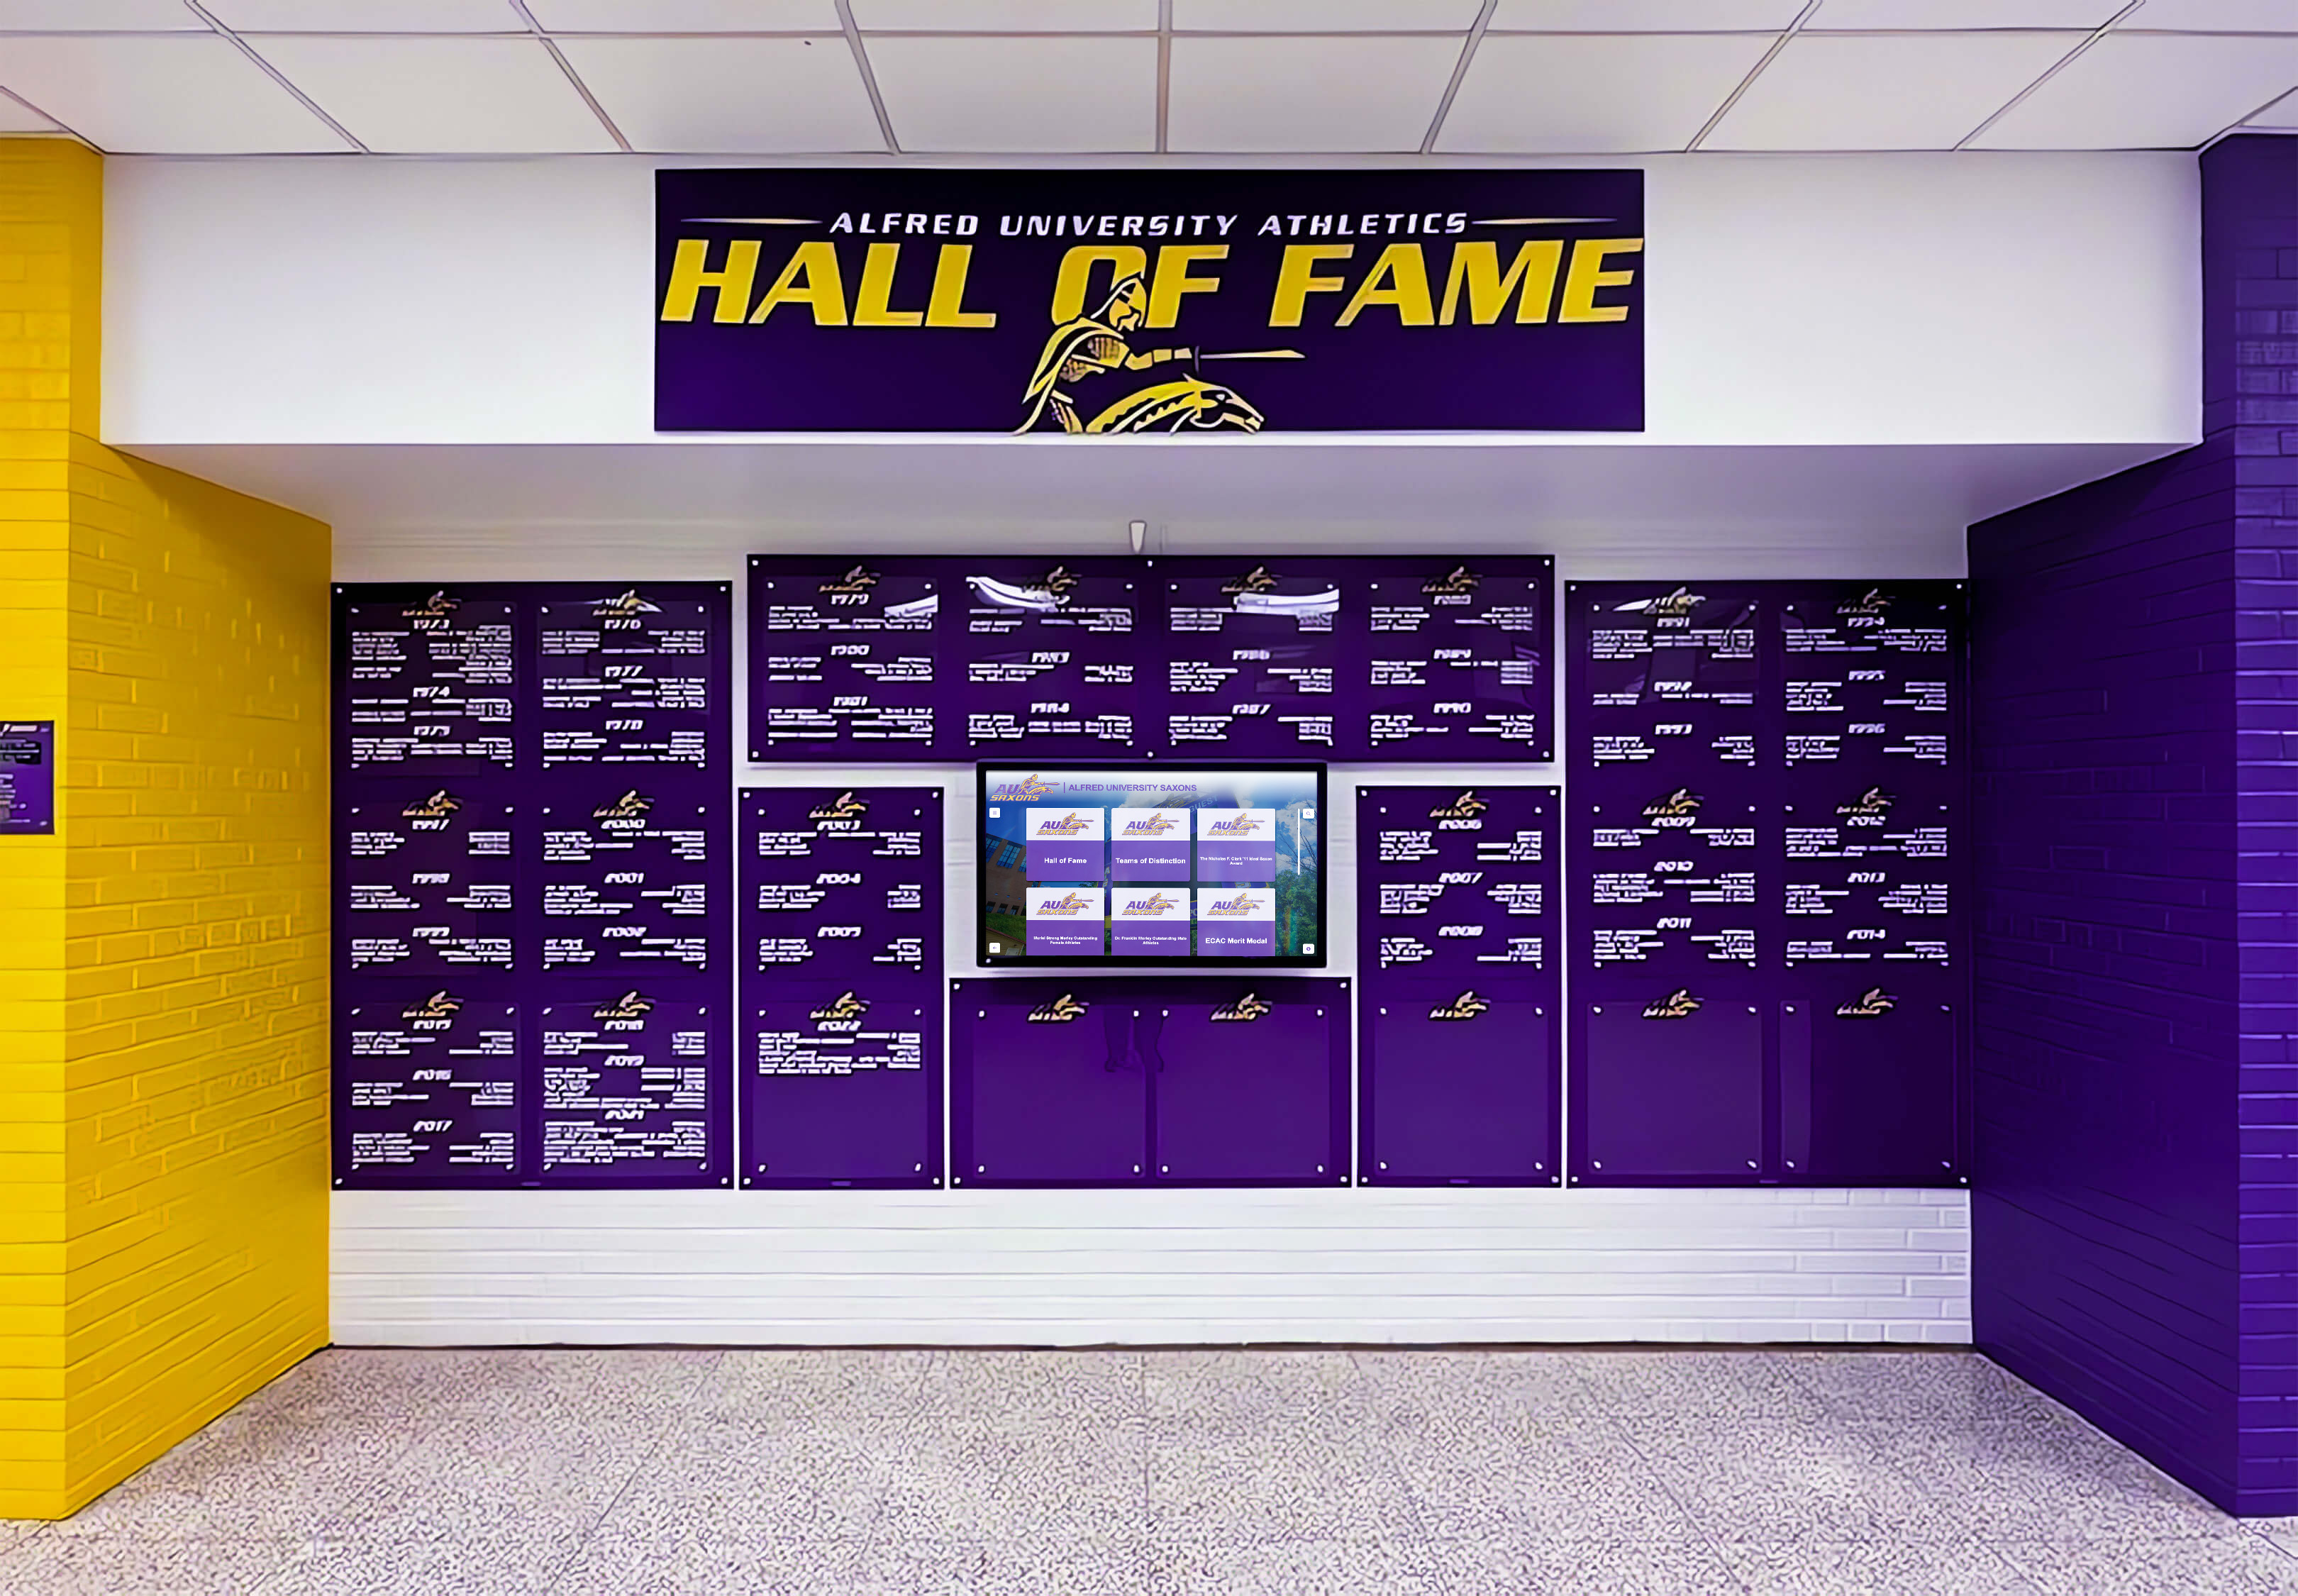
Consistent brightness across inductee panels is the visible result of a dynamic range standard applied to every photo — without it, some inductees' portraits dominate while others recede into shadow
Connecting the Checklist to Your Recognition Display Workflow
The athletic recognition photo dynamic range checklist functions as a quality gate in a broader content workflow, not a standalone task. It applies whenever new inductees are added, when historical photos are digitized for the first time, or when an existing display is refreshed with updated imagery.
For schools evaluating or building recognition systems, hall of fame tools for athletics, donors, arts, and history vary significantly in how much control they give over photo quality at the upload stage. Some platforms apply automatic image processing that can override manual adjustments; others accept images exactly as uploaded. Understanding your platform’s behavior is part of the checklist — if the system resizes or recompresses uploaded photos, those processes can reintroduce tonal problems that were corrected in the source file.
Touchscreen recognition platforms designed specifically for school athletics typically offer content preview tools that let administrators view uploaded photos on a display simulation before publishing. Use those preview tools as the final step in the checklist — confirming that the adjusted and exported photo looks correct in the platform’s preview environment, not just on the editing workstation.
Schools running interactive wall display systems that cycle through hall of fame inductees, championship records, and team histories need consistent image quality across a potentially large collection. A batch of 200 inductee photos with inconsistent dynamic range preparation creates a visual quality problem that repeats on every loop of the display. Applying the checklist to the full collection before go-live avoids that ongoing issue.
Digital recognition systems for athletics programs that serve both public lobbies and administrative offices may run displays at different brightness levels in different locations. If the same photo set feeds multiple display environments, run the checklist at the highest brightness setting your displays use — photos prepared for maximum brightness will display correctly at lower brightness, but the reverse is not always true.
For recognition programs that also produce print collateral — sports banquet programs, academic achievement displays, or framed recognition panels for donor walls — the same dynamic range principles apply but with different technical targets. Print deriviatives need higher resolution and different brightness targets than display derivatives, so maintain separate export workflows for each destination.
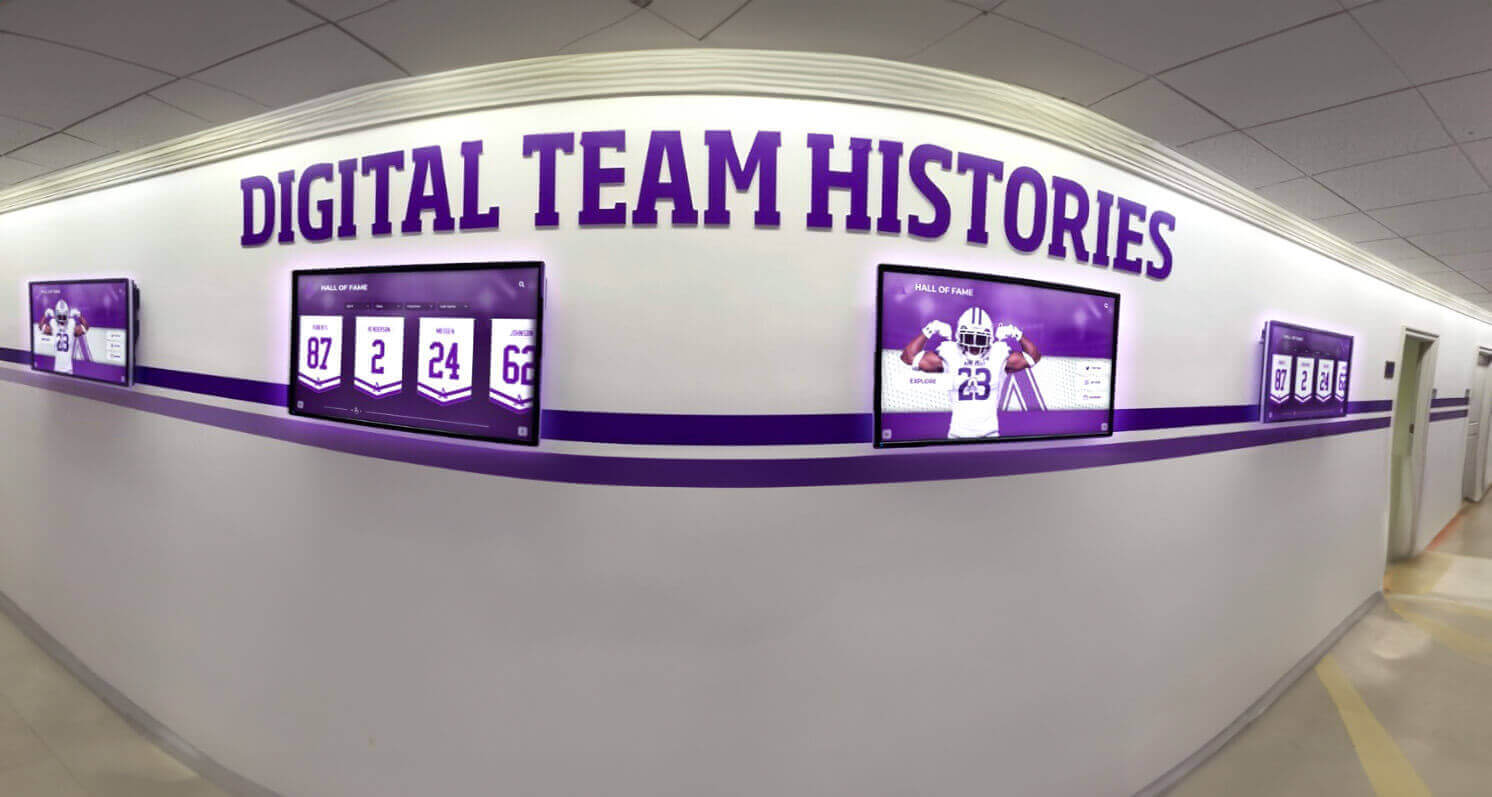
Multiple screens in a recognition hallway demand consistent dynamic range preparation — tonal inconsistency between adjacent panels is immediately visible to visitors
Checklist Quick Reference
For teams that process large photo batches, this summary table consolidates the most frequently applied checks:
| Check | Tool | Pass Condition |
|---|---|---|
| Histogram: no left-edge spike | Histogram panel | Distribution starts above zero |
| Histogram: no right-edge spike | Histogram panel | Distribution ends before right edge |
| White uniform texture visible | 100% zoom | No pure-white areas in fabric |
| Shadow areas not solid black | 100% zoom / clipping warning | Shadow areas show some texture |
| Skin tone channels correct | Color picker | Red > Green > Blue channel values |
| Color profile embedded | Export settings | sRGB profile tag present in exported file |
| Exported at correct pixel dimensions | Export settings | Matches display layout slot dimensions |
| JPEG quality 90–95 | Export settings | No visible compression artifacts at 100% zoom |
| Final preview on display hardware | Display system | Photo looks correct under installed ambient light |
Best-in-class touchscreen platforms for school athletics increasingly include content quality guidance in their onboarding documentation. Even so, platform upload specifications describe the technical minimums for a file to be accepted — not the editorial standard needed for photos to look professional in a public recognition setting. The dynamic range checklist bridges that gap.
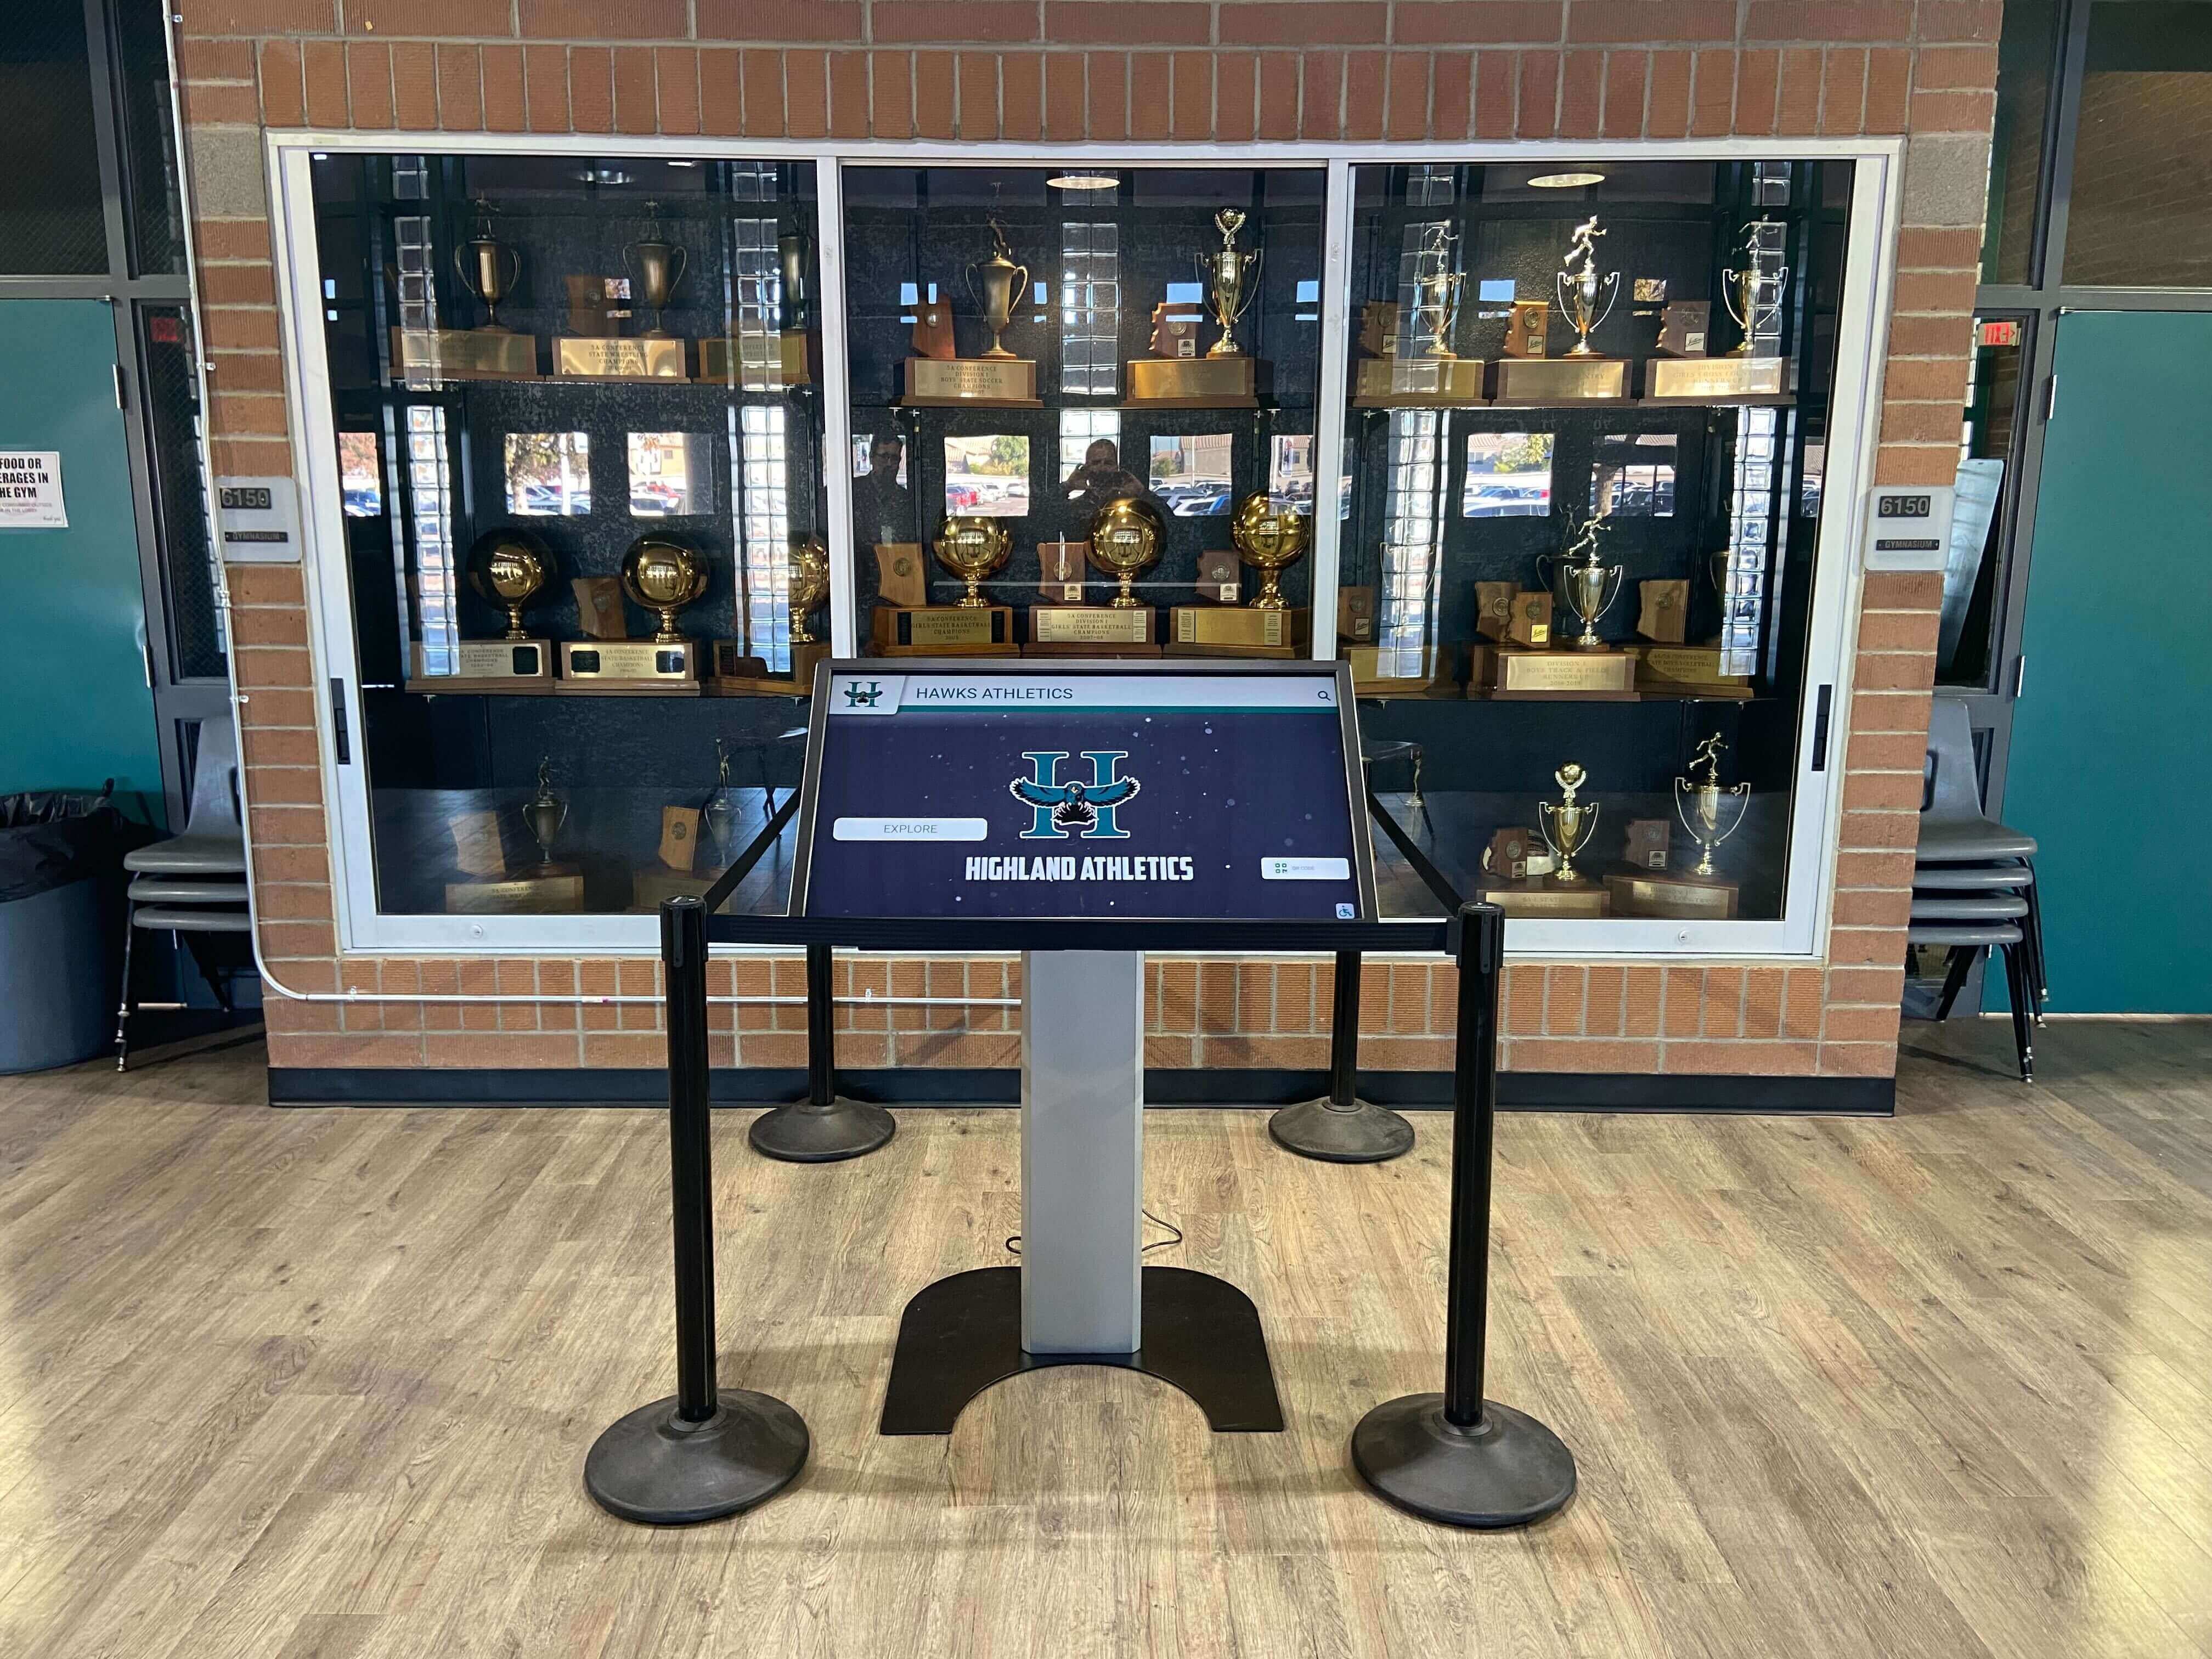
A trophy case installation is viewed at close range, making highlight clipping and crushed shadow areas more noticeable than on a large lobby screen — the dynamic range checklist ensures photos look polished at every viewing distance
Frequently Asked Questions About Athletic Recognition Photo Dynamic Range
What is dynamic range in the context of athletic recognition photos?
Dynamic range in athletic recognition photos is the span of tonal values from the darkest shadow to the brightest highlight in an image. When preparing photos for hall of fame displays and digital recognition walls, dynamic range determines whether white jerseys retain fabric detail, whether faces in low-light portraits show texture, and whether trophies and awards display accurately without washing out to solid white. Photos with properly managed dynamic range look consistent and professional on recognition displays regardless of the ambient lighting conditions in the installation space.
Why do some athletic photos look washed out or too dark on a recognition display?
Photos that look correct on an editing workstation can appear washed out or too dark on a recognition display because of differences in display brightness, gamma curve settings, and ambient lighting. A photo with already-clipped highlights displays those areas as pure white on a bright lobby panel with no detail. A photo with a compressed tonal range from aging film or scanner limitations may look flat and dark on a high-brightness lobby display. Evaluating each photo’s histogram before export and adjusting highlights, shadows, and midtone contrast to match the actual display environment prevents these problems.
Can compressed JPEG athletic archive photos be fixed for recognition display use?
8-bit JPEGs compressed at low quality settings or downloaded from social media have limited tonal recovery headroom. Highlights and shadows that are fully clipped in the source file cannot be recovered through editing — the tonal information is simply absent. For those photos, the best approach is minimizing the visual impact of existing clipping through careful midtone adjustment and accepting that the archival source constrains the final quality. Where photos destined for prominent display positions exist only as compressed JPEGs, returning to a physical print for rescanning at high resolution is the recommended path when the original print is available.
How should I handle the difference in dynamic range between vintage team photos and modern digital photos in the same display?
Set a consistent brightness and contrast standard and process every photo toward it, regardless of source era. The standard should define a target midtone exposure level, a minimum contrast floor, and a maximum brightness ceiling with no highlights above the clipping threshold. Process vintage photos by stretching their compressed tonal range to meet the standard and adding midtone contrast; process modern digital photos by confirming they do not exceed the ceiling and adjusting if needed. The visible result is a display where inductees from different decades appear at comparable brightness and tonal quality.
Does dynamic range preparation affect file size for hall of fame display uploads?
Tonal adjustments themselves do not significantly increase file size. The most important factor for file size is export settings: JPEG quality, pixel dimensions, and color profile embedding. A recognition display derivative sized to the display layout’s pixel dimensions at JPEG quality 90–95 with embedded sRGB will typically be 300–800 KB for a portrait-format photo — manageable for most platform upload limits. Exporting at the source file’s full resolution for a display that uses a small portrait card slot wastes storage without adding visible quality.
A Consistent Standard Protects Every Inductee in Your Recognition Program
An athletic recognition photo dynamic range checklist does for photo quality what a color calibration log does for display hardware — it creates a documented, repeatable standard that protects visual quality across years of content additions and multiple contributors. Schools that apply it build recognition displays where a 1978 state champion’s portrait looks as polished as a 2024 inductee’s, where white uniforms retain fabric detail, and where shadow areas in older photos reveal the athlete rather than hiding them in solid black.
The checklist is not technically demanding. It requires a histogram view in a basic photo editing tool, an understanding of five or six adjustment controls, and a final preview on the actual display hardware. For most photo batches, evaluation and adjustment takes a few minutes per photo — a small investment relative to how long each image will represent a school’s recognition program on a public display.
See Recognition Display Quality Built In
Rocket Alumni Solutions builds interactive hall of fame systems and athletic recognition displays designed for schools that want photo quality and long-term content consistency — without a dedicated graphics team to manage it.
Get notified when Rocket Graphics opens