Color fringing around player uniforms, faces, and trophy edges is one of the most common image-quality problems in digitized sports-history collections. That purple or green halo outlining a star athlete in a 1987 state-championship photo is not a printing defect from the original print — it is chromatic aberration introduced or amplified during scanning, and it can be corrected without touching the archival master. Athletic archive chromatic aberration correction is the process of identifying and removing those false color fringes in derivative copies of historic team photos so that recognition graphics, hall of fame displays, and touchscreen kiosks show accurate colors instead of artifacts.
This guide explains what chromatic aberration is in the context of school athletic archives, gives you clear decision criteria for when correction is appropriate, and walks through a repeatable workflow for producing clean derivatives while keeping original scans intact.
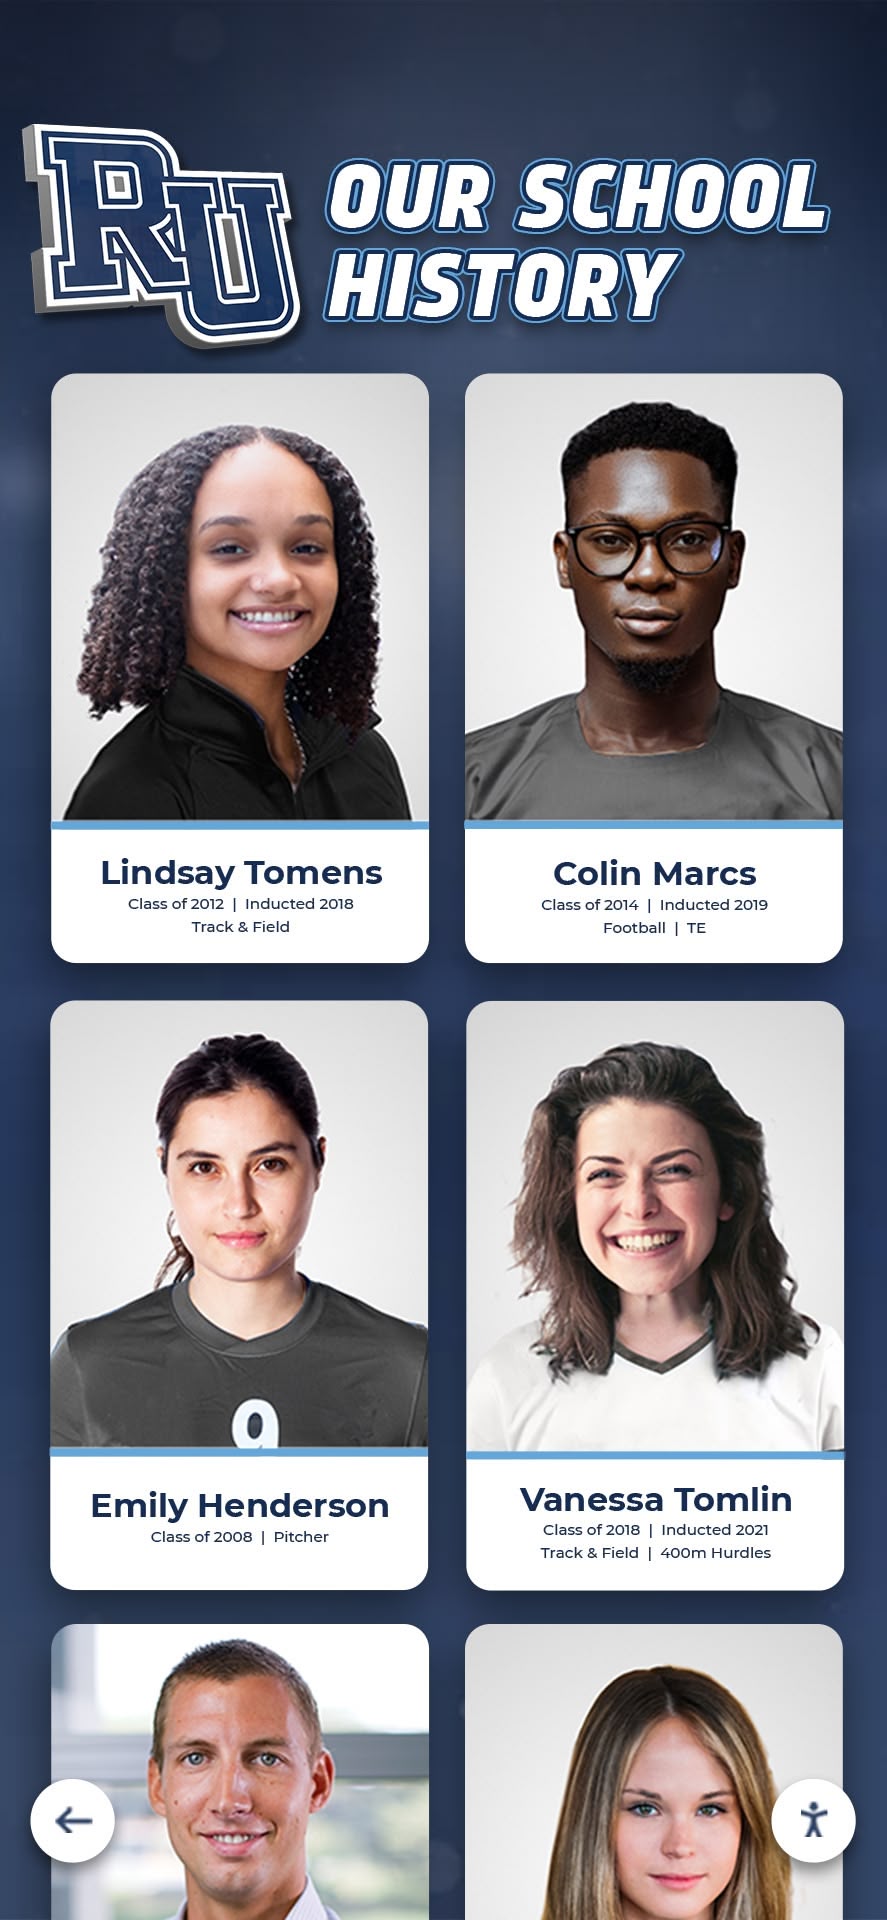
Decades of team portrait cards form the backbone of an athletic archive — color fringing in scanned versions reduces the accuracy and professionalism of every downstream display
What Is Chromatic Aberration in Athletic Archive Photos?
Chromatic aberration in athletic archive photos is a color distortion that appears as colored fringes — typically purple, green, cyan, or red — along high-contrast edges in an image. In team photos it most often appears around the shoulders of white uniforms against a dark background, along the edges of trophy metal, and at the boundary between a face and a darker jersey.
There are two distinct types, and they require different corrections:
Lateral (transverse) chromatic aberration occurs when different wavelengths of light converge at slightly different points across the image plane. In scanned prints, it appears as color fringing that becomes more pronounced toward the corners of the frame. It is symmetrical and can be corrected by scaling color channels relative to each other. Most scanning lenses and flatbed scanner optics produce some degree of lateral aberration, particularly at the edges of the scan bed.
Longitudinal (axial) chromatic aberration occurs when colors focus at different distances along the optical axis. It is most visible in the central region of the image as magenta fringing in front-focused areas and green fringing in back-focused areas. Older photographic lenses used on the cameras that originally captured many athletic photos from the 1960s through the 1990s often had uncorrected longitudinal aberration that becomes more visible when those prints are scanned at high resolution.
For athletic archive work, both types matter. A clean scan can pick up fringing from the original lens; a poorly maintained scanner can add its own. The correction workflow addresses both.
When Is Athletic Archive Chromatic Aberration Correction Appropriate?
Not every historic team photo needs correction. Applying it indiscriminately wastes time and, if done incorrectly, can alter skin tones and uniform colors in ways that do more harm than the original fringing. Use the following decision criteria before committing to the correction workflow.
Before/After Decision Criteria
| Condition | Correct | Leave As-Is |
|---|---|---|
| Visible color fringe wider than 2 pixels along uniform edges | Yes | |
| Fringe only visible at 200% zoom or above | Yes | |
| Photo destined for hall of fame display or recognition graphic | Yes | |
| Photo used only for internal archive reference | Yes | |
| Uniform color accuracy is critical (school color matching) | Yes | |
| Black-and-white original with no color information to protect | Unnecessary | |
| High-contrast edges between white uniforms and dark backgrounds | Yes | |
| Soft, low-contrast image where fringing blends in | Yes | |
| Photo will be printed at 8×10 or larger | Yes | |
| Photo used only as a small web thumbnail | Yes |
Decision rule: If two or more “Correct” conditions apply, add the photo to the correction queue. If all visible issues fall in the “Leave As-Is” column, keep the original scan as the display derivative without modification.
Special Considerations for School Athletic Archives
Recognition programs, hall of fame inductee displays, and yearbook senior pages present photos at sizes where color fringing becomes visible to casual viewers. These use cases always warrant correction. Internal catalog reference images, off-site backup copies, and photos not currently scheduled for display do not need immediate correction — batch them for later processing when display time comes.
For photos feeding a youth athlete of the year recognition program, accurate uniform and skin-tone color is particularly important. A program honoring a former athlete should show that athlete’s school colors accurately, not a scanner artifact that turns navy blue into purple.
Athletic Archive Chromatic Aberration Correction Workflow
This ten-step workflow separates archival masters from corrected derivatives, ensuring that your original scans remain untouched while display-ready copies receive accurate color correction.
Step 1: Identify the Archival Master
Never open and re-save a TIFF master directly. Locate the archival TIFF created during the original scan — typically named with a convention like 1993_football_varsity-state-champs_001.tif. This file is read-only for correction purposes. All edits go to a copy.
Step 2: Create a Working Copy
Duplicate the master TIFF before opening it. Place working copies in a separate folder named /derivatives/correction-queue/. This physical separation makes it impossible to accidentally overwrite the master.
Step 3: Open the Working Copy in Your Editing Environment
Software options for athletic archive correction (list is not exhaustive):
- Adobe Lightroom Classic — Lens Corrections panel, Chromatic Aberration section; Remove Color Fringe checkbox handles most lateral aberration automatically. Manual sliders for Purple Hue and Green Hue target residual fringing.
- Adobe Camera Raw — Same correction controls as Lightroom, accessible when opening TIFF files via Bridge.
- RawTherapee (free, open-source) — Chromatic Aberration correction under the Color tab; supports both lateral and longitudinal correction.
- GIMP with G’MIC plugin (free, open-source) — Chromatic Aberration filter under Colors menu; functional for batch correction when commercial licenses are unavailable.
- darktable (free, open-source) — Chromatic Aberration module in the darkroom view.
For school athletic departments working with limited software budgets, RawTherapee and darktable provide professional-grade chromatic aberration correction at no cost.
Step 4: Enable Automatic Lateral Aberration Correction First
In most software, automatic lateral chromatic aberration correction is a single checkbox or toggle. Enable it and evaluate the result at 100% zoom before adjusting anything manually. For many scanned prints, automatic correction removes 70–90% of visible fringing with no further adjustment.
Step 5: Zoom to 100% and Inspect High-Contrast Edges
After automatic correction, zoom to 100% and examine:
- Shoulder lines of white or light uniforms against dark backgrounds
- Trophy edges against light backgrounds
- Face/jersey boundaries
- The outer corners of the frame (where lateral aberration is strongest)
If visible fringing remains, proceed to manual adjustment.
Step 6: Apply Manual Hue Range Corrections
Manual chromatic aberration tools work by desaturating or hue-shifting a narrow color range along edges. In Lightroom and Camera Raw:
- In the Chromatic Aberration section, check Remove Color Fringe.
- If purple fringing persists, adjust the Purple Hue slider to center it on the specific purple shade in the fringe — typically between 40 and 70.
- Increase Purple Amount until fringing disappears at 100% zoom without affecting the purple elements in the actual image (if any).
- Repeat for green fringing using the Green Hue and Green Amount sliders.
Warning: Purple and green hue ranges can overlap with actual image content. A jersey with purple accents or grass in the background can be partially desaturated if the hue range is set too broadly. Keep the range as narrow as possible and toggle the correction on/off to compare against the original before finalizing.
Step 7: Verify Uniform and Skin Tone Accuracy
After correction, sample the primary uniform color and compare it against your school’s brand color specification. Use the eyedropper/color sampler tool to check that:
- Navy blue reads as blue, not purple or teal
- Gold reads as warm gold, not yellow-green
- White uniform areas are neutral, not color-shifted
- Skin tones in athlete faces appear natural
If the correction shifted a significant color, reduce the Amount sliders and accept minor residual fringing rather than introducing a new color error. Imperfect fringing correction is preferable to incorrect uniform colors on a hall of fame display or sports banquet program.
Step 8: Export the Corrected Derivative
Export the corrected image as a TIFF or high-quality JPEG:
- Display derivatives (for touchscreen hall of fame, digital signage, recognition graphics): Export as JPEG at 95 quality, sized to the target display resolution. Name the file with a
_displaysuffix:1993_football_varsity-state-champs_001_display.jpg. - Print derivatives (for framed recognition prints, award programs, banquet materials): Export as TIFF at full resolution. Name with a
_printsuffix:1993_football_varsity-state-champs_001_print.tif.
Never overwrite the archival master TIFF with the corrected version.
Step 9: Log the Correction
Maintain a correction log spreadsheet with at minimum:
- Original filename
- Correction date
- Software and settings used
- Derivative filenames created
- Notes on any residual issues
This log becomes important when display systems are updated or when photos need re-exporting at different sizes. Knowing what corrections were applied (and what settings were used) saves time re-doing the analysis.
Step 10: Deliver Derivatives to the Display System
Move corrected derivatives to the appropriate folder for your display system — whether a content management system, network share for digital signage, or upload queue for a touchscreen hall of fame platform. Archive masters stay in their original location, untouched.
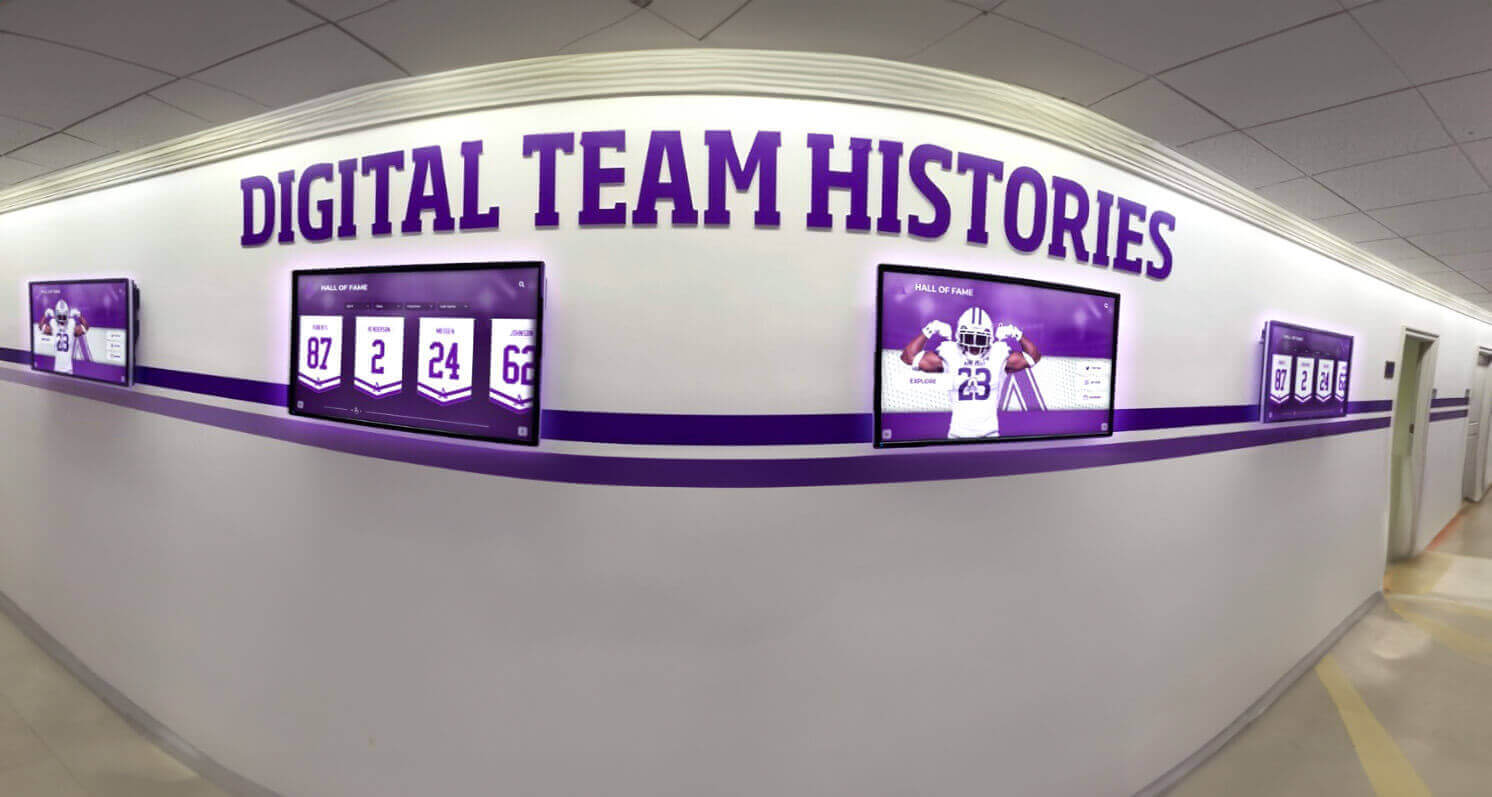
Hallway recognition displays present historic team photos at large sizes where color fringing becomes visible — corrected derivatives ensure athletes are shown accurately
Preserving Archival Masters During Correction
The most important principle in athletic archive chromatic aberration correction is that the archival master must never be modified. This is not merely a best practice — it reflects the professional standard for managing irreplaceable cultural heritage materials.
The Society of American Archivists and the Federal Agencies Digital Guidelines Initiative (FADGI) both establish the concept of the archival master as a fixed reference that remains unchanged regardless of how many derivative versions are produced for different uses. Once a master is altered, there is no way to verify that it accurately represents what was originally captured without going back to the physical print. For school athletic archives, this means physical prints that may have already degraded or been discarded.
File protection practices:
- Set archival master TIFFs to read-only using your operating system’s file permissions. On Windows: right-click → Properties → uncheck “Read-only.” On macOS/Linux:
chmod 444 filename.tif. - Store masters in a folder labeled
/masters/that staff understand is off-limits for editing. - Never send master files to external vendors for correction — send a duplicate, clearly labeled as such.
- Back up masters to at least two separate locations before beginning any correction project.
When someone on your team asks for a “cleaned up” version of a historic team photo for a Latin honors ceremony program or a championship banner graphic, they should receive a corrected derivative — not a modified master.
Color Fringing in Recognition Displays: A Specific Challenge
Recognition displays — whether touchscreen hall of fame kiosks, digital award boards, or lobby screens — present athletic photos at sizes and viewing distances where chromatic aberration becomes clearly visible. A photo that looks acceptable as a small thumbnail on a website appears markedly flawed when displayed at full screen on a 55-inch lobby monitor.
If your school’s recognition display is already showing color-fringed photos, the recognition display color fringing test is a useful first step: it helps you distinguish between aberration in the source photo and color rendering issues in the display hardware itself. Both problems can produce visible color fringing at high-contrast edges, and they require different fixes.
For photo-source aberration (the focus of this guide), the correction workflow above produces cleaner derivatives for the display system. For display hardware issues, the relevant intervention is monitor calibration or HDMI/CEC signal configuration rather than photo editing.
Athletic departments running touchscreen recognition programs benefit from reviewing photo quality in the display environment, not just on the editing workstation. A calibrated photo editing monitor renders colors differently than a consumer-grade lobby display. Corrections that look complete on the editing workstation may leave visible fringing on the display, or over-corrections made for the display may look unnatural on print materials.
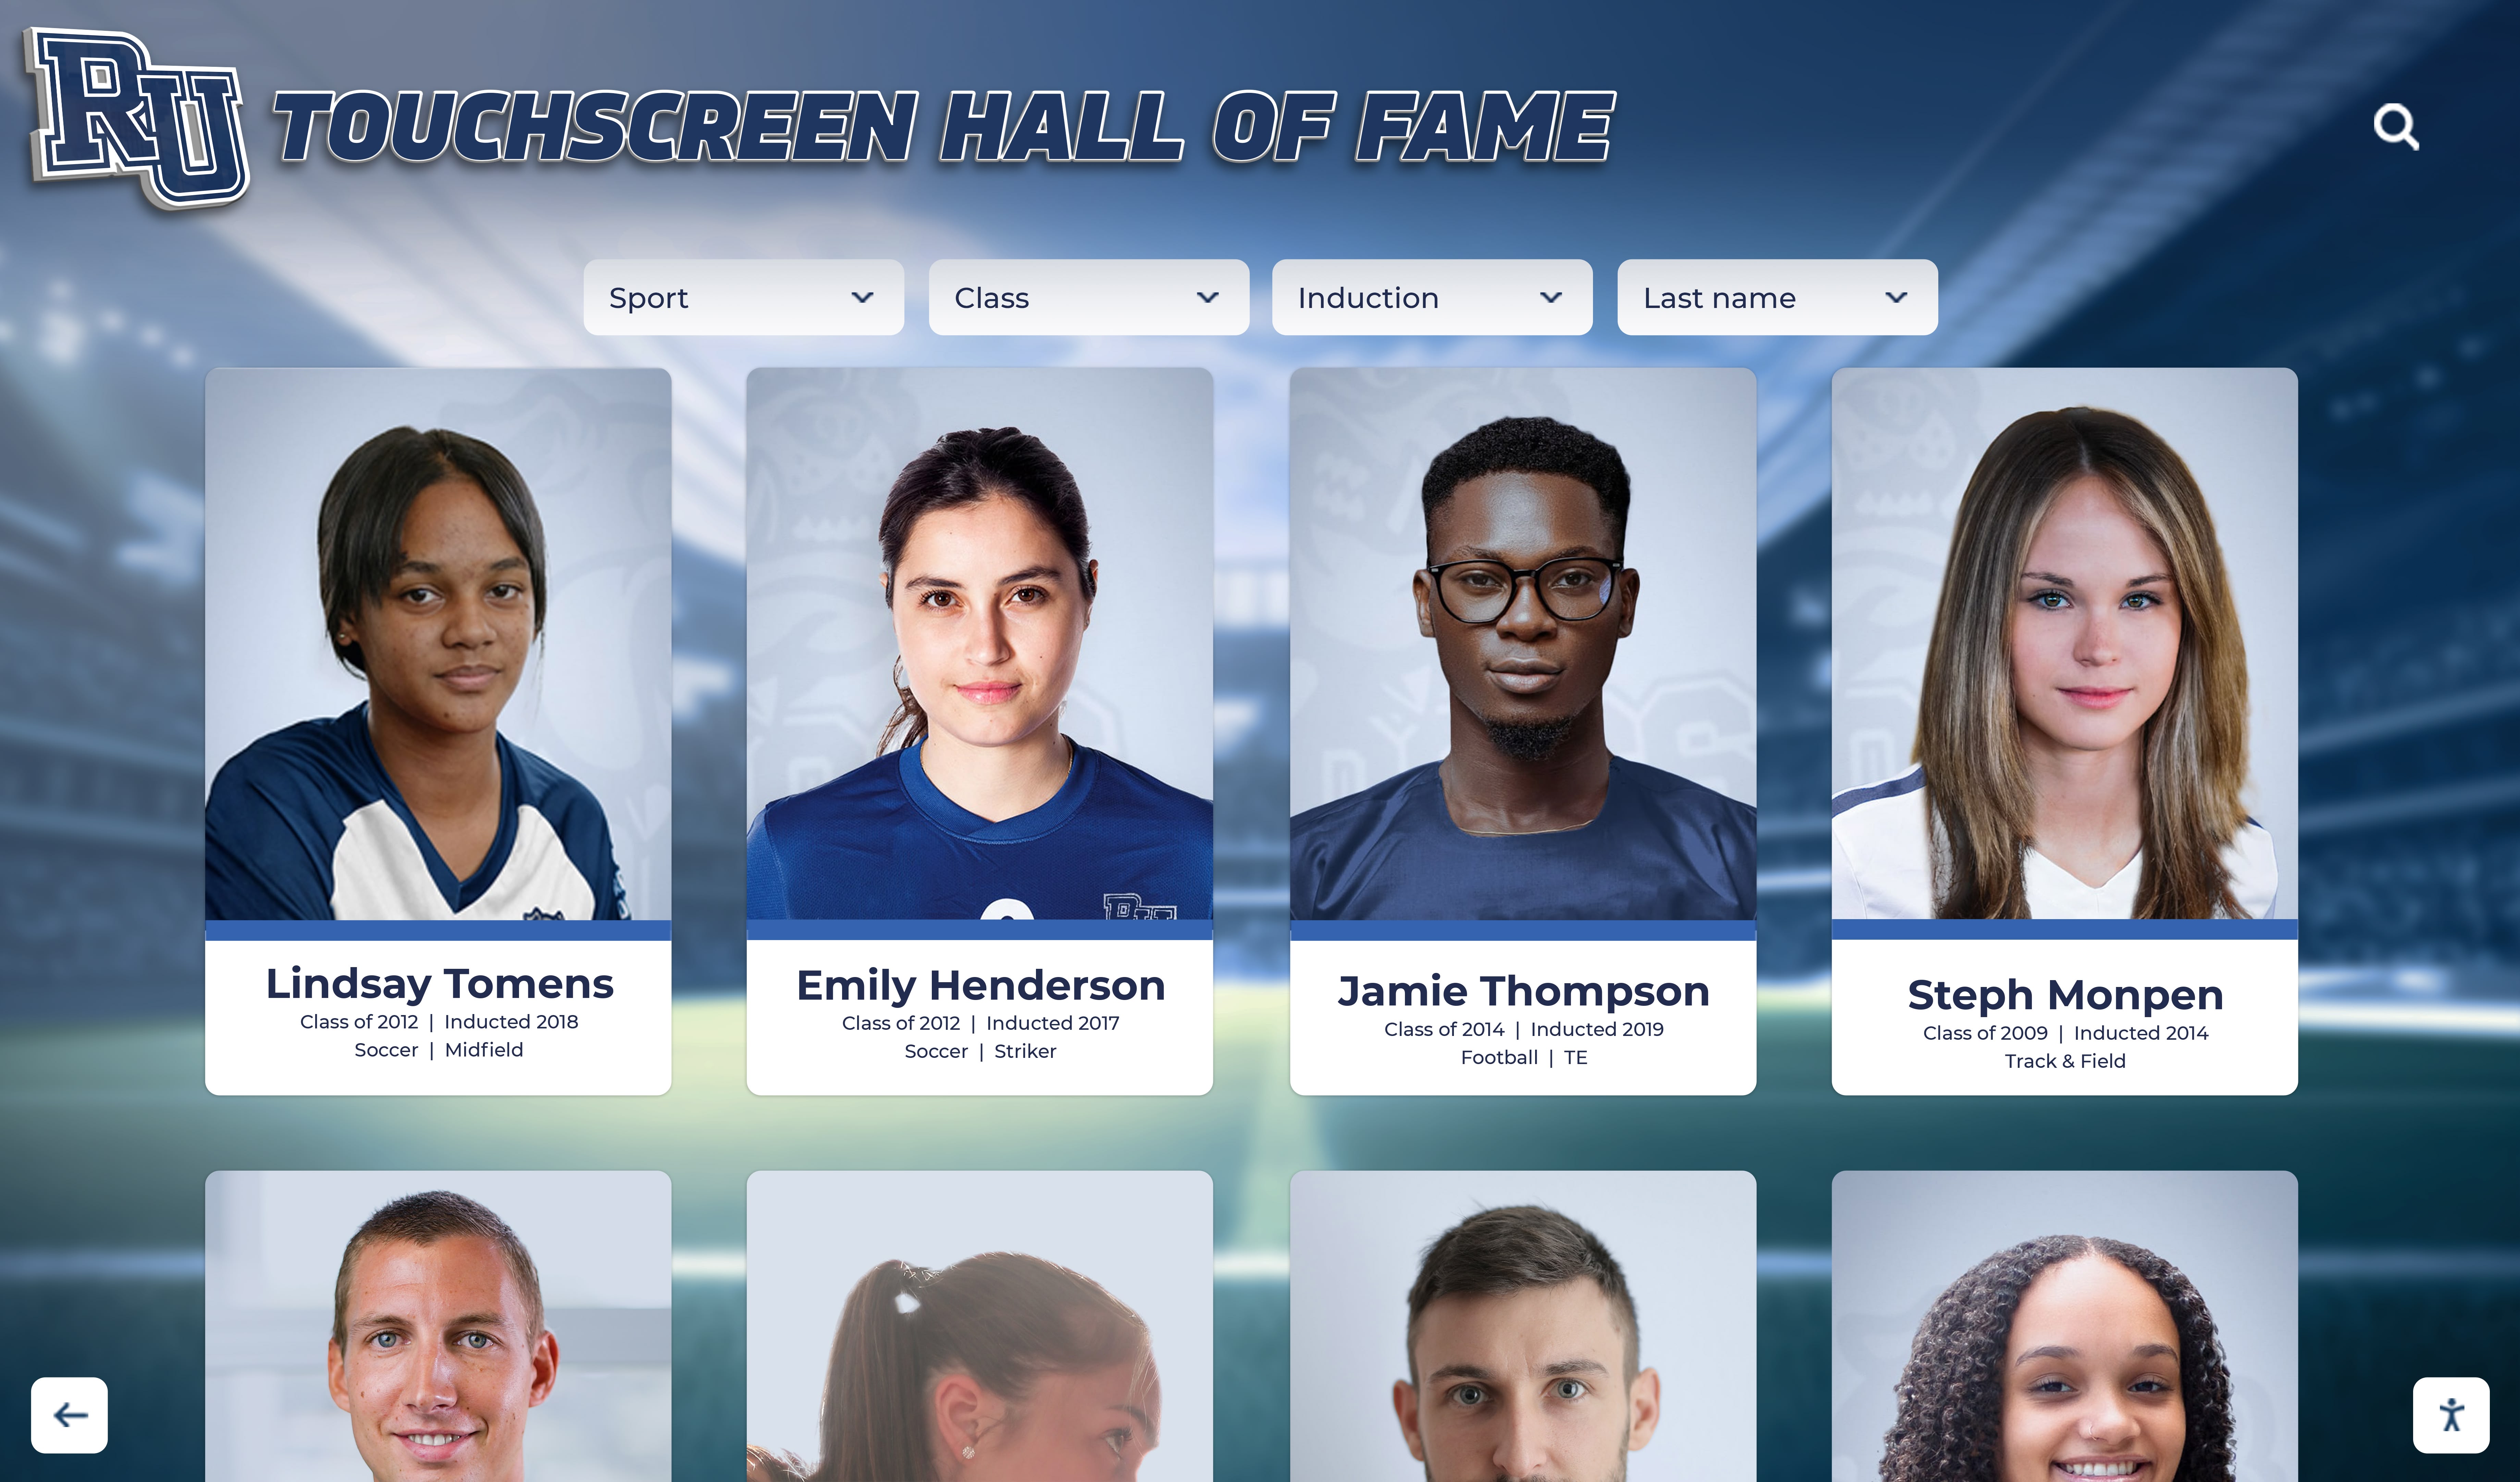
Touchscreen hall of fame displays present archive photos at high visibility — color accuracy in corrected derivatives directly affects how inductees are perceived by visitors
Batch Correction: Scaling the Workflow for Large Collections
Schools digitizing collections of hundreds or thousands of historic team photos cannot apply manual corrections photo-by-photo. Batch processing tools allow automated or semi-automated chromatic aberration correction across entire folders of images.
Lightroom Classic batch workflow:
- Correct one representative photo from the collection (same scanner, same era, similar contrast conditions).
- Right-click the corrected photo in the Library module → Develop Settings → Copy Settings → check only Chromatic Aberration.
- Select the remaining photos in the batch.
- Right-click → Develop Settings → Paste Settings.
- Review a 10–15% sample at 100% zoom to verify corrections are effective across the batch.
- Export all corrected photos to the derivatives folder with consistent naming.
RawTherapee batch queue:
- Apply corrections to one image and save the processing profile (.pp3 file).
- Use the Batch Queue feature to apply the same profile to all files in a directory.
- Set output format and naming in the Queue settings before processing.
Batch correction is most effective when the source images share consistent characteristics — photos from the same scan session on the same scanner tend to have similar aberration profiles. Photos from different decades, scanners, or original camera lenses may need separate correction profiles.
Wrestling programs archiving decades of tournament photos, for instance, may find that early-1990s prints from a consumer scanner need more aggressive fringe removal than late-2000s prints from a high-resolution dedicated scanner — similar to how wrestling program fundamentals build from consistent technique applied across different situations.
Connecting Corrected Archive Photos to Graphics and Recognition Programs
Chromatic aberration correction is the first quality gate between raw scan and finished recognition graphic. After correction, derivative photos move into the broader workflow of creating recognition content: portrait cards for hall of fame displays, athlete spotlights, championship banners, yearbook layouts, and digital signage content.
Schools using AI-powered graphics tools to generate recognition content need color-accurate source photos. A portrait card generated from a fringe-laden source photo will attempt to replicate or extend the color artifact into surrounding design elements. Providing corrected derivatives to the graphics pipeline prevents that downstream contamination.
Yearbook cover designs and retrospective athletics features benefit from the same corrected derivatives used in hall of fame displays — one correction workflow, multiple use cases. Maintaining a derivatives folder organized by sport and year makes the corrected versions available for every publication and display project without repeating the correction work.
Athletic Archive Chromatic Aberration Correction Checklist
Use this checklist before finalizing any batch of corrected derivatives for display or print use.
Pre-correction:
- Archival master TIFF confirmed as read-only
- Working copies duplicated to
/derivatives/correction-queue/ - Decision criteria applied — photos confirmed as correction candidates
- Target display environment identified (screen, print, digital signage)
During correction:
- Automatic lateral aberration correction enabled first
- 100% zoom inspection at high-contrast edges completed
- Manual hue-range adjustments applied to residual fringing
- Uniform color compared against school brand specification
- Skin tone accuracy verified
Post-correction:
- Corrected derivatives exported with
_displayor_printsuffix - Archival master confirmed unchanged
- Correction log entry completed with filename, date, software, settings
- Sample of derivatives reviewed on target display hardware
- Derivatives delivered to appropriate display system or graphics pipeline folder
Frequently Asked Questions About Athletic Archive Chromatic Aberration Correction
What is chromatic aberration in scanned athletic photos?
Chromatic aberration in scanned athletic photos is a visible color fringe — typically purple, green, cyan, or red — that appears along high-contrast edges such as the borders of white uniforms, trophy surfaces, and faces. It is caused by different wavelengths of light focusing at slightly different points, either in the original camera lens that captured the photo or in the scanner optics used to digitize the print. The fringe is an optical artifact and does not reflect actual colors in the original subject.
When should I correct chromatic aberration in historic team photos?
Correct chromatic aberration when the color fringe is visible at 100% zoom, when the photo is destined for a hall of fame display, recognition graphic, or print publication, and when accurate uniform or skin-tone colors are required. Photos stored only for internal archival reference, or where fringing is visible only at 200% zoom or above, can remain uncorrected in the archive until they are selected for a display use case.
How do I correct chromatic aberration without damaging the archival master?
Always work on a duplicate of the archival TIFF, never the master. Set the master file to read-only before beginning any correction project. Apply corrections in photo editing software (Lightroom, RawTherapee, darktable, or similar), then export the result as a separate derivative file with a _display or _print suffix. The master stays untouched, and you can always produce a new derivative with different settings if a display requirement changes.
What software can I use for athletic archive chromatic aberration correction?
Adobe Lightroom Classic and Adobe Camera Raw offer the Remove Color Fringe automatic correction plus manual purple and green hue controls. For schools with limited software budgets, RawTherapee and darktable are free, open-source alternatives with professional-grade chromatic aberration correction. GIMP with the G’MIC plugin provides basic correction capability. All of these tools support batch processing for large collections.
How does chromatic aberration correction connect to hall of fame and recognition displays?
Recognition displays present historic team photos at large sizes on lobby screens, touchscreen kiosks, and digital award boards — sizes where color fringing becomes clearly visible to casual viewers. Corrected derivatives look more professional, represent school colors accurately, and eliminate distraction from the athlete being honored. Providing corrected source photos to graphics workflows also prevents color artifacts from being incorporated into portrait cards, athlete spotlights, and recognition graphics generated from those sources.
From Corrected Archive to Displayed Legacy
Athletic archive chromatic aberration correction is a one-time investment for each photo that pays dividends every time that photo appears in a recognition context. A corrected derivative of a 1992 state championship team looks accurate on a touchscreen kiosk, in a commemorative program, in a hall of fame portrait card, and in a social media anniversary post — while the untouched master stays preserved for whatever display technology comes next.
For schools building recognition programs that connect historic photo archives to visible campus displays, the quality of that connection depends on the quality of the derivatives feeding into it. Fringe-free photos produce cleaner graphics, more accurate uniform colors, and displays that reflect the dignity athletes deserve.
Corrected archive photos also integrate with interactive hall of fame displays and touchscreen recognition systems designed specifically for school athletic programs. If you’d like the same care applied to your weekly graphics, get notified when Rocket Graphics opens.